This article was co-written with Murray Thiessen, Consulting Agricultural Mechanic.
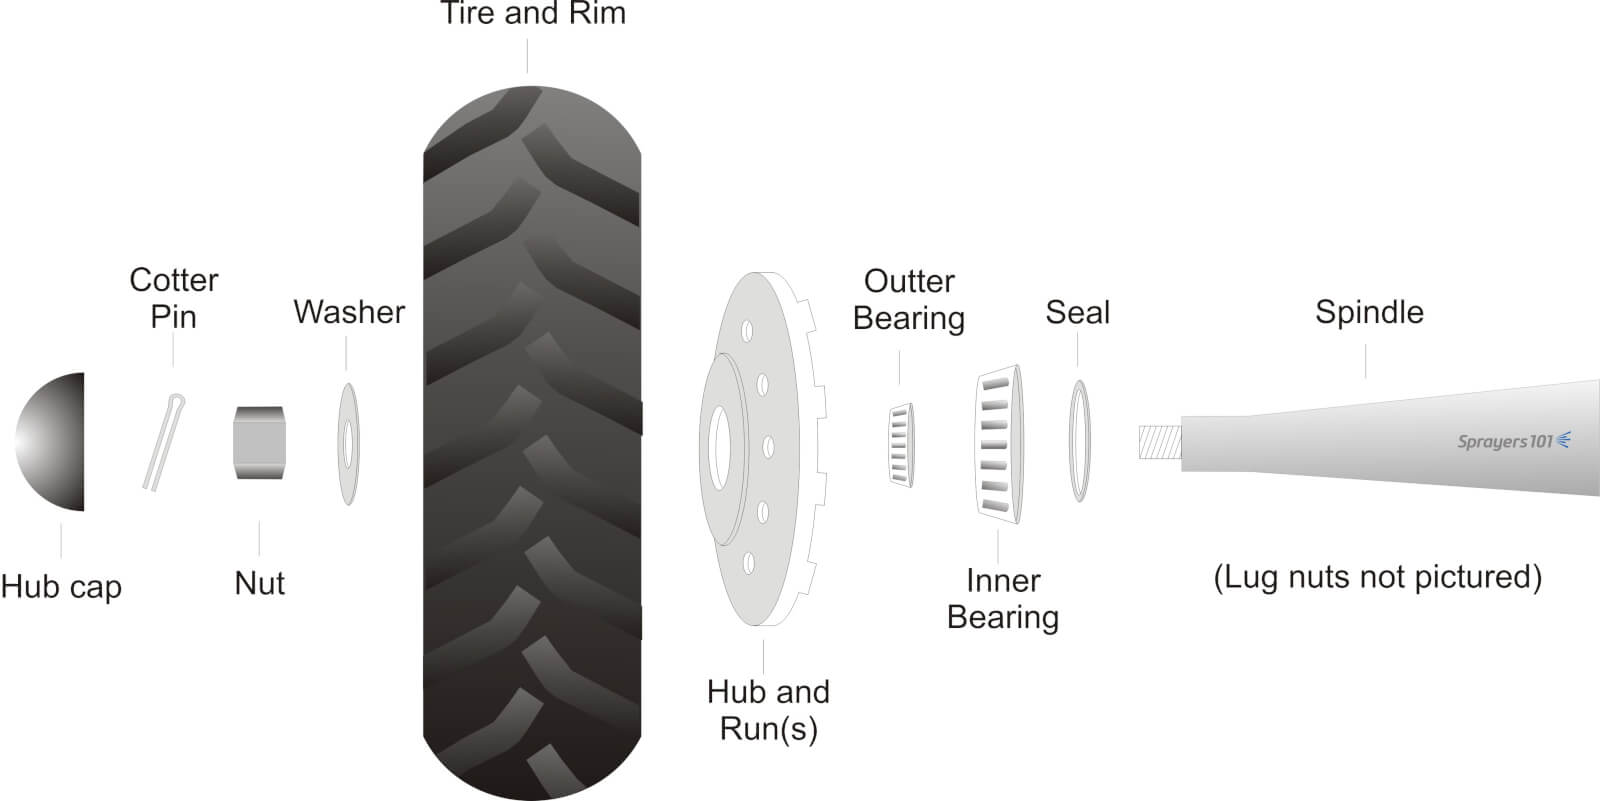
Sprayer wheel assemblies should be cleaned and inspected as part of regular annual maintenance. Wheel bearing maintenance before long-term storage may prevent water from corroding the bearings. The exploded diagram details the parts found in a typical trailed air-assist sprayer wheel assembly.
The following procedure was performed on a 2012 Durand-Wayland sprayer by Mr. Murray Thiessen, Consulting Agricultural Mechanic and renowned “Sprayer Whisperer”. The steps are applicable to most sprayer makes and models. The entire process should take approximately half-an-hour per wheel.
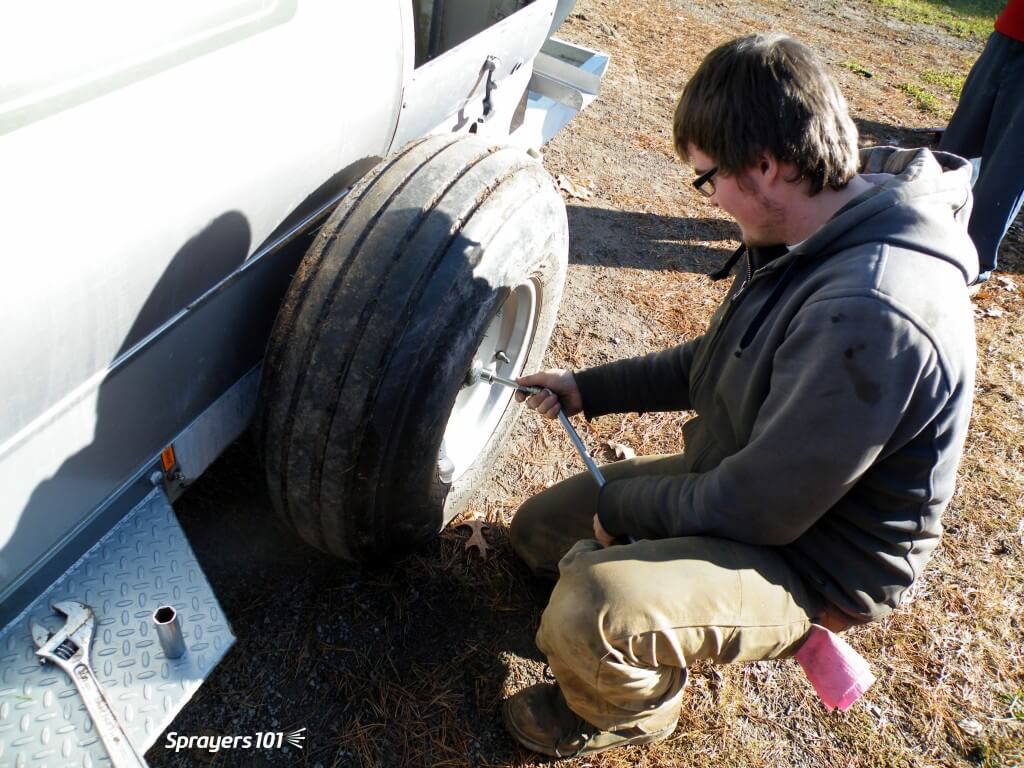
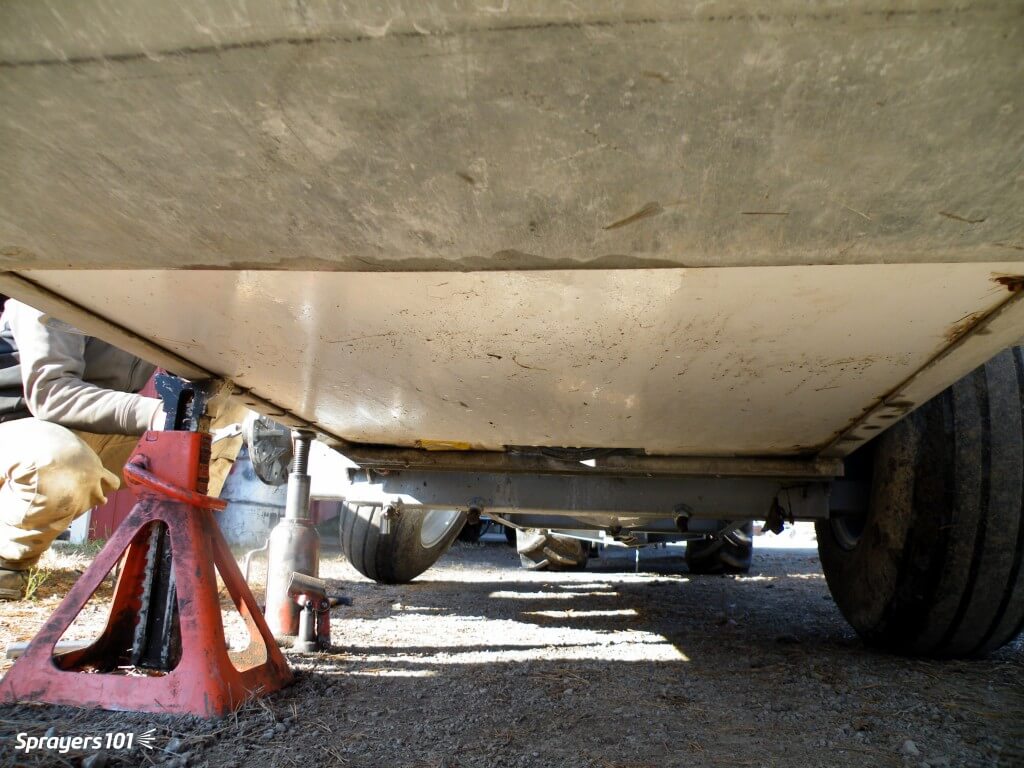
Step 1
Empty the sprayer and park it in a well-lit, level spot. Un-hitch the tractor and raise one side of the sprayer using a bottle or floor jack to clear the wheel. Secure the sprayer with a jack stand.
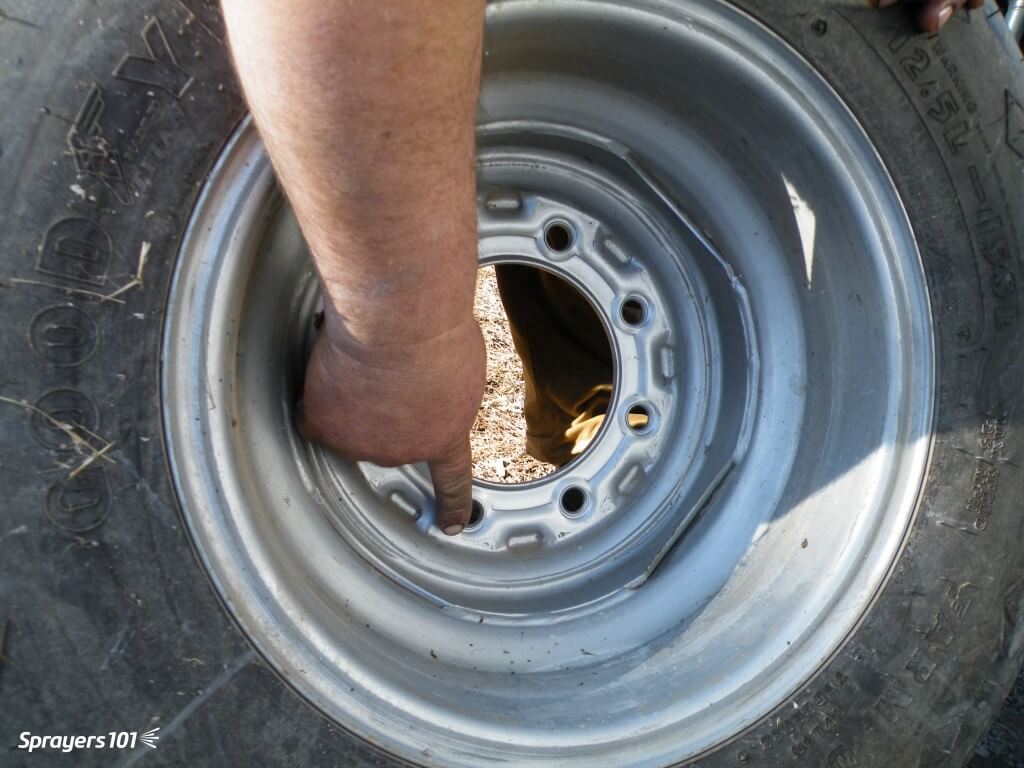
Step 2
Remove the lug nuts and take the wheel off the hub. Do not remove the wheel and hub together because it is heavy and you might bang the delicate seal on the spindle. Check the wheel rim for signs of corrosion or distortion (often caused by either loose or over-tightened lug nuts). Check the tread for wear or cuts and check the tire pressure.
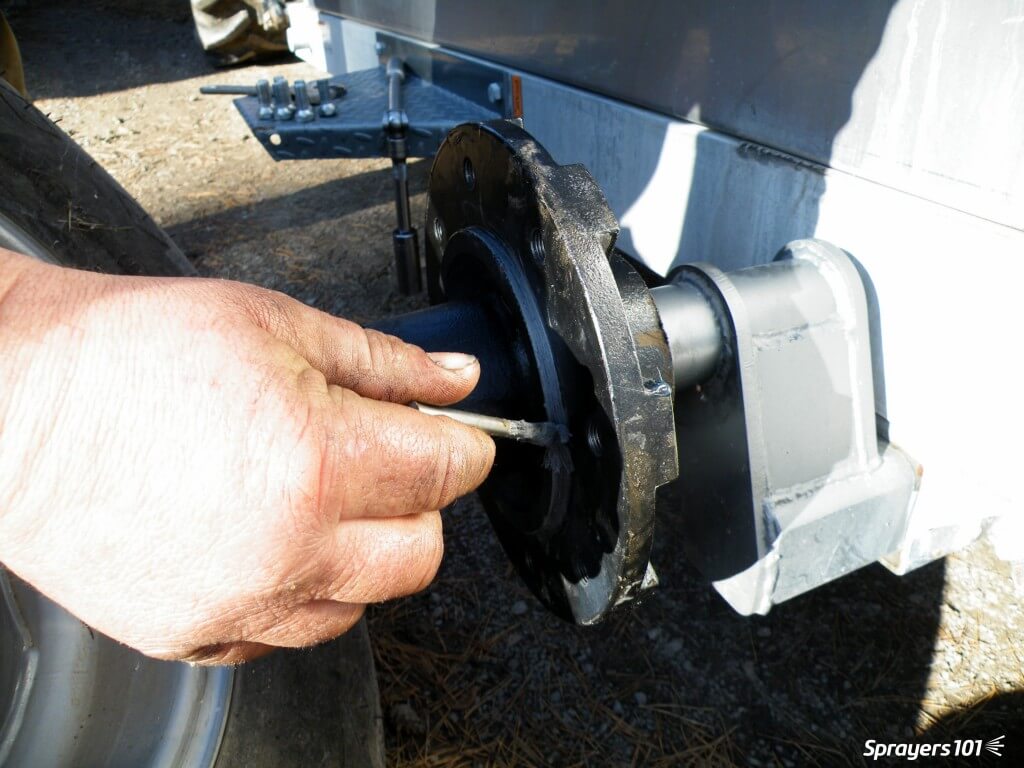
Step 3
Remove the hub cap and pull out the cotter pin. Then remove the nut and washer that hold the hub on the spindle. Put all the small parts in a plastic container with some de-greaser (e.g. Varsol) to clean the parts and keep them from getting lost.
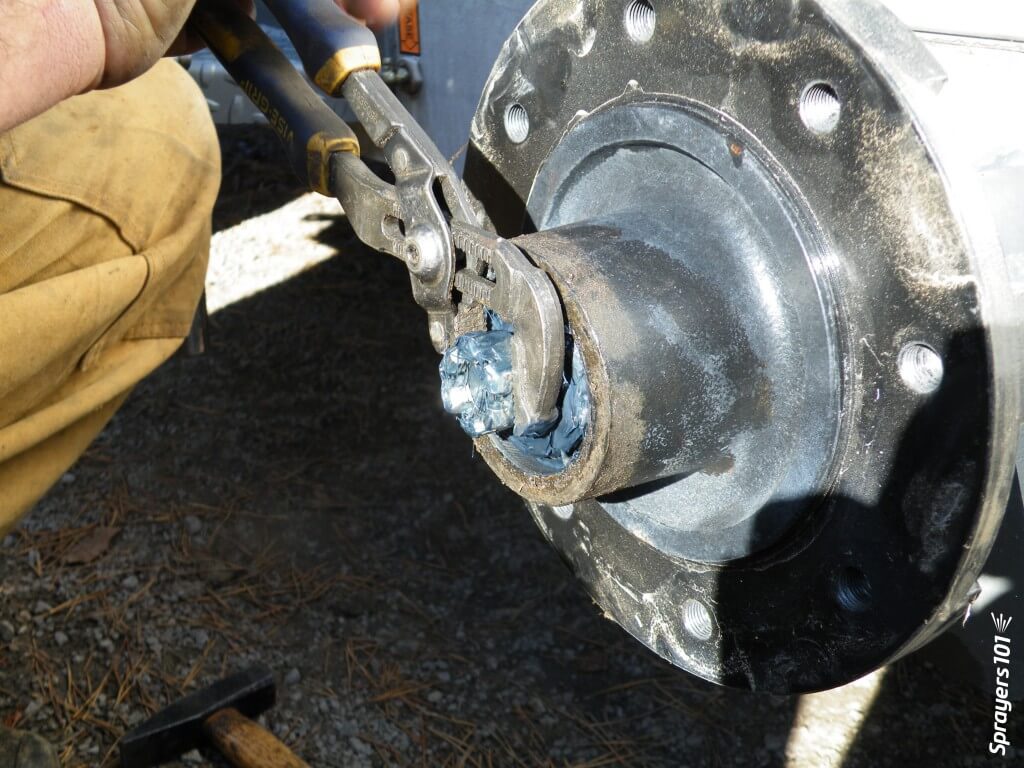
Step 4
Knock out the seal and hub bearing and put them in the plastic container. Unless it is damaged, there should be no need to remove the bearing cup (or race) from the hub. The seal is designed to keep dirt out of the assembly, not to keep grease from escaping. Be sure to note which way it is facing. The seal is often ruined during disassembly; have a replacement on hand.
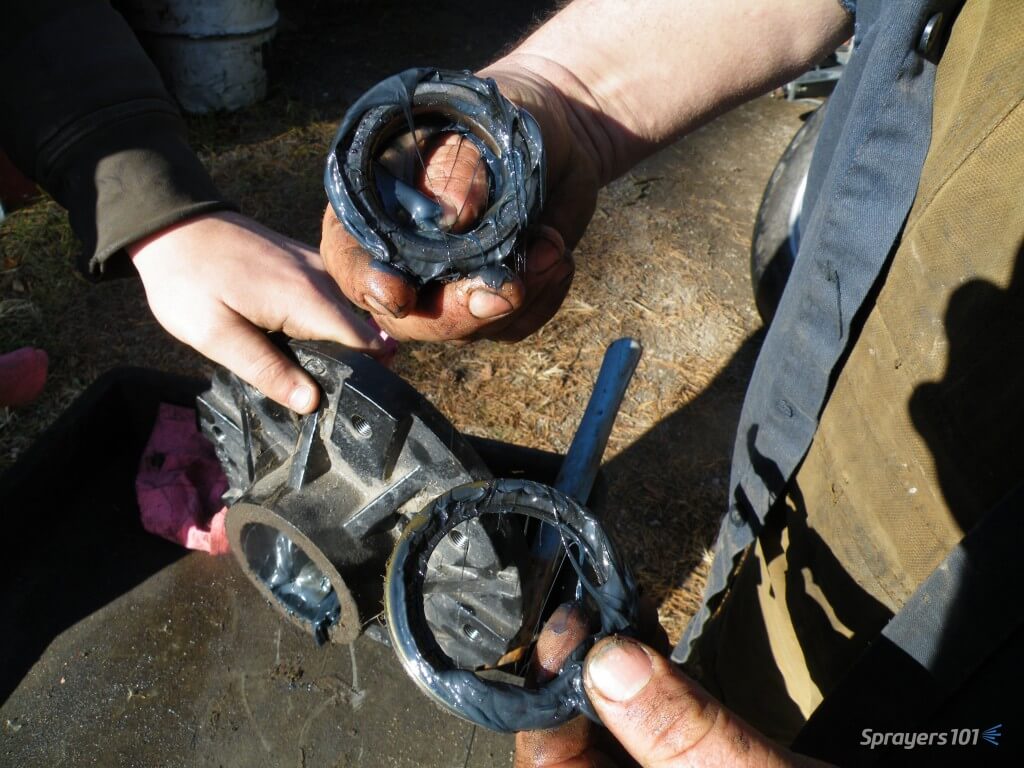
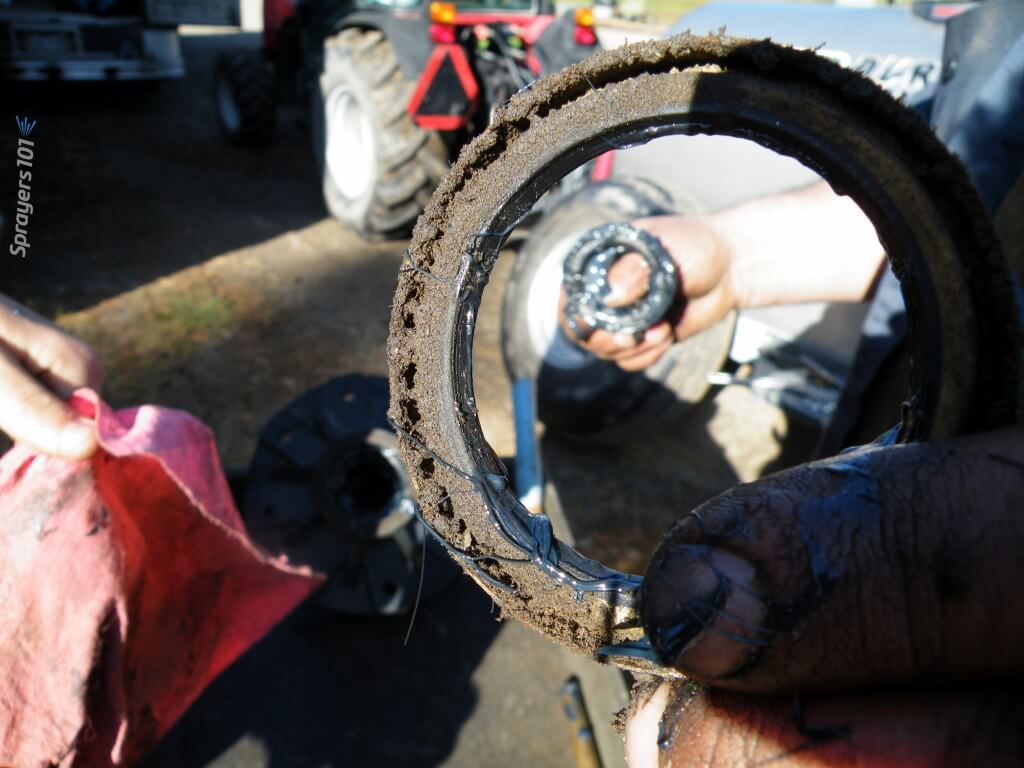
Step 5
Clean the old grease out of the hub. This hub has too much and it has filled much of the air space (or cavity) within the hub. That air space is provided so grease is not forced out as the hub heats up, and so dirt is not pulled in as the hub cools. Note the colour of the grease – if it is black and stains your hands, it has burned because too much grease has caused overheating. Look for evidence of dirt or water in the bearing, which indicates seal failure.
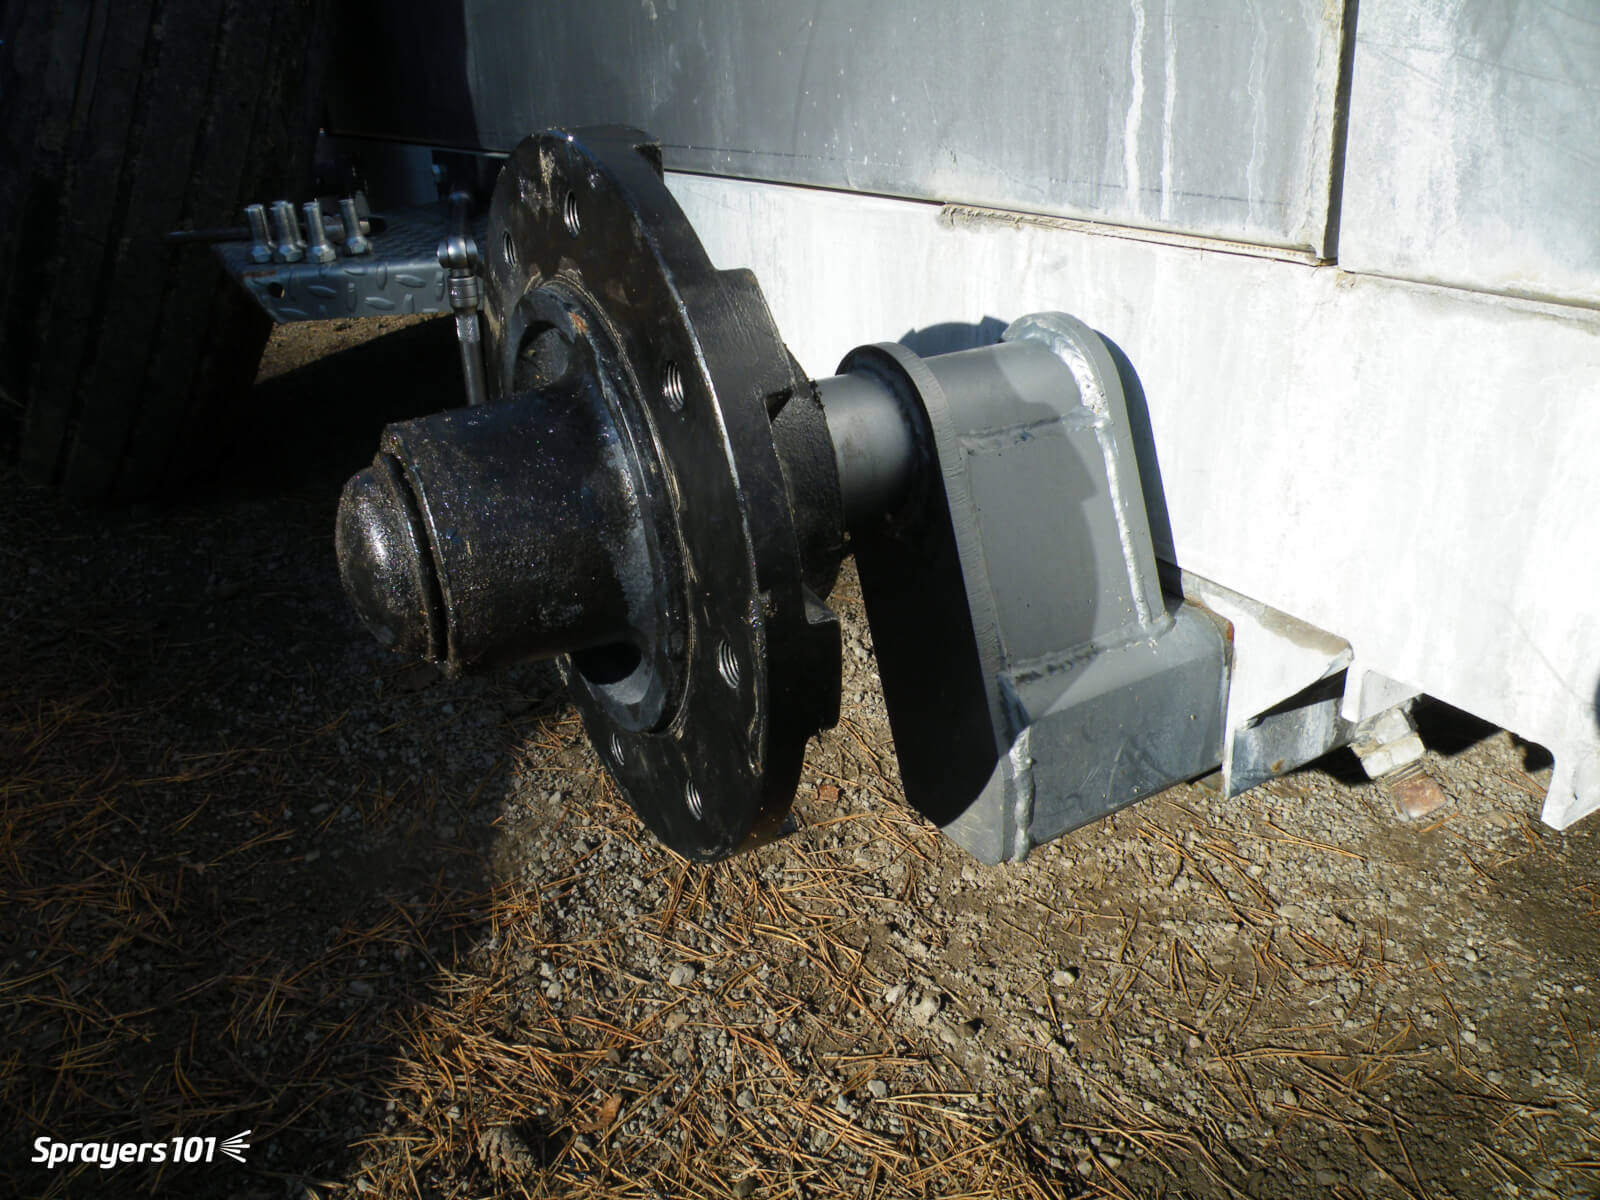
Step 6
Wipe dirt from the spindle. Never pressure-wash wheels when they are on the spindles because the spray drives dirt and water past the seal and into the hub. Inspect the sealing surface of the spindle for damage or wear.
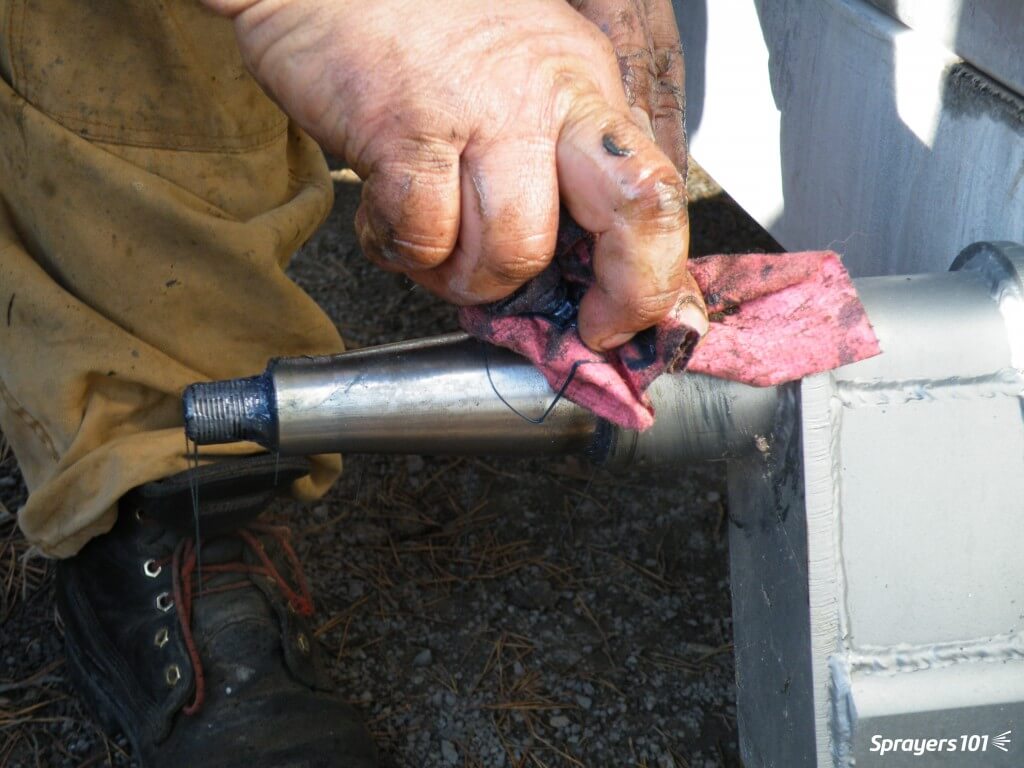
Step 7
Clean the seal thoroughly. Seals are easily damaged and may need replacement.
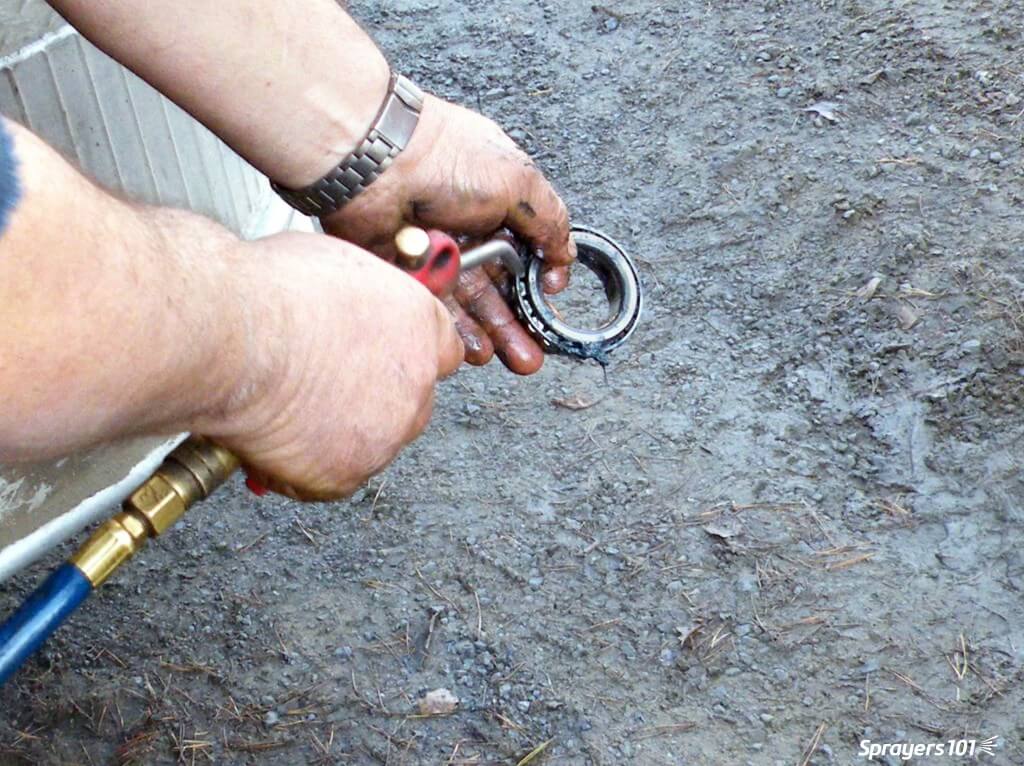
Step 8
Clean the hub bearing. Compressed air is a good way to get all the old grease out, but do not spin the bearing with the air.
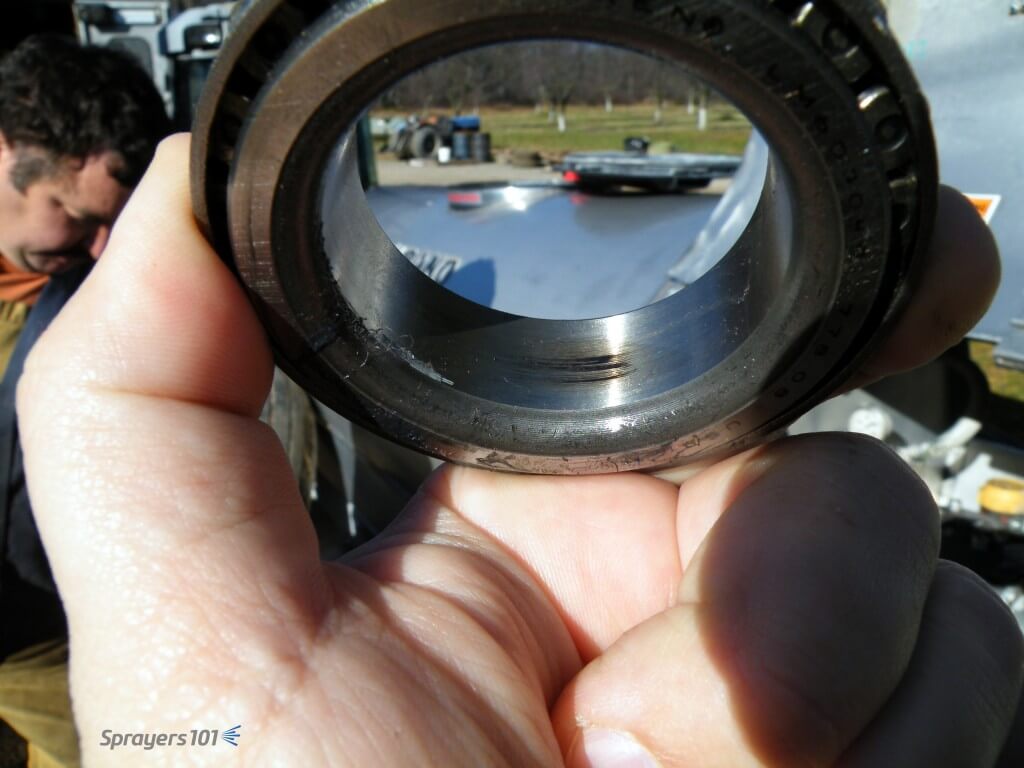
Step 9
Look for scratching, pitting or blue metal (indicating heat). This scorch mark indicates the bearing was moving on the spindle, and the friction created heat. Agricultural wheel bearings do not fit tight to the spindles. If there is too much clearance, the bearing race will turn on the spindle where it is not supposed to.
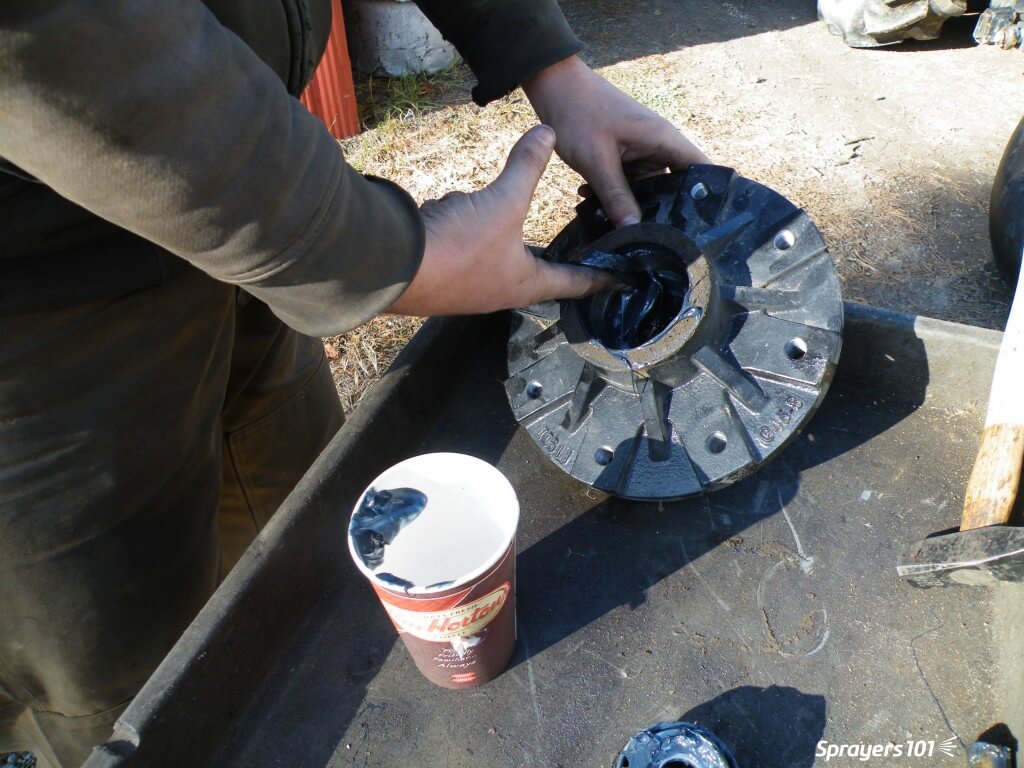
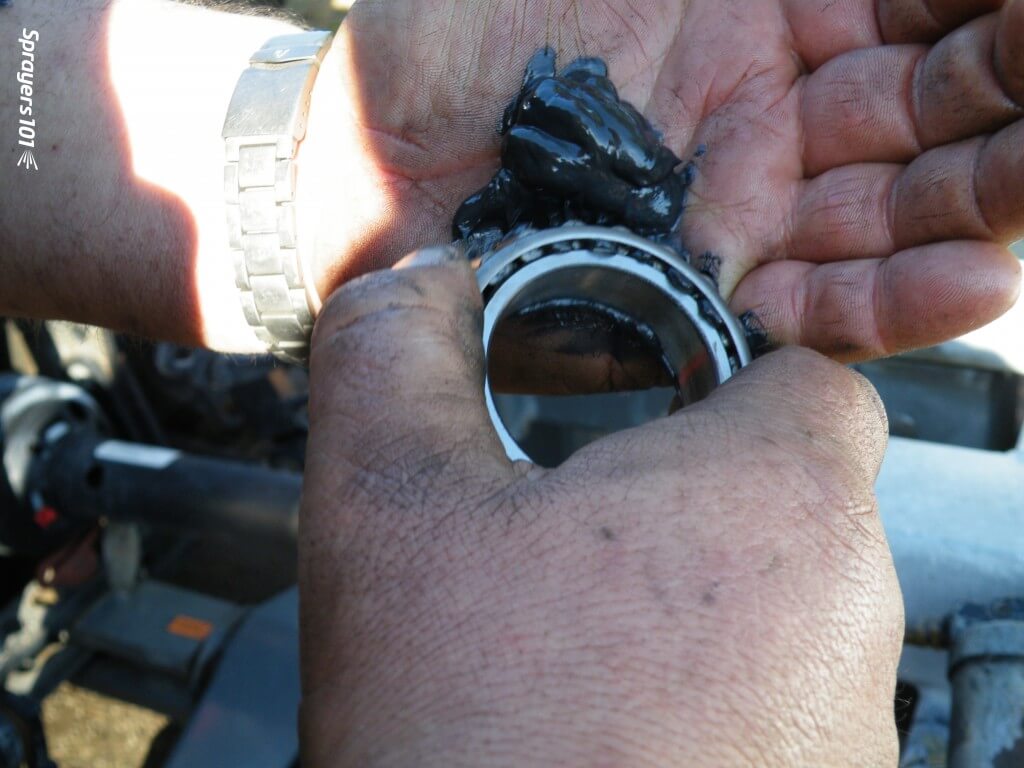
Step 10
Repack the bearings, reassemble the hub and re-grease the hub. Bearings should only be ~40% full. Too much grease creates heat and does not let the bearing roll properly. Too little increases friction. No matter which grease you choose to use, never combine greases; they may not be chemically compatible.
Step 11
Mount the hub tightly on the spindle. Replace the washer, cotter pin, nut and cap. There is no need to bend the arms of a cotter pin all the way back – it weakens the metal. Just bend one arm to 90° and cut off the excess. Use anti-seize on the wheel pilot to make the rim easier to remove next time.
Step 12
Replace the wheel and rim. Do not grease the lug nuts or they might loosen. Over- or under-torqueing lug nuts can cause damage. Look in the manual for your correct torque and consider using a torque wrench. Tighten the nuts in a star-shaped pattern – not sequentially.