In 2025 I ran a comparison between five florescent dyes and three UV lamps to determine which combination worked best for tracing spray deposition. If you haven’t read part 1, go do so and come back.
In early 2026 my colleague and I used the winning combination to evaluate spot sprayer deposition in an onion field, and it worked “OK”. Only “OK”. In fact, I think many of the growers attending that twilight meeting were being polite when they said they could clearly discern the coverage. The fundamental problem was that we required almost complete darkness for the dye to be visible, and even then, you had to hold the lights just right. Photography was nearly impossible.
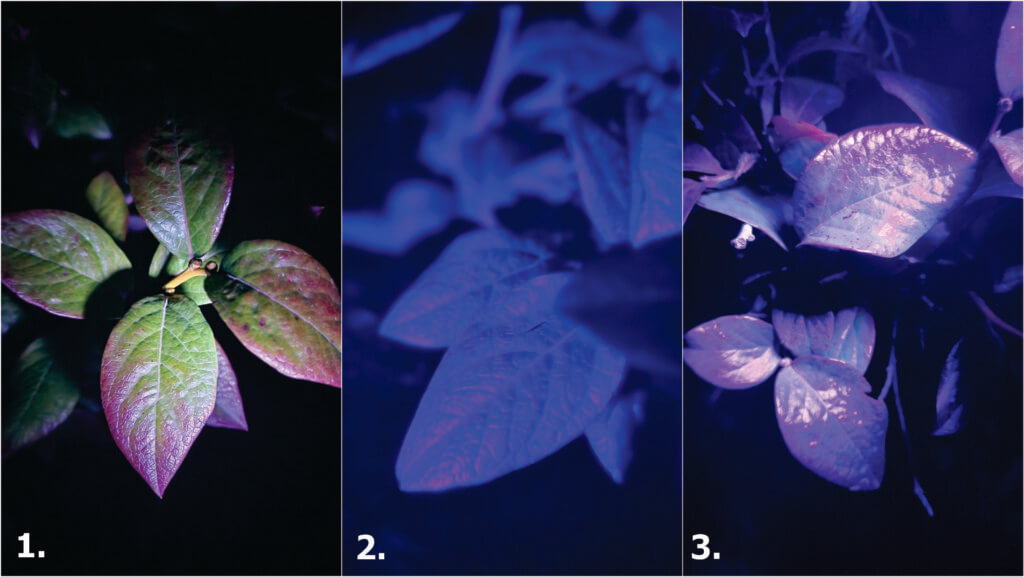
That’s when my colleague showed me that I’d brought a knife to a gunfight when he illuminated the scene with a new UV lamp. It was a veritable lightsaber! The high wattage and different wavelength changed everything. I knew immediately that we would have to redo the dye comparison in “light” of this new development.
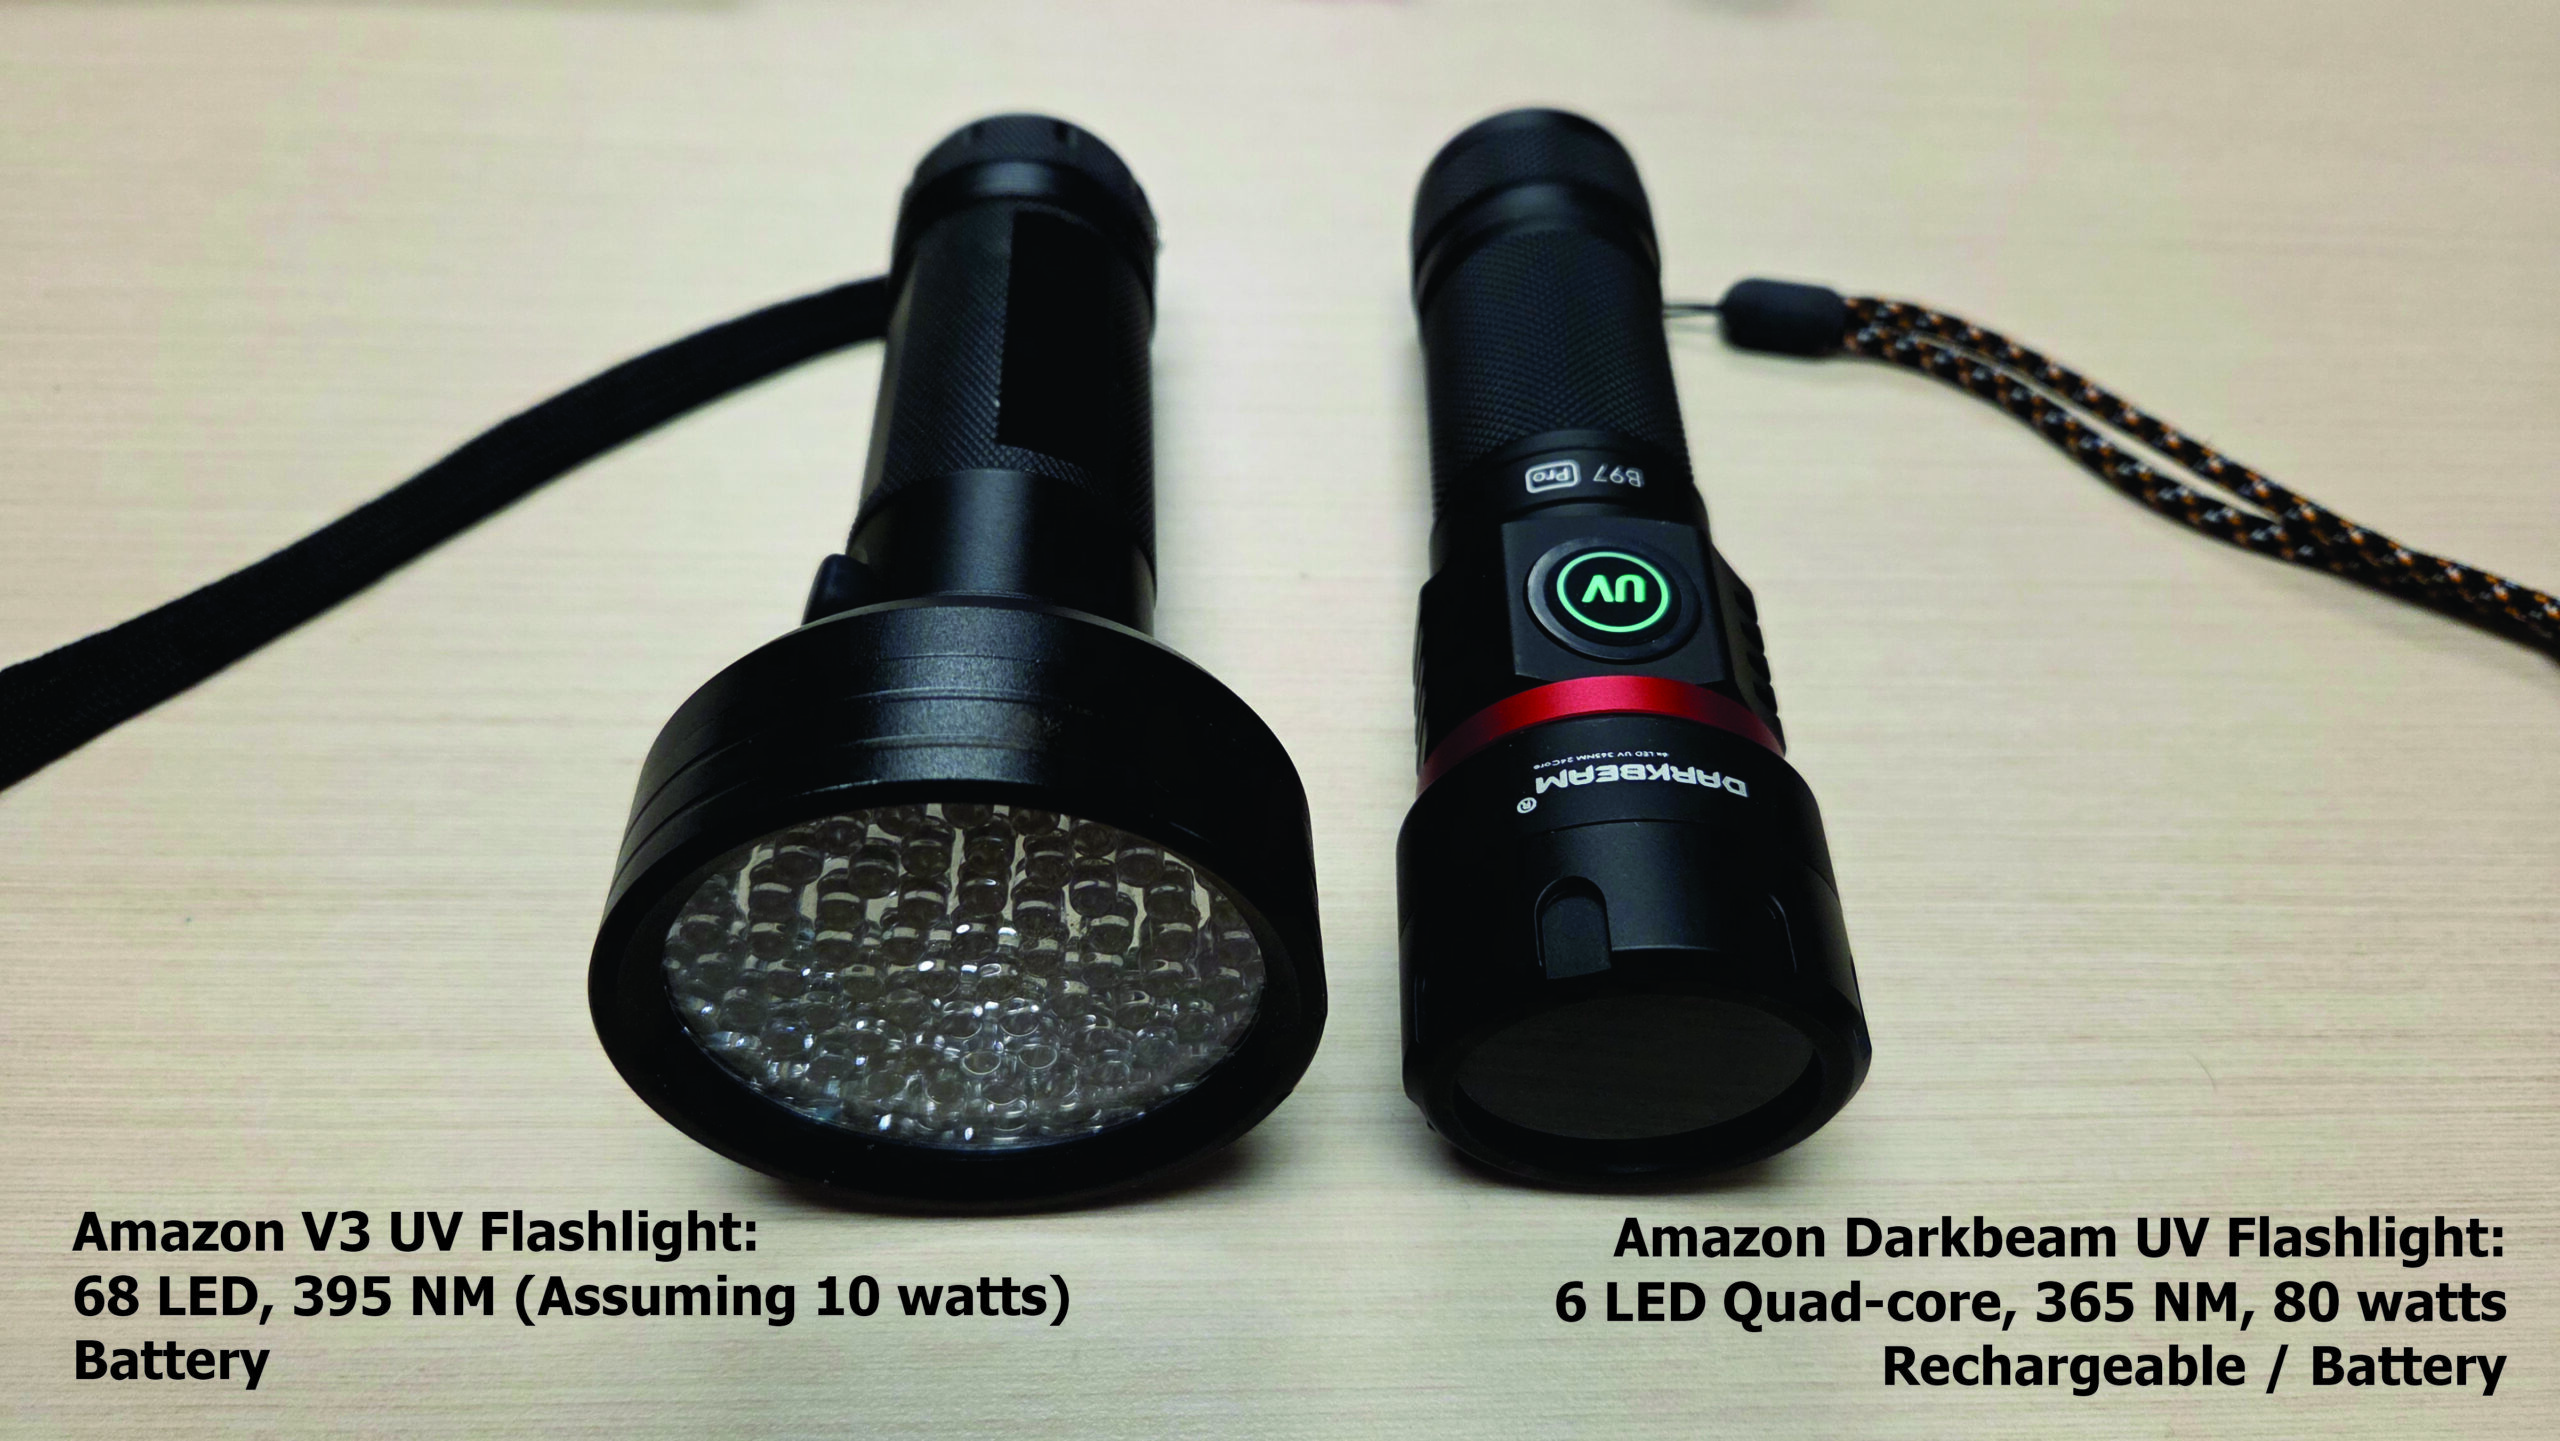
The Old (left) and the New (right).UV dyes are more easily discerned at twilight or darker. Note that this image was taken while it was still light outside using the new UV lamp. A game changer.
In September, 2026 we returned to Falcon Blueberries to paint the town red (well, green, orange and yellow). The images, which were taken with a cellphone, are stunning and yet they really don’t capture what we were able to see in person.
Dyes Used
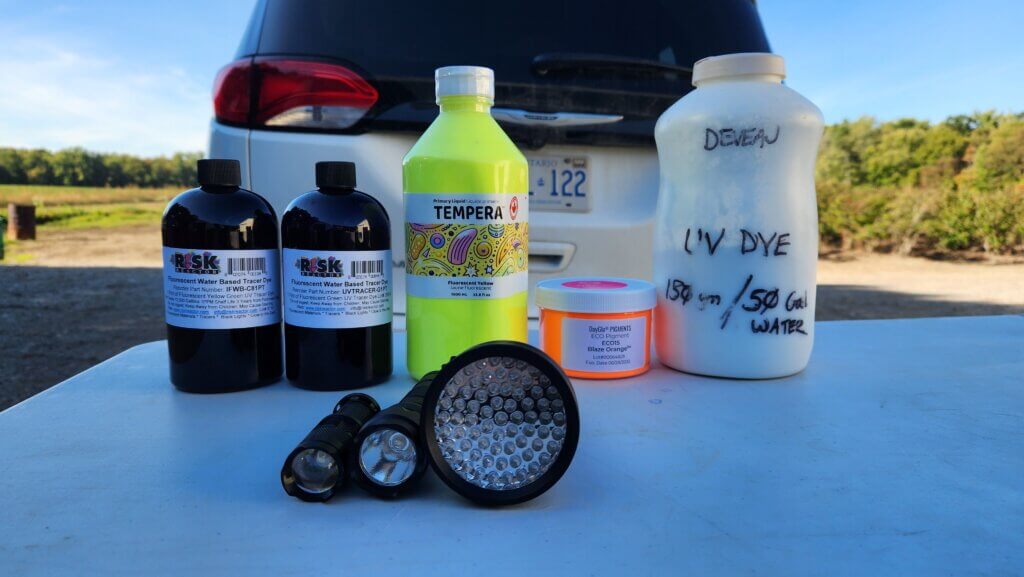
We used the same dyes, mixed in the same ratios with NIS as in the previous study:
Risk Reactor IFWB-C81PT
Risk Reactor UVTRACER-G1PT
Eco Pigment Blaze Orange SPL15JX
Tri Art Fluorescent Yellow Tempura Paint
We omitted the Phosphor Powder (Zinc Orthosilicate: Manganese CAS#11-47-2) used in the last study because the SDS really didn’t qualify it as non-toxic, and it’s not within reach of most people. Also, you won’t see any photos of the Tempura paint, because there was nothing to see. Historically, I’ve held out hope that it was a viable option, but it’s really only ever worked when super-concentrated and applied by a hand sprayer. So, if you’re doing that, go ahead, but I’ll never use it in a commercial sprayer again.
Application
We used the same Turbomist airblast sprayer, and the operational settings aren’t really relevant, here. Suffice it to say we made a single pass with their conventional settings, and left 8 rows between blocks (that is, a buffer of four rows on each side of the pass) to ensure we didn’t cross contaminate the dyes. Then we waited for dark.
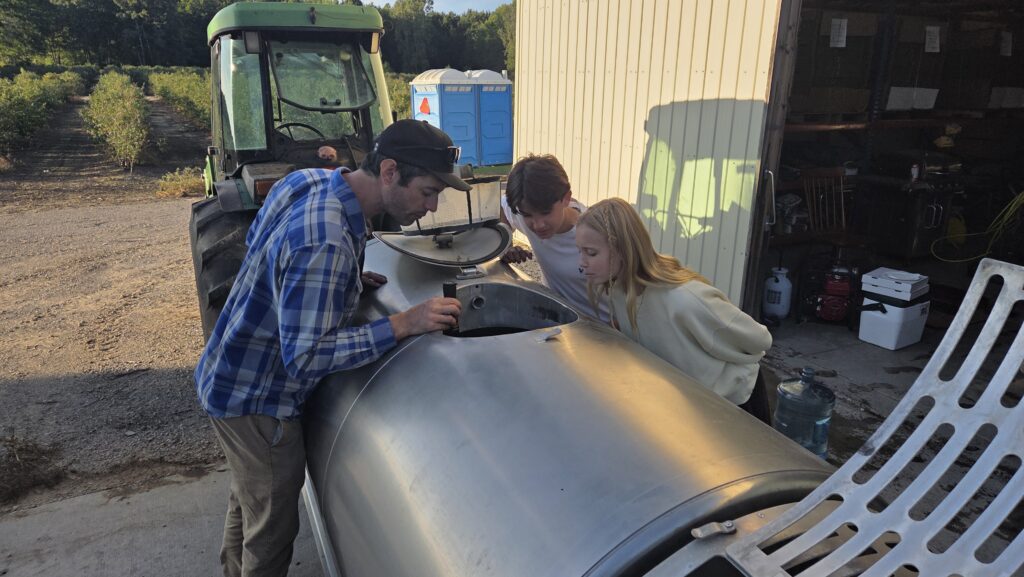
Even in daylight, dye helps visualize spray. Those top nozzles should have been off, but this was a post-harvest mock-up. When the bushes were larger and fuller there would have been better interception at the top.Adding colourful, non-toxic dye to a completely clean sprayer proved very interesting to the next generation of Falcon Blueberries.
Risk Reactor IFWB-C81PT
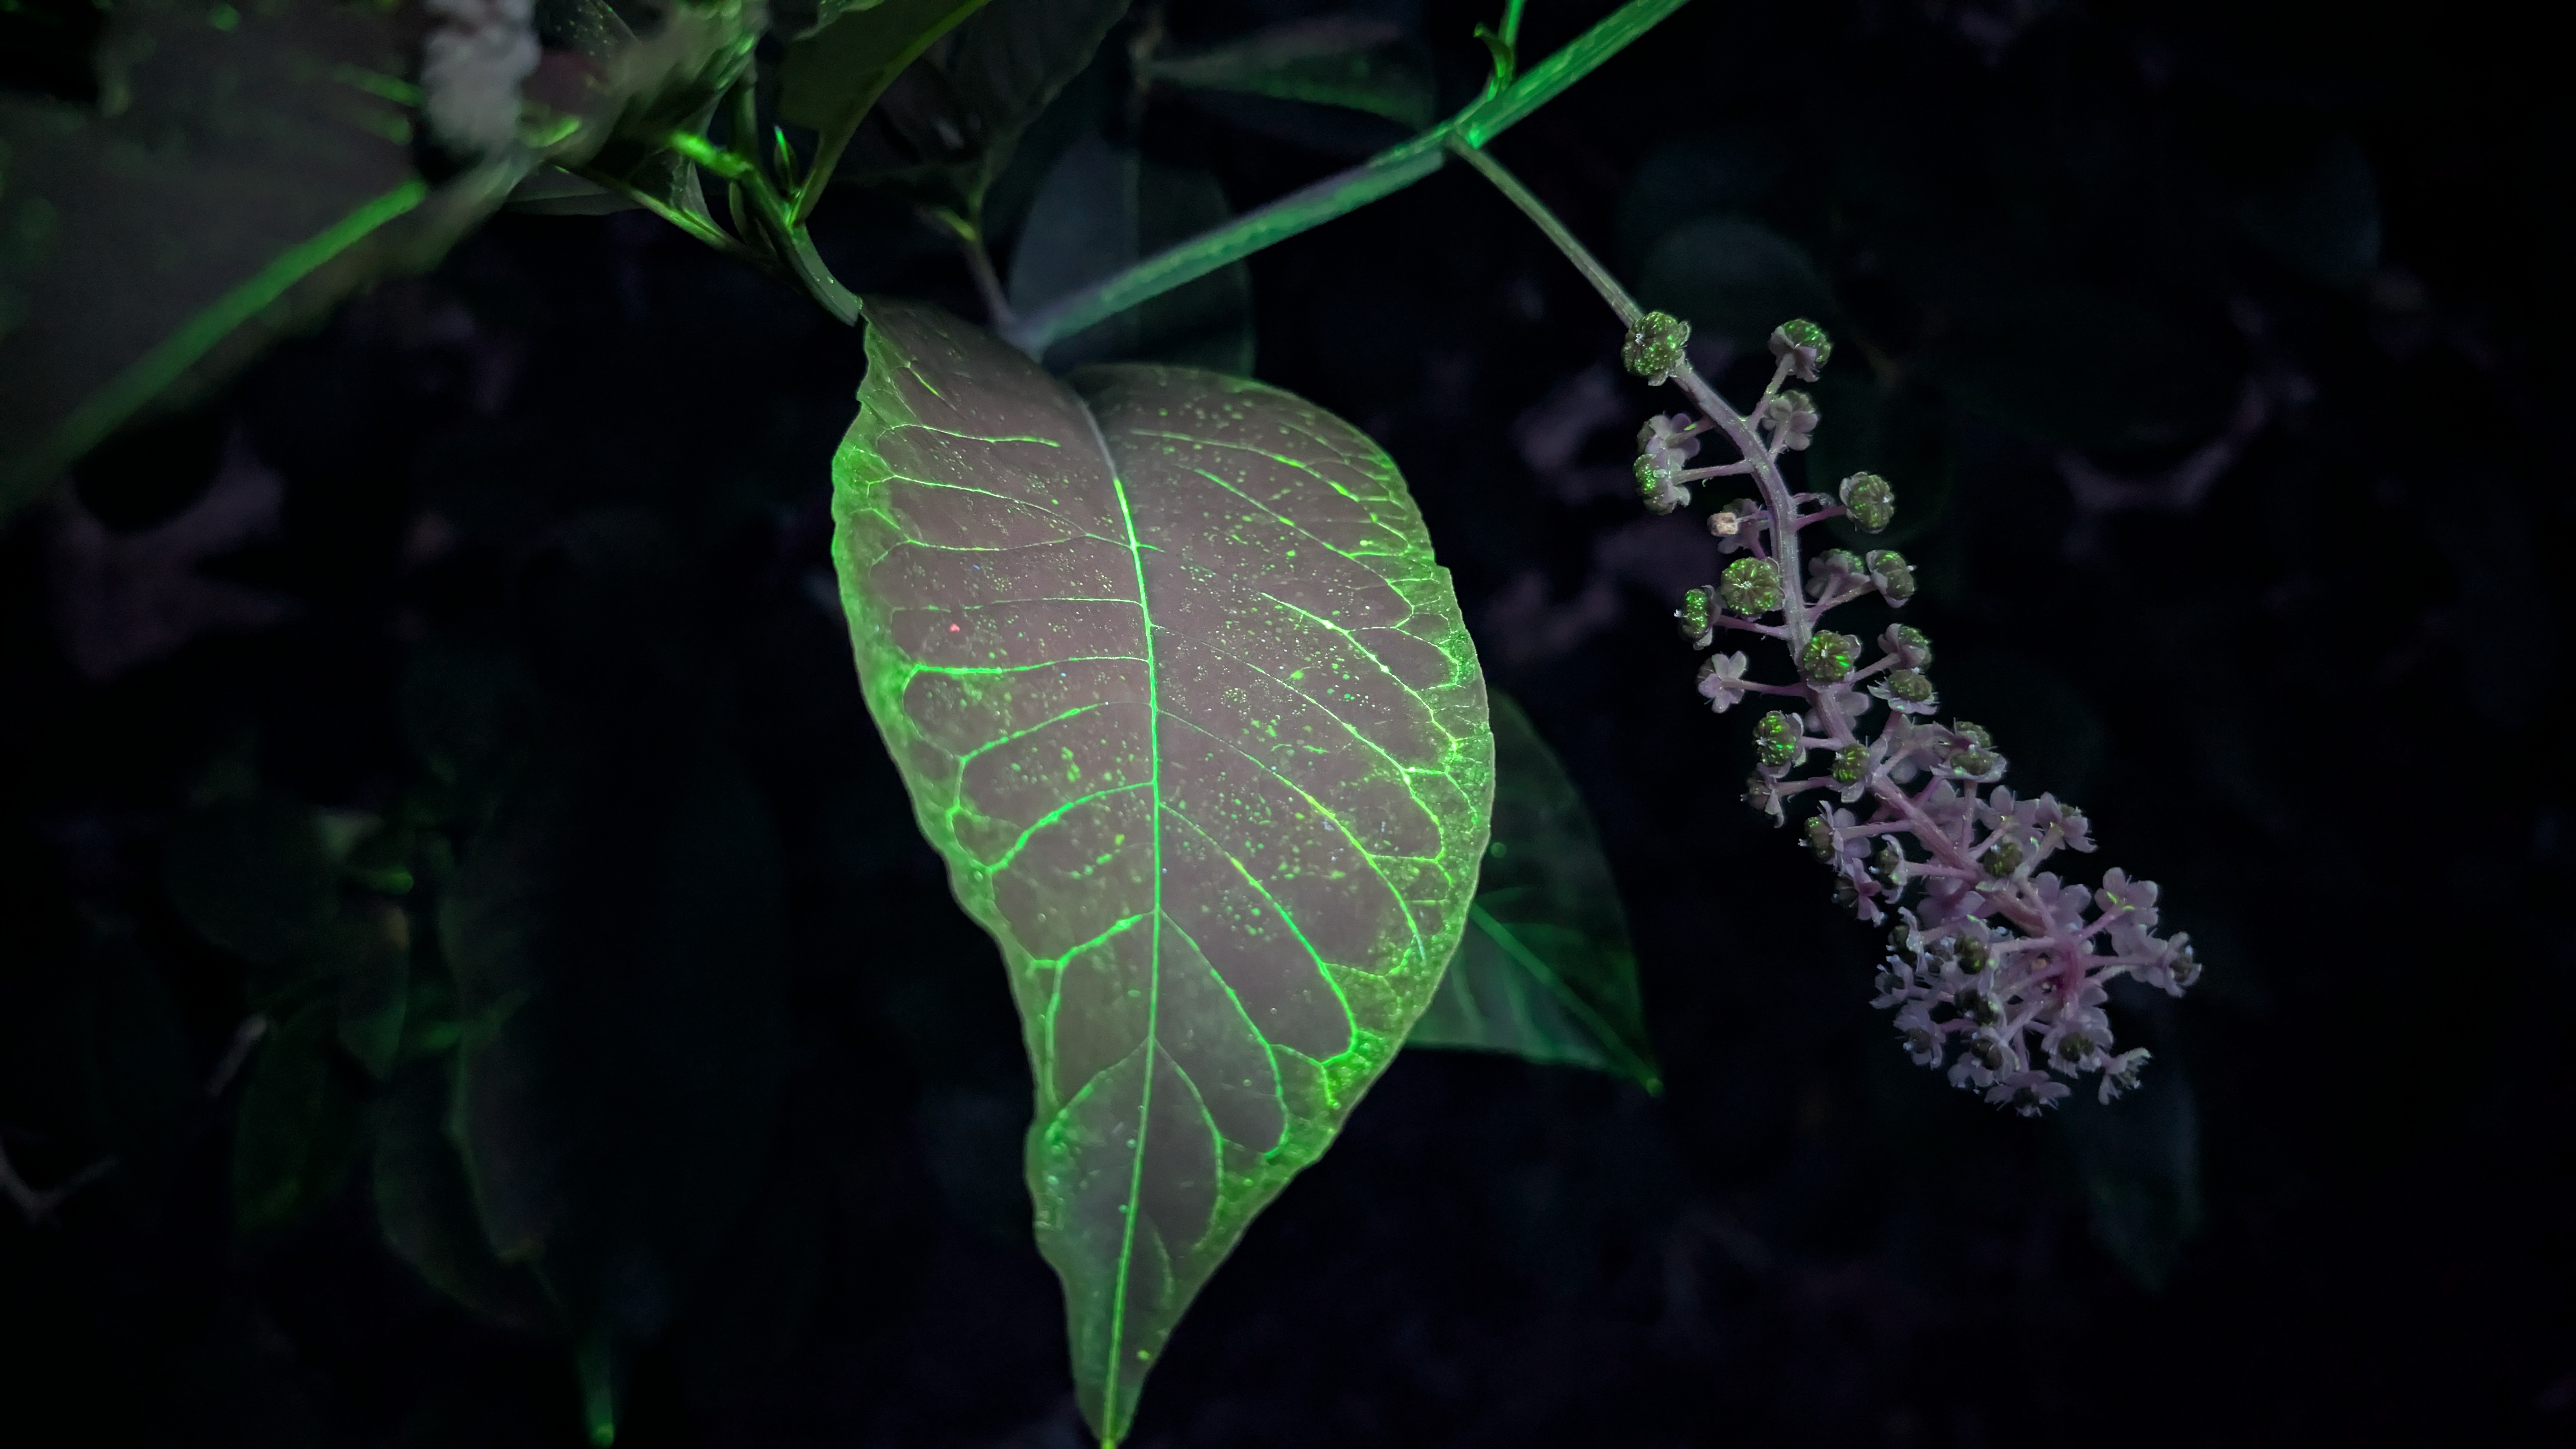
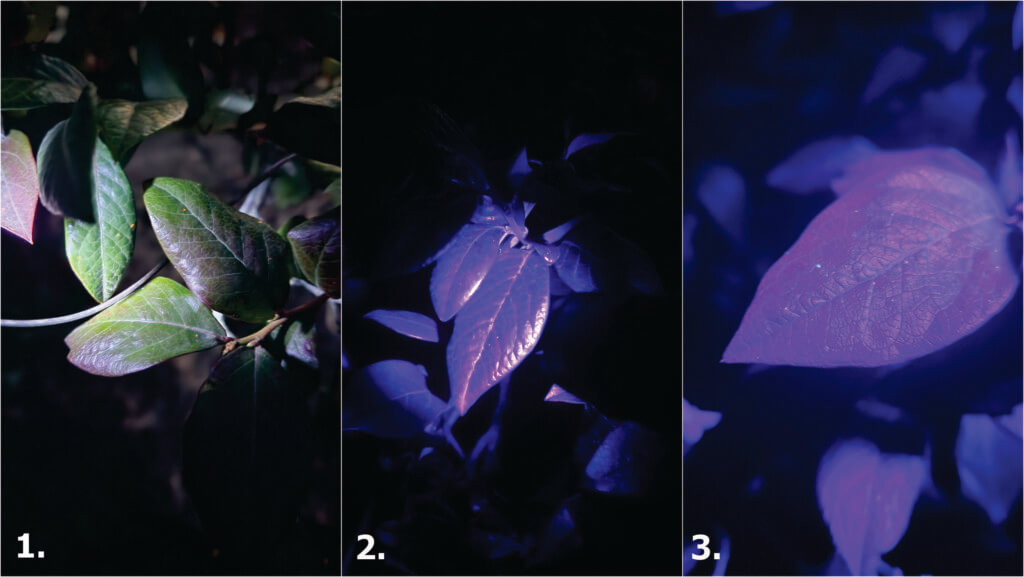
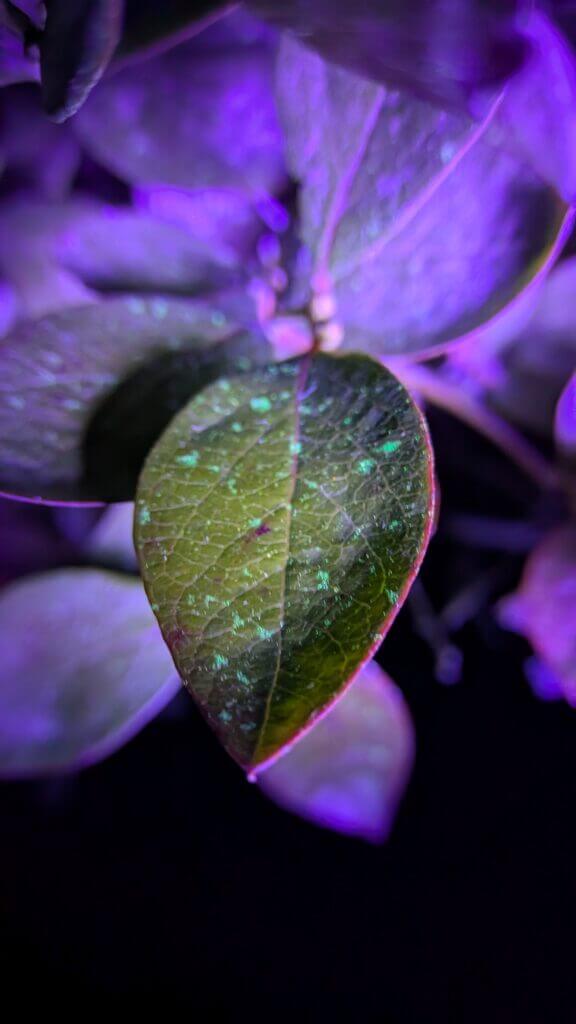
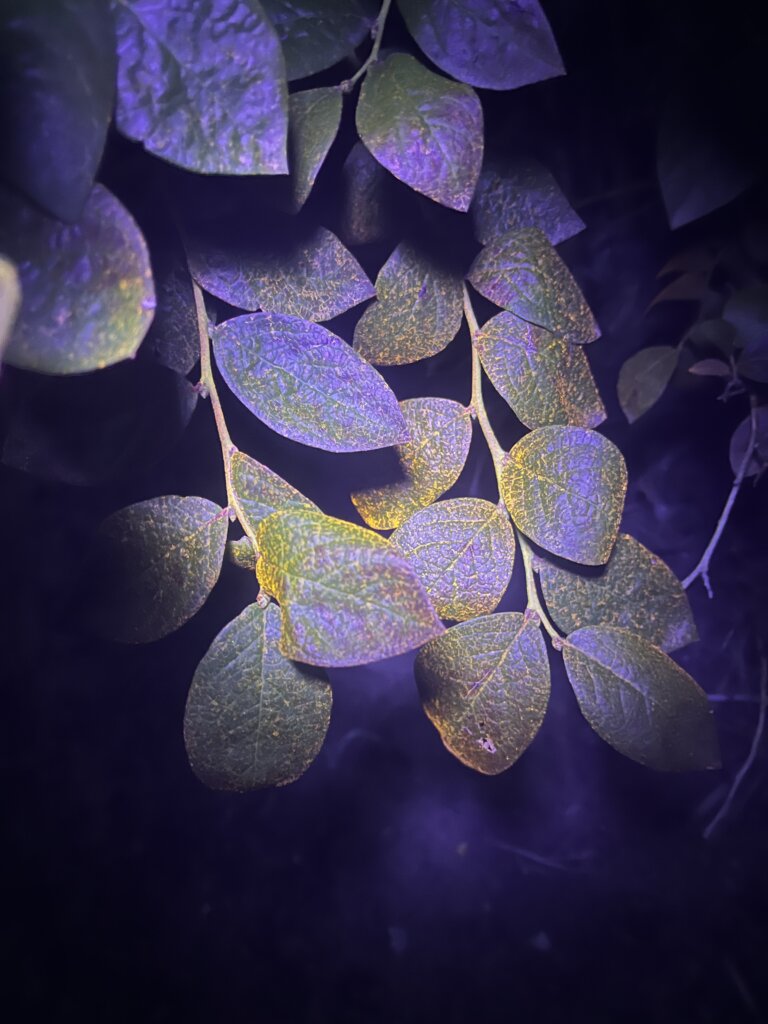
This dye was pretty spectacular, which it absolutely was not when we tried last year using the weaker UV lamps.
IFWB-C81PT – Immediate row (sprayed directly).IFWB-C81PT – Next row over (sprayed indirectly).
Risk Reactor UVTRACER-G1PT
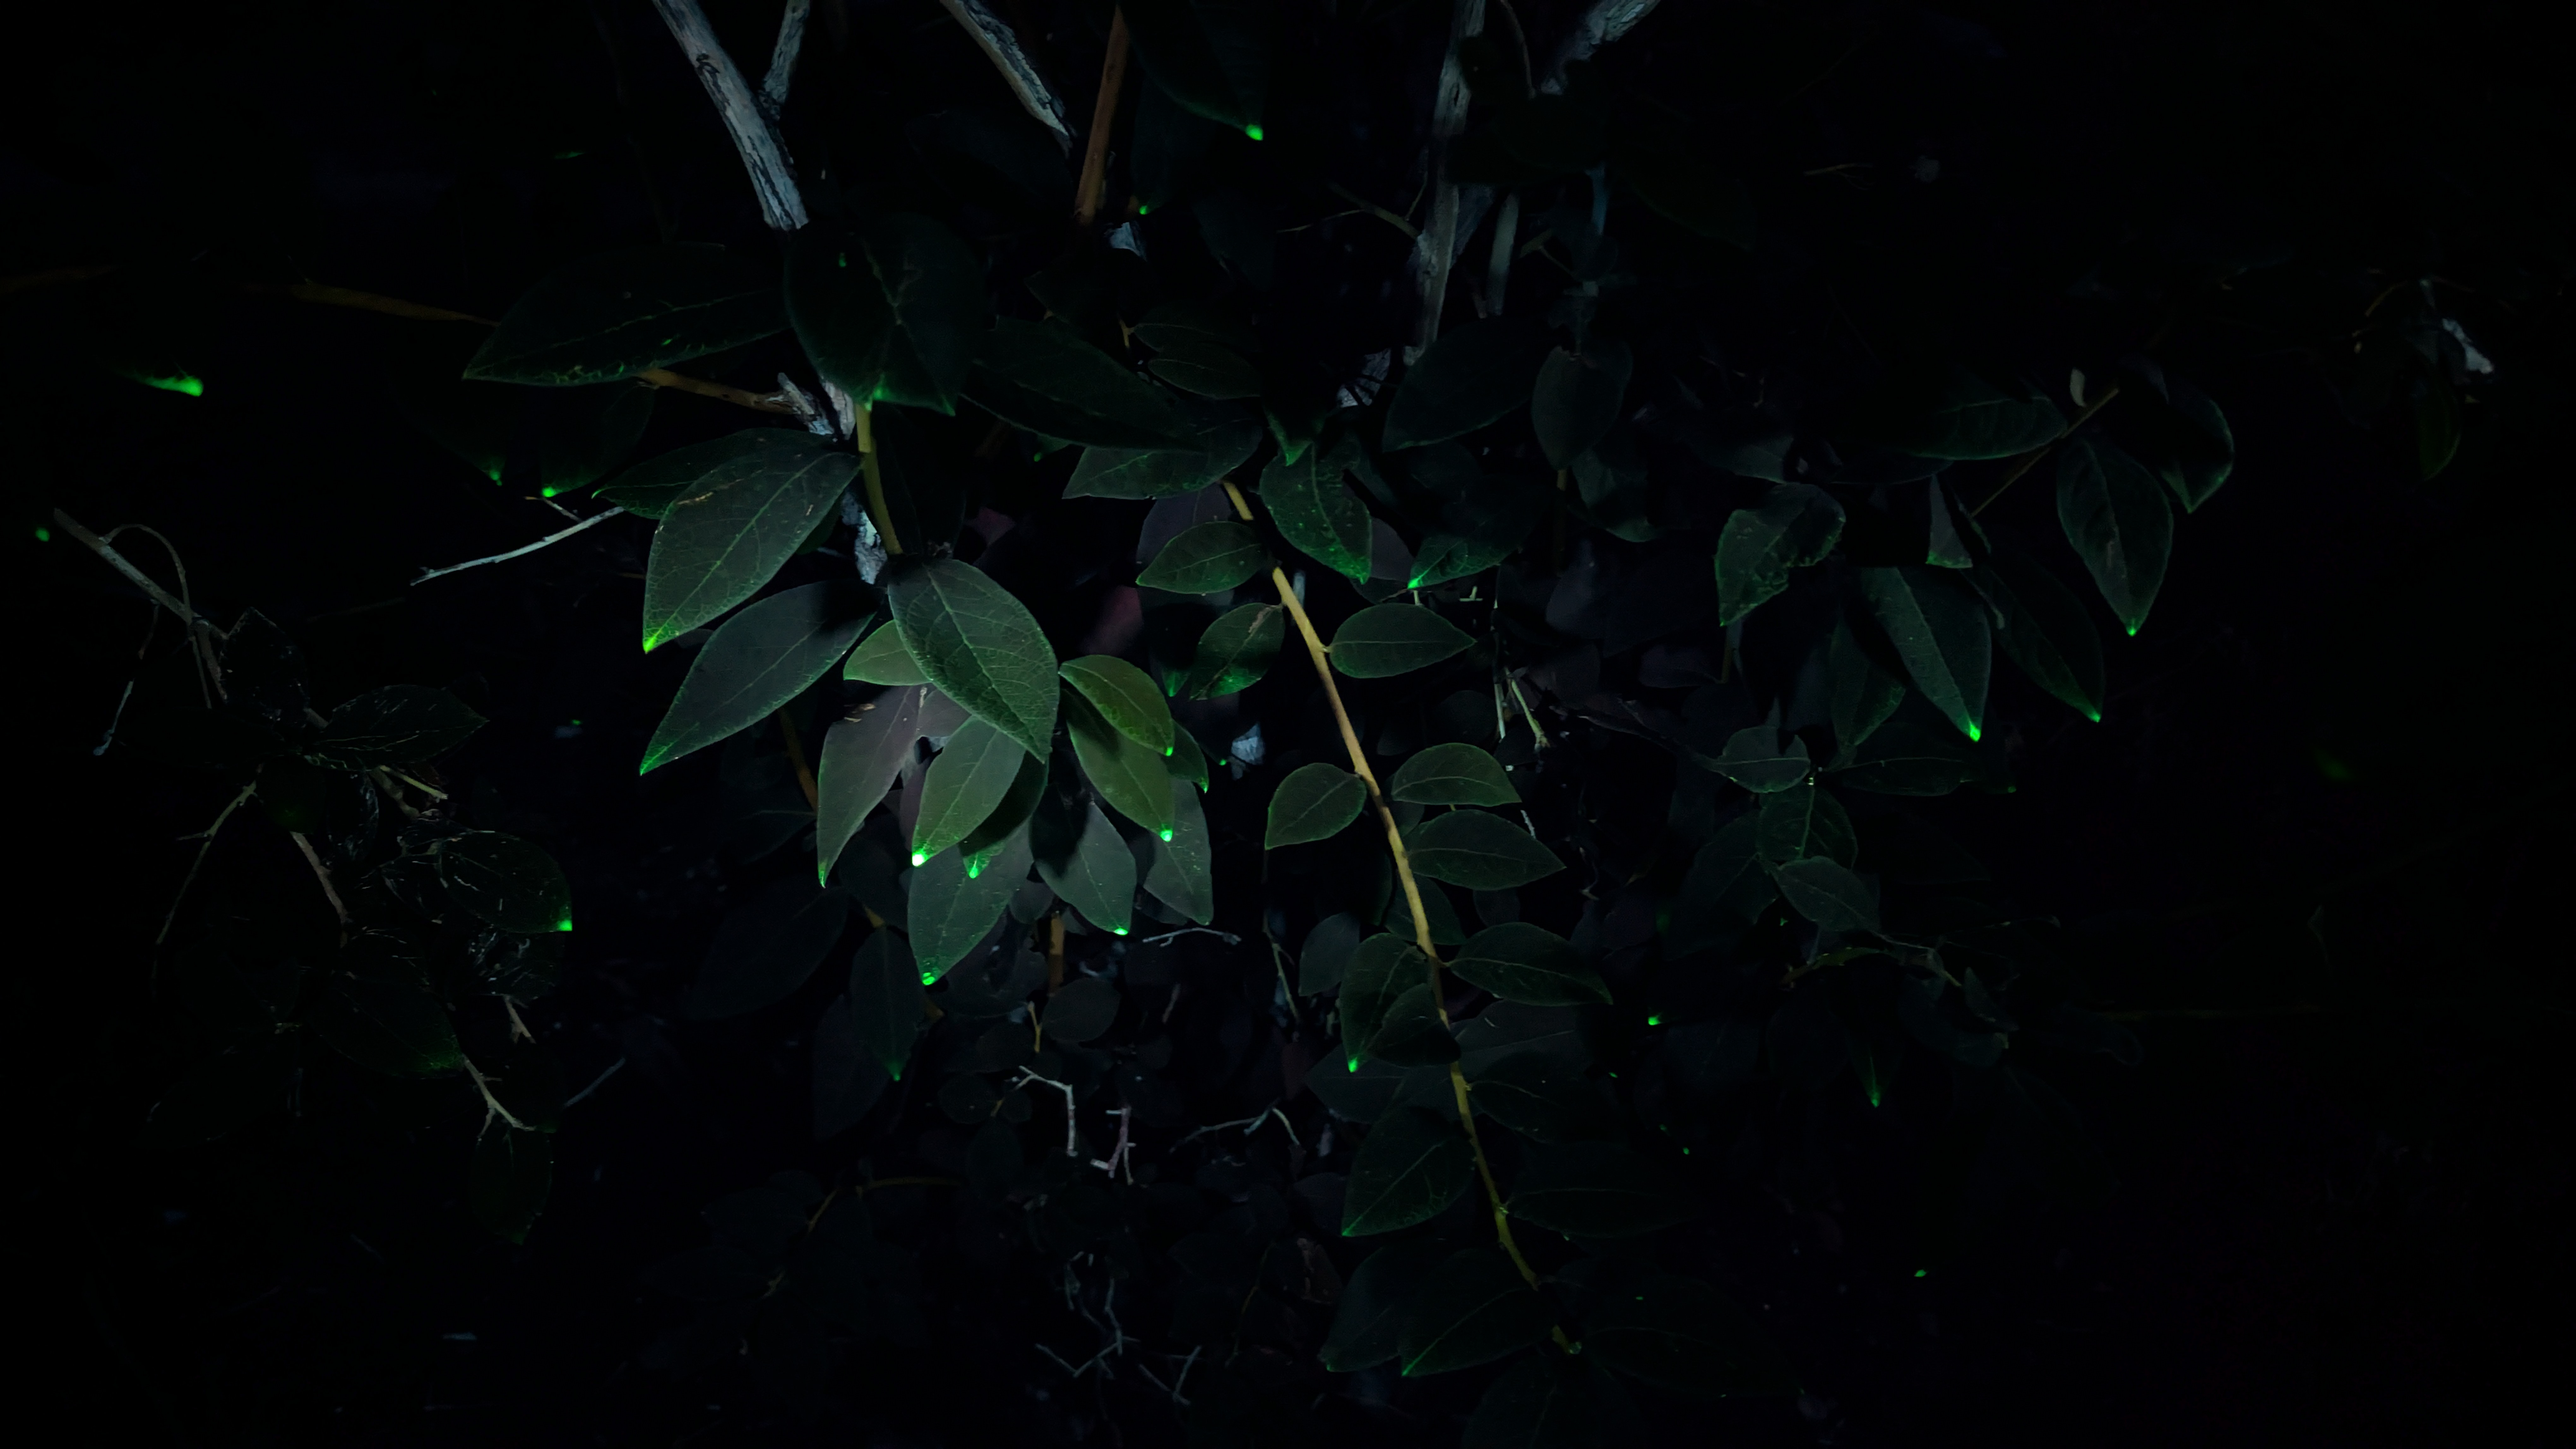
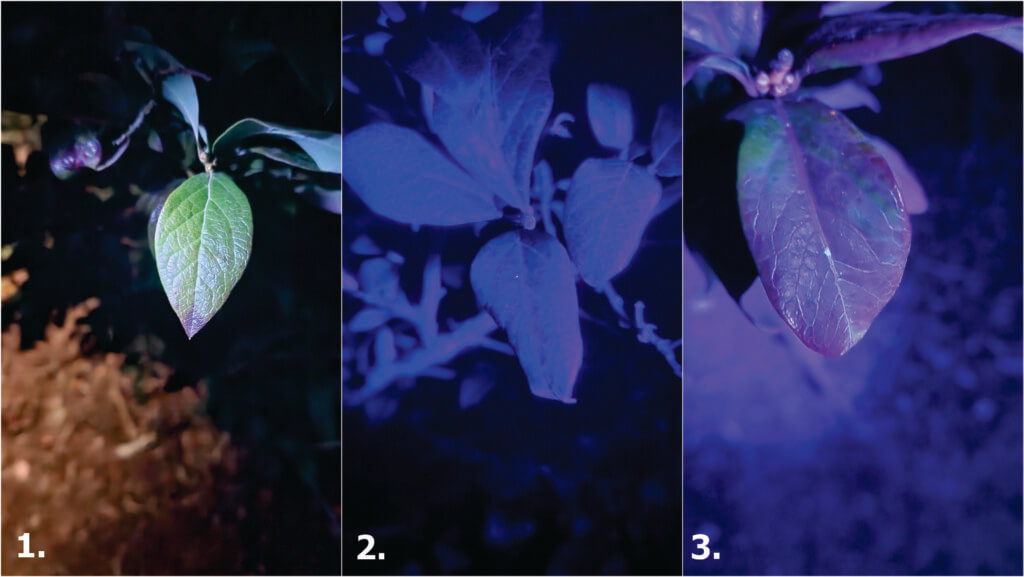
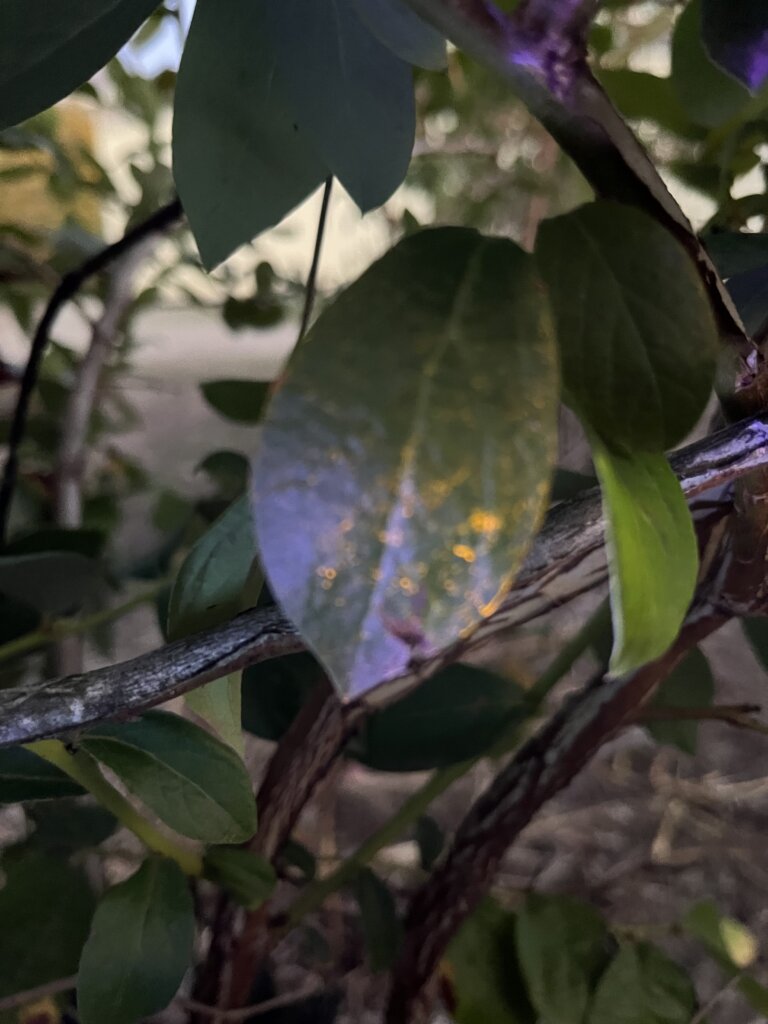
This dye didn’t perform well. It didn’t seem to leave any residue other than accumulated runoff (drip points) at the tips of the leaves. It wasn’t the volume or adjuvant, because while there was some runoff with the other dyes, they were nothing like this. We speculated it was a function of the dye’s formulation. On the up side, we did capture a few good photos of bad coverage when applying a foliar product.
Risk Reactor UVTRACER-G1PT. Incurred run-off on the immediate row (sprayed directly) and was not visible beyond this row.
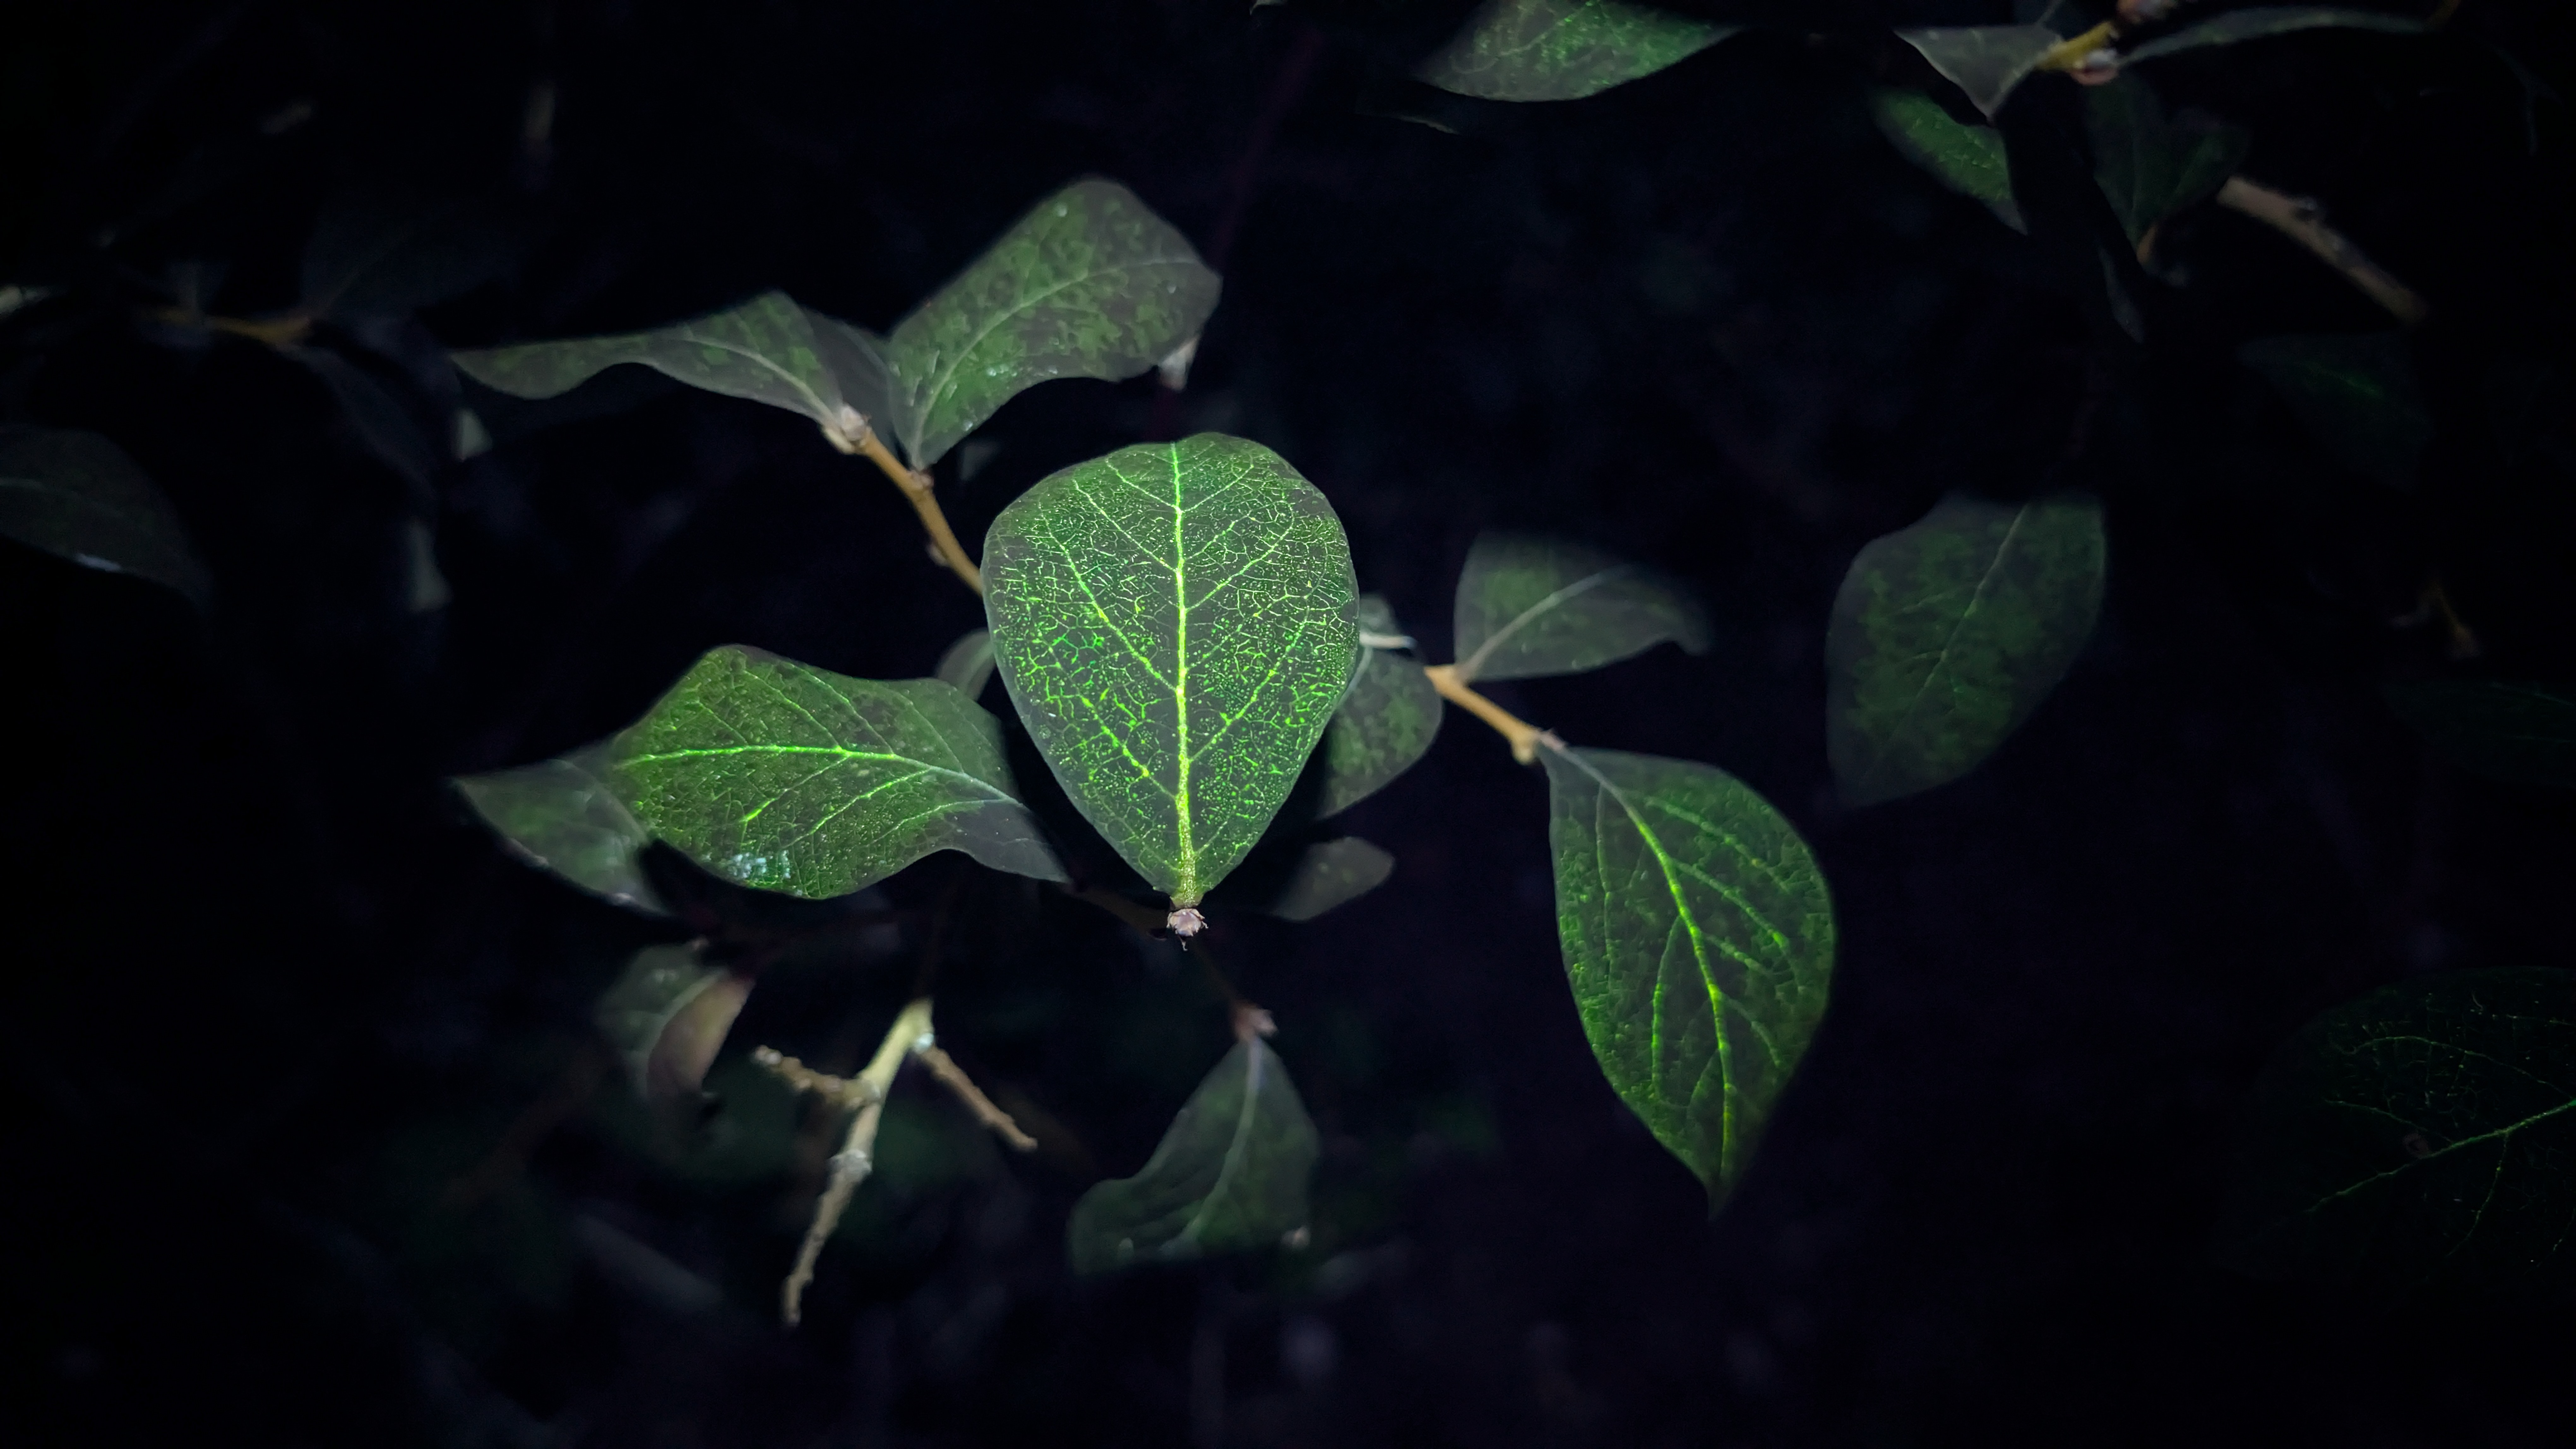
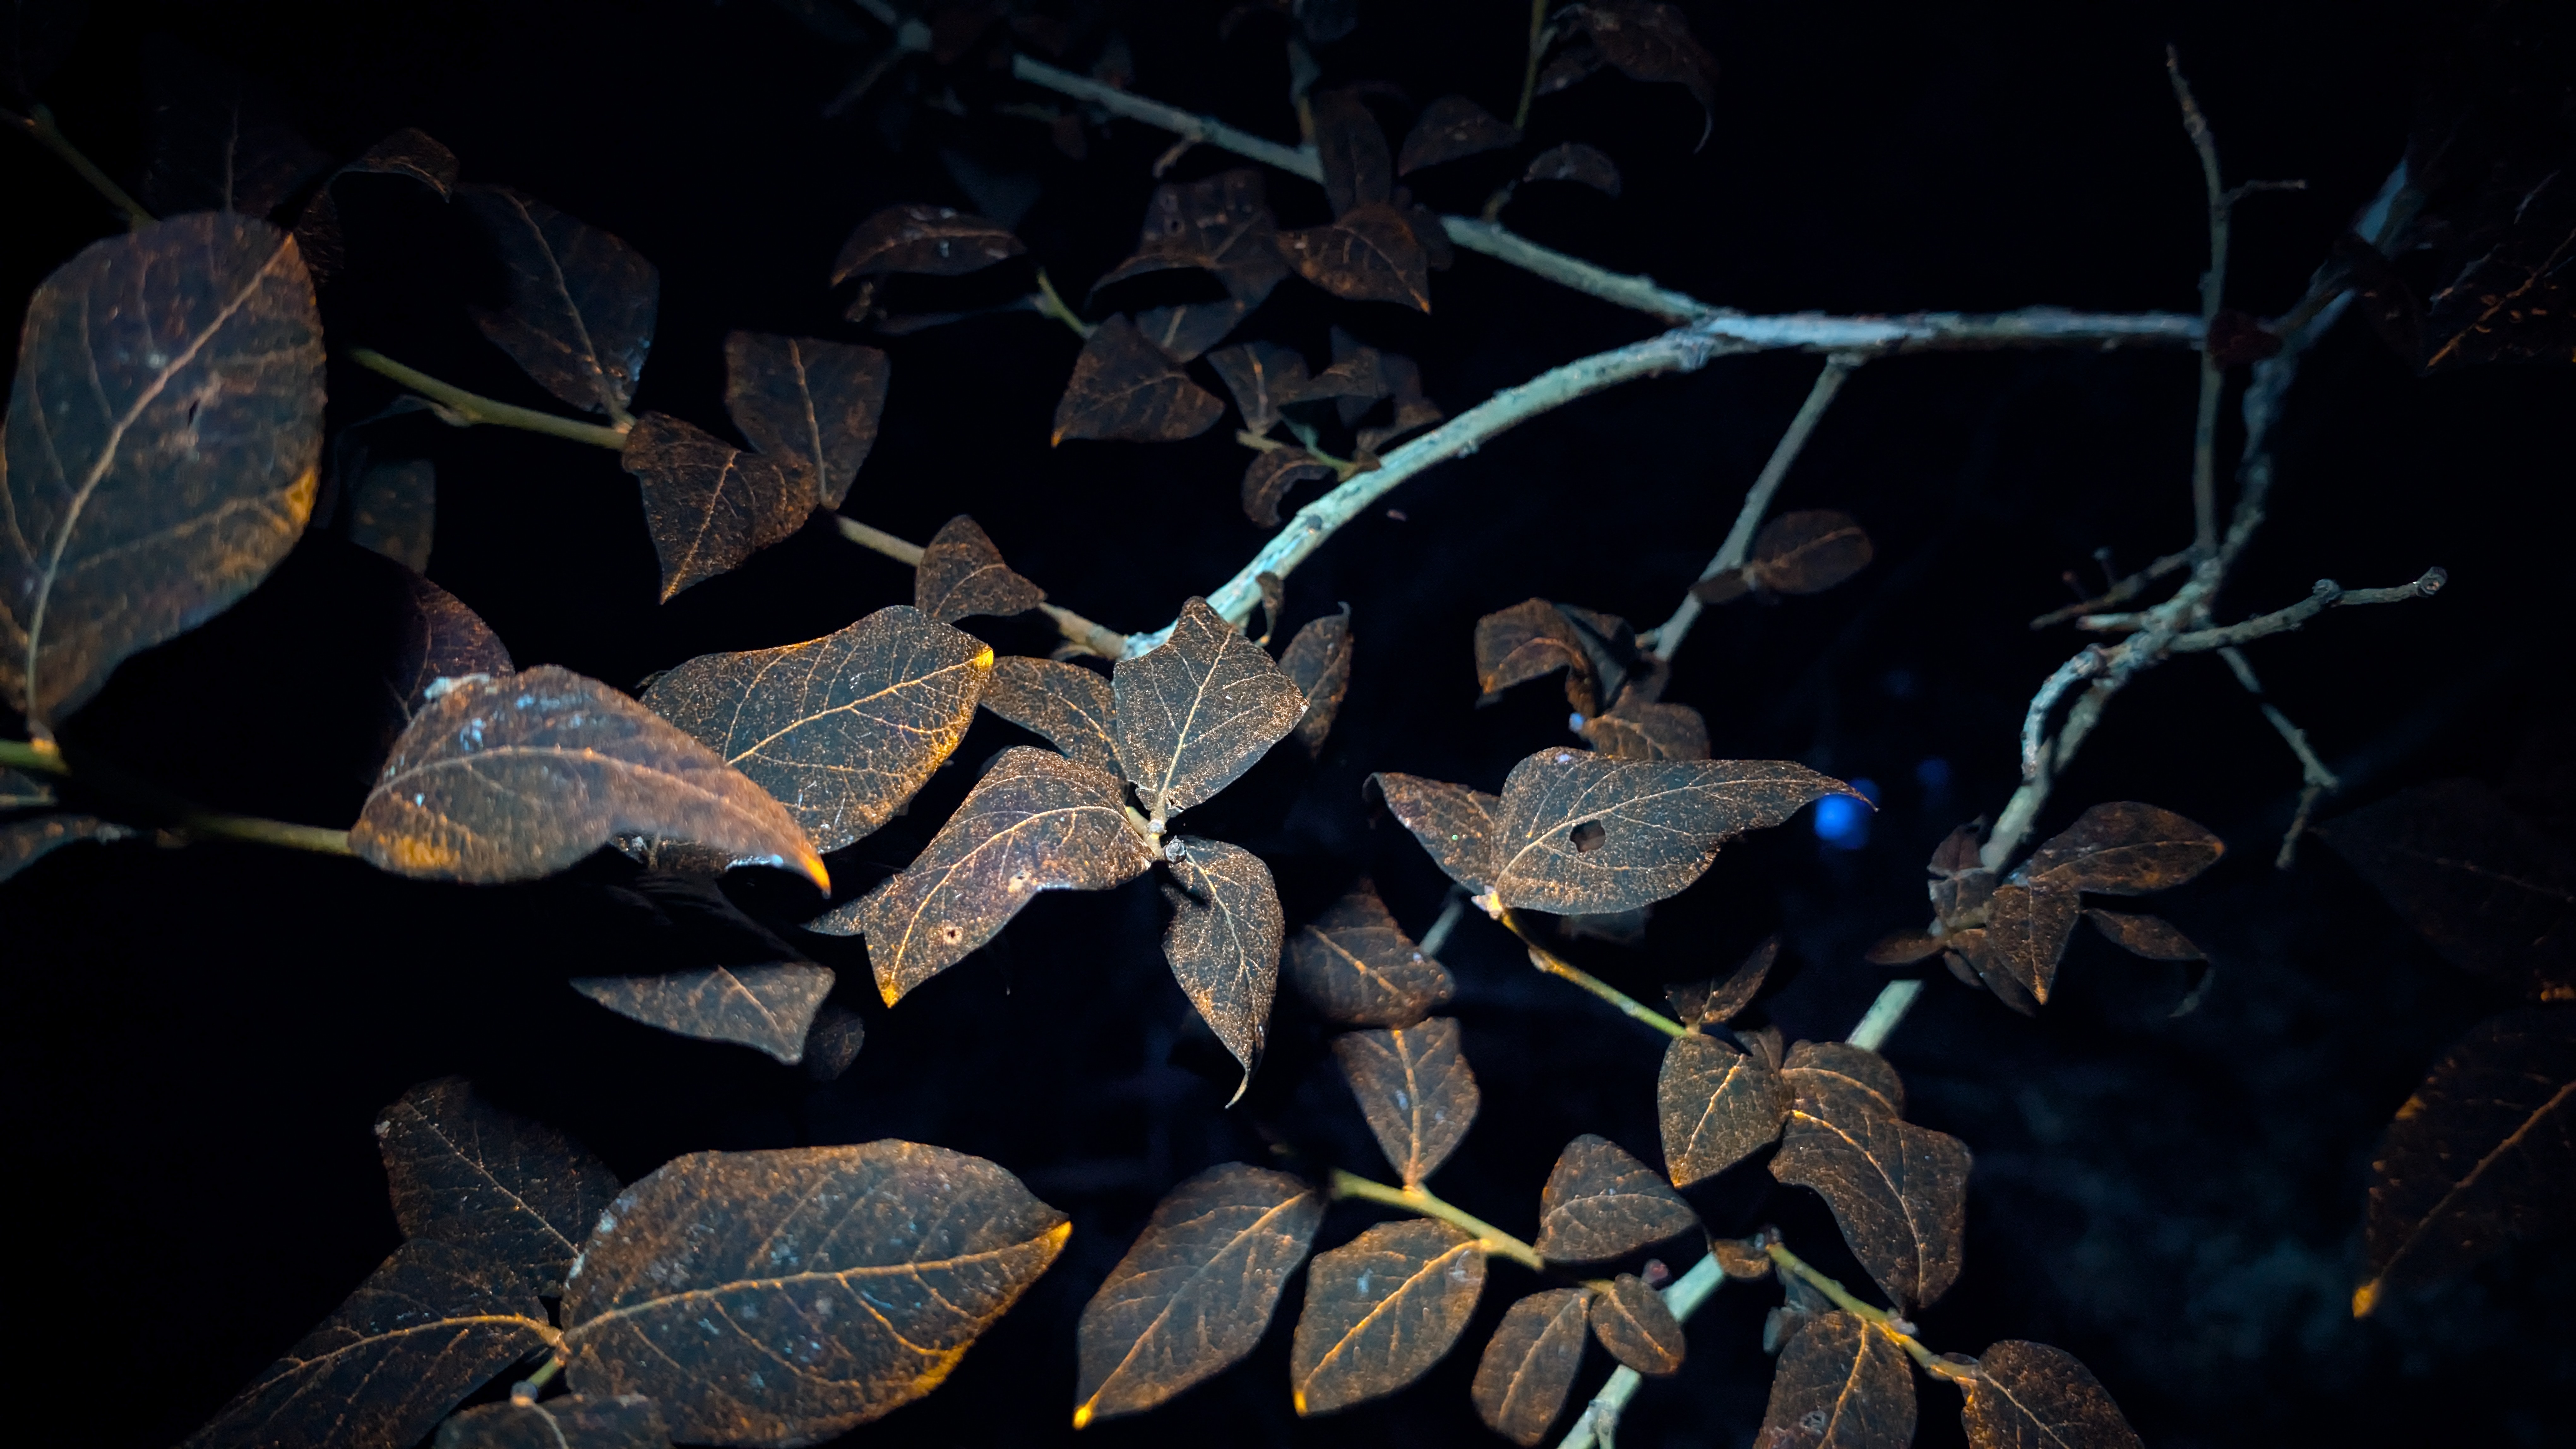
Eco Pigment Blaze Orange SPL15JX
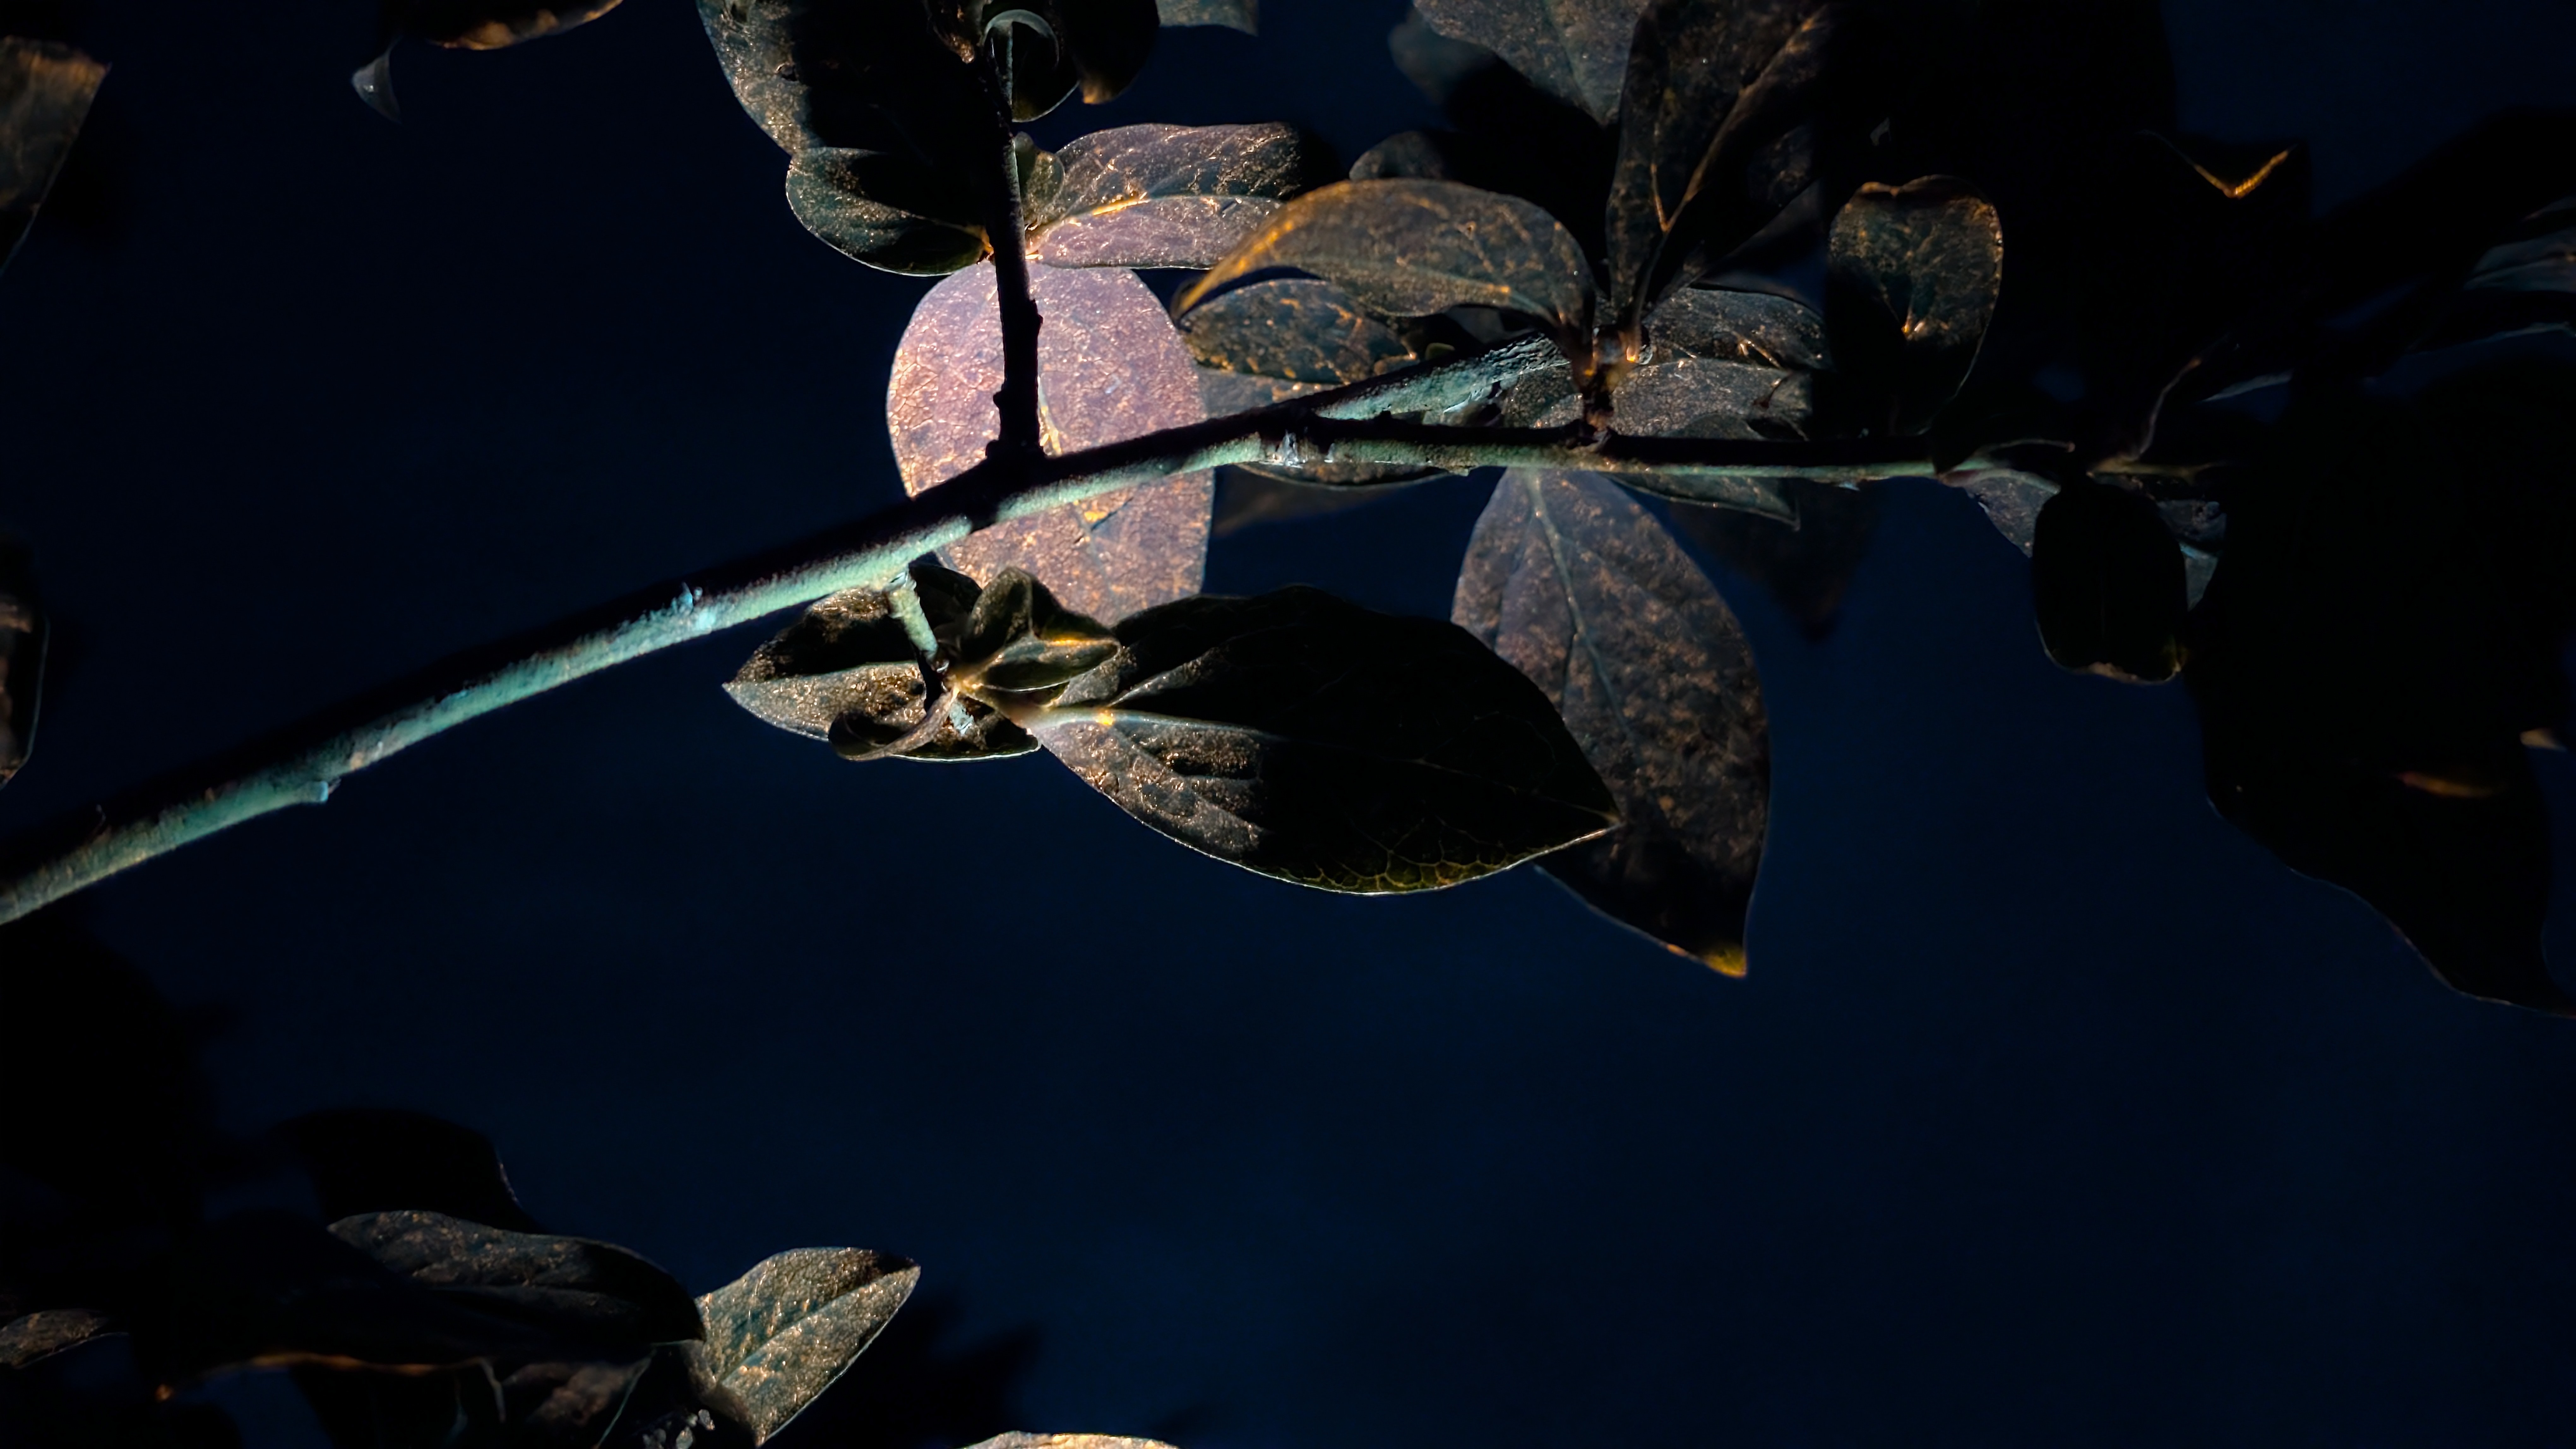
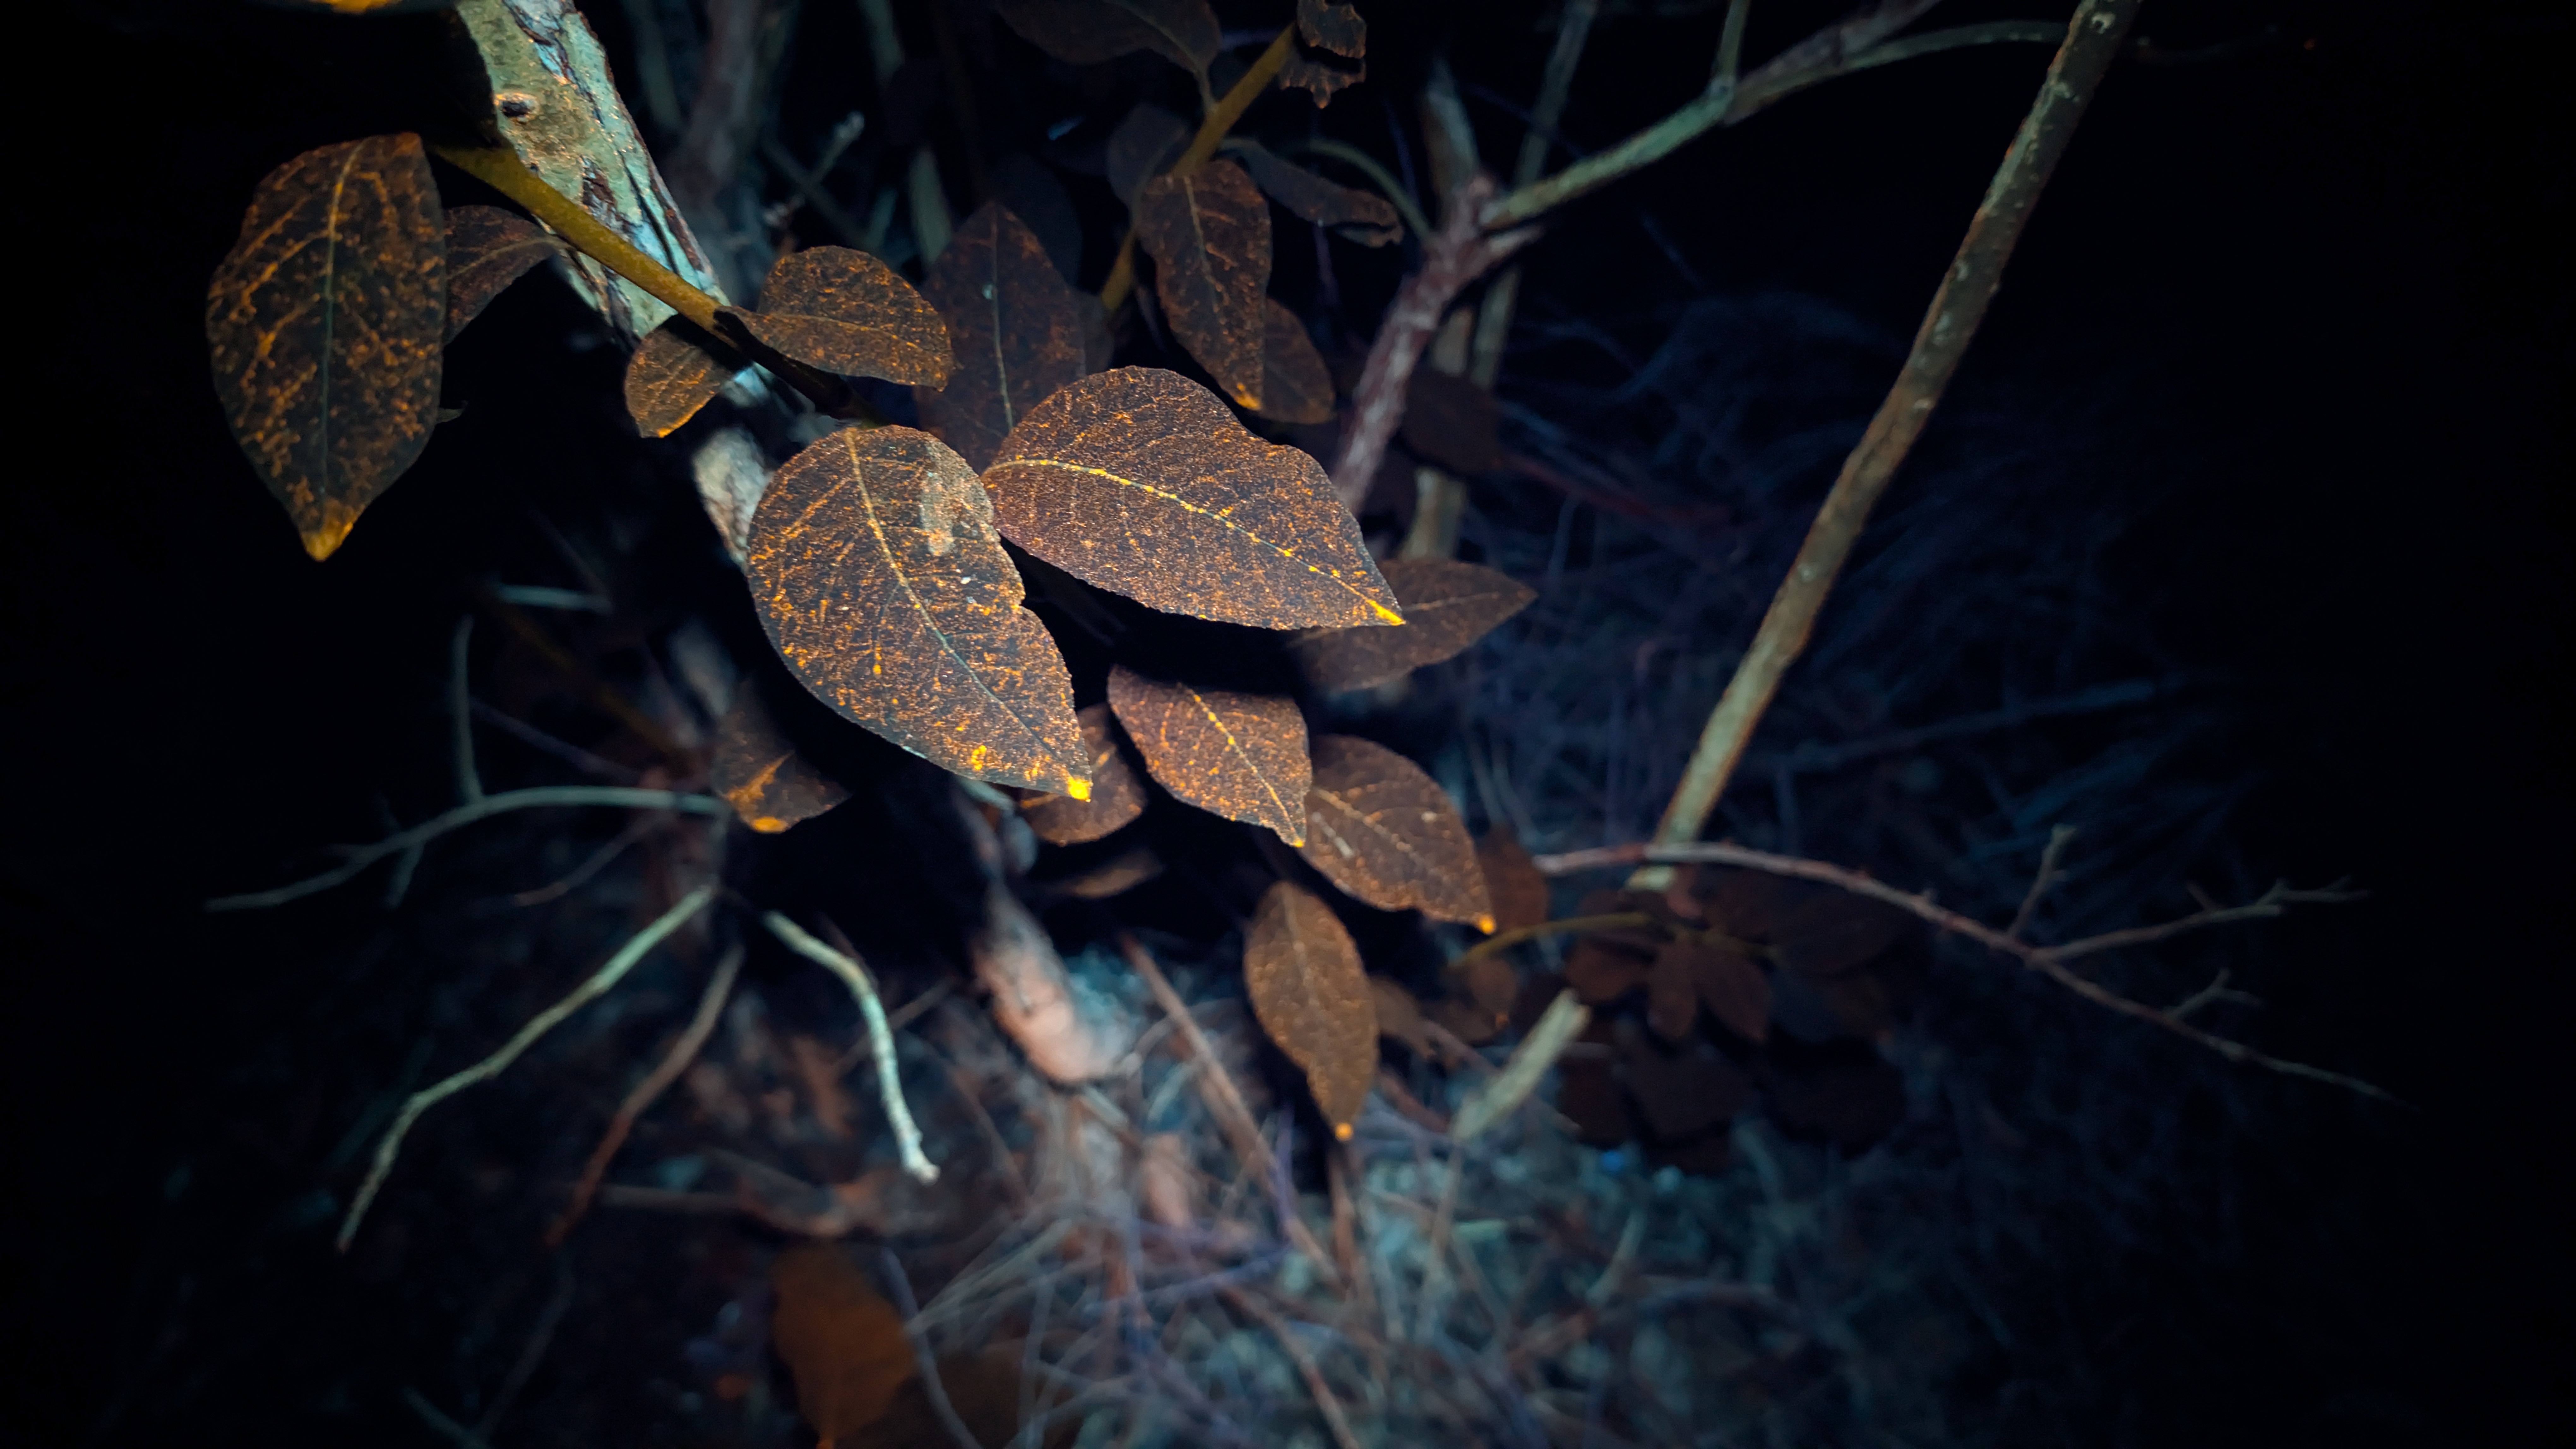
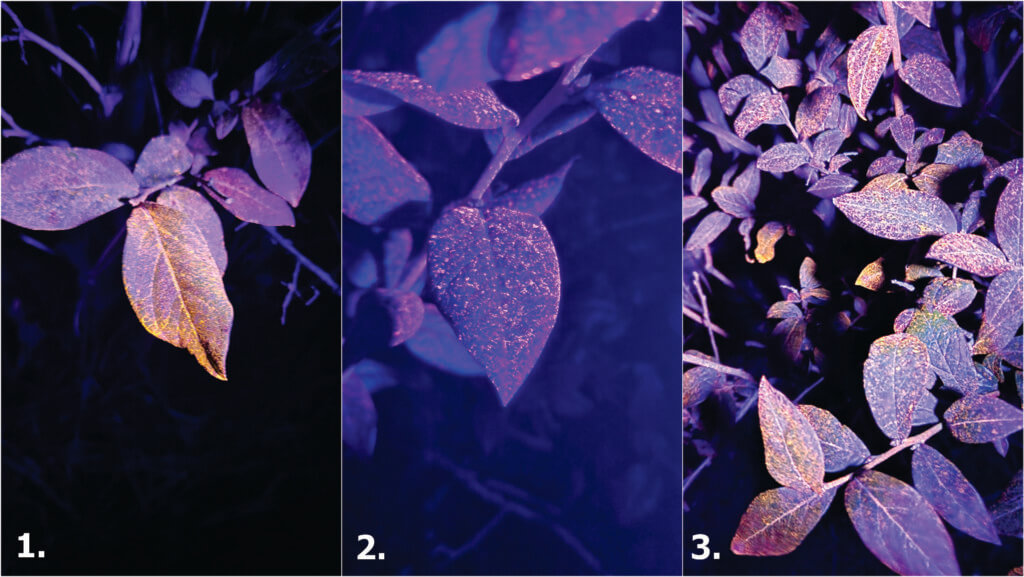
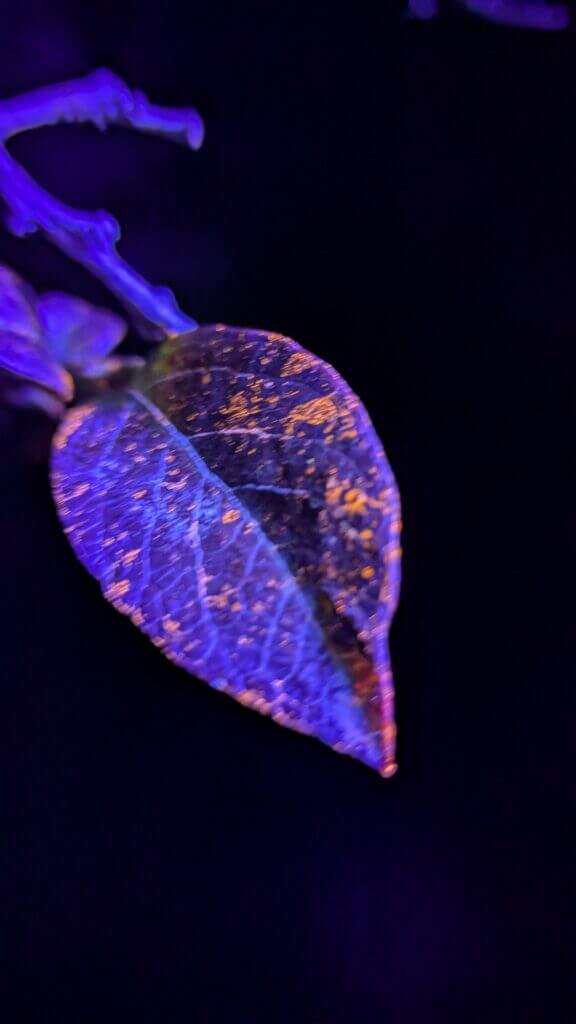
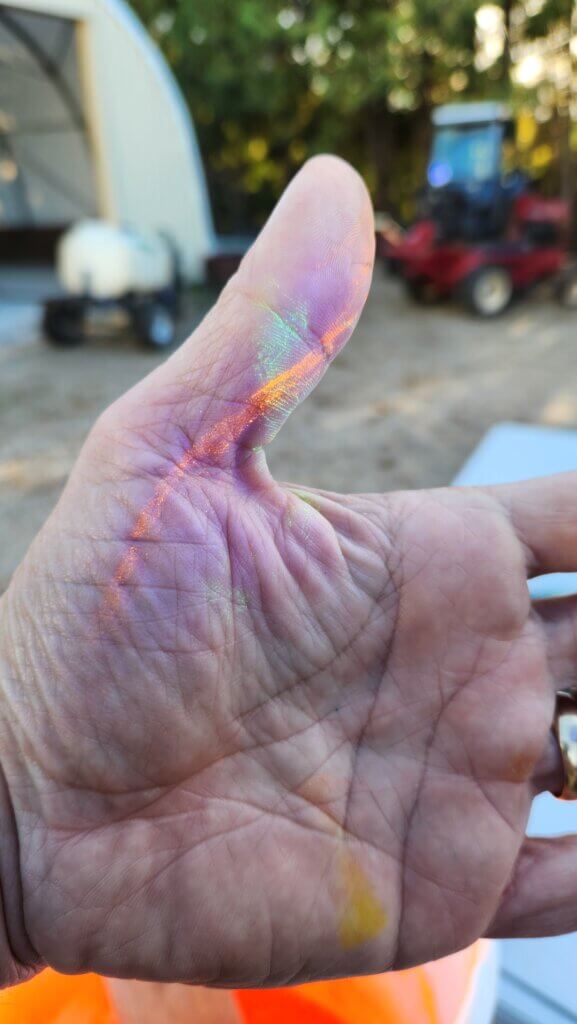
Once again, this pigment put on a quite a show. Whole not unique to this dye, we noted particular accumulation along the veins of the leaves where we suspect the pigments (which are not water soluble) collected. It was also visible on the petioles, under-leaf surfaces and the stems, branches and trunks.
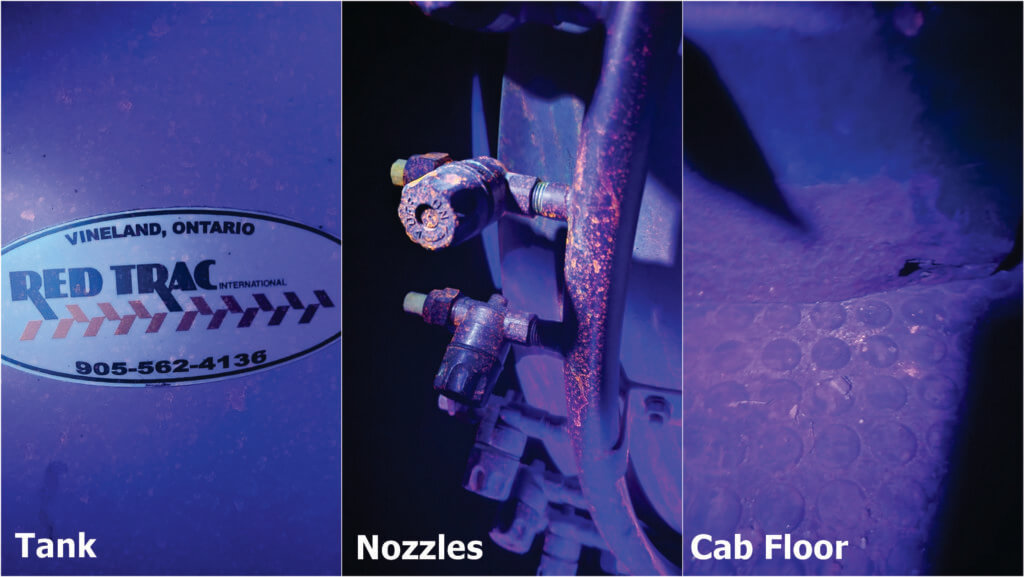
Not only did we see it three rows out, but it was all over the ground, the hood of the tractor, the operator’s boots and pretty much everywhere the sprayer went.
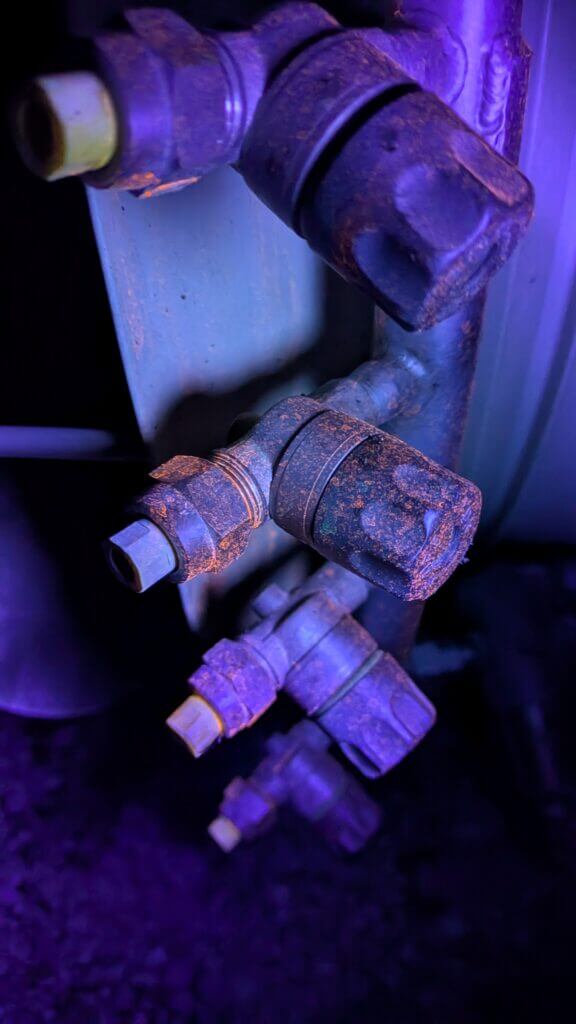
The last few shots are a public service announcement. The TOPPS water protection project in Europe once performed a study on a variety of airblast sprayers to determine where pesticide residue accumulated. They concluded that the header was the worst offender (that is, the booms, air ducts and fan at the rear of the unit).
While we saw evidence of dye deposition all over the sprayer, and on the tractor’s radiator grille (air inlet), the sprayer header was by far the most contaminated region. Always assume an unwashed sprayer has residue – wear your PPE.
Four dyes, one pass each, and no wind left the sprayer header completely covered. We would expect far more accumulation following an actual spray day. Do not touch contaminated application equipment, even if it appears clean, without PPE.
Thanks to Cesar Cappa, OMAFA Horticultural Weed Specialist for introducing the new UV lamp, for the photography, and for not complaining every time I blinded him with the light. Thanks to Falcon Blueberries for their time and collaboration.
Note: Be sure to read Part 2, which changes the interpretation.
I work in agricultural extension and I’m always on the lookout for new methods to help me achieve my goals. A big part of my job is to research and teach efficient, effective and safe crop protection practices, so it follows that I have to be able to evaluate the quality of a spray application. Fundamentally, there are two ways to do it:
Wait to see if the pesticide did its job and protected the crop from weeds / bugs / disease.
Don’t wait. Confirm your spray is depositing where you want it before committing to the application.
Three guesses which approach I advocate. So, how do you check spray coverage in a way that’s quick, cheap, easy and informative? Again, there are choices, but rather than simply list them I’ll add a little insight in the form of pros and cons.
Reflects actual, whole-canopy coverage and off-target coverage at same time.
Expensive, hard to find, messy, time-consuming, hard to photograph, not repeatable, leaves unwanted residues (or can’t be used on edibles), may have to take place at night, may fade quickly… or is any of this actually true?
I’ve never been a proponent of spraying dyes because of the reasons I listed in the table. If I already have difficulty convincing a grower to leave the sprayer or tractor cab to place and retrieve water sensitive papers, what are the odds of them mixing a messy and expensive tank of dye and waiting until twilight to see the results?
On the other hand, dyes are compelling. Particularly if we change the perspective a little. What if we consider the use of dyes, not as a tool for a grower, but as a tool for agricultural extension or consultation (really, anyone that wants to research or teach the safe and effective use of crop inputs)? Several of the cons are minimized or even eliminated. Additionally, this new lens reveals several uses for dyes beyond spray coverage. This is not an exhaustive list:
Off-target (primarily drift) evaluation
Dermal exposure / PPE evaluation
Rinsate / sprayer cleanout evaluation
Sprayer loading / point source contamination evaluation
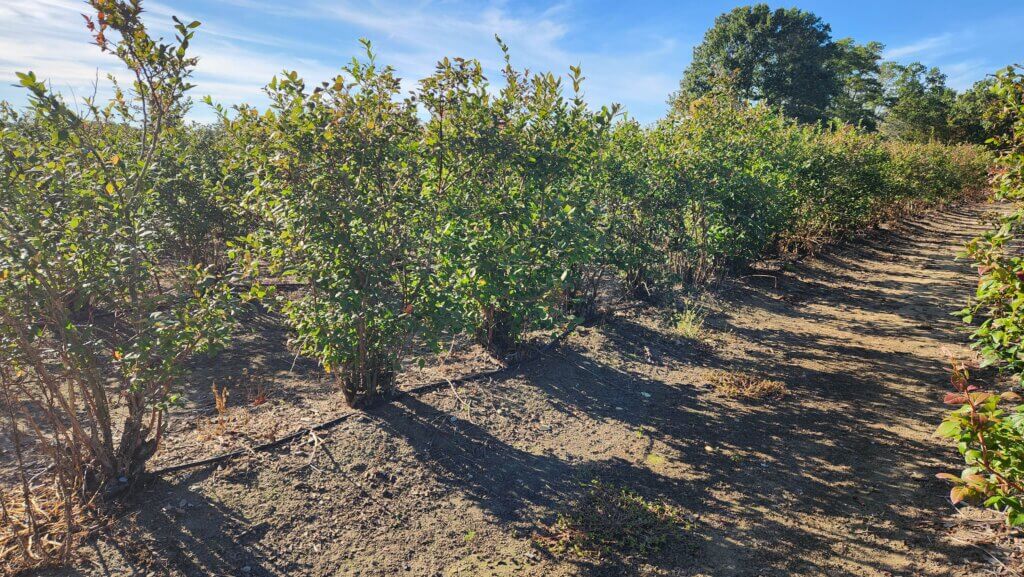
I decided to compare a few of these dyes. I enlisted the help of a local blueberry operation. Being October, all the berries have been picked so we could spray the bushes without any risk to the fruit. Plus the sprayer was clean and the growers were curious to evaluate their spray coverage.
Blueberry in Ontario in October.
Having secured a location, spray equipment, and operator, I needed dyes and some criteria for choosing them. First and foremost, I chose fluorescent dyes that glowed under UV (aka black lights). My thinking was that they would be more interesting in demos, and given that we might be spraying horticultural operations, I didn’t want obvious and persistent stains on the produce. At least not something easily seen in daylight before it broke down and/or was washed away.
My UV dye candidates had to be:
Moderately inexpensive.
Non-toxic (i.e. had an SDS that clearly permitted human exposure, were environmentally friendly and could be sprayed on edible crops).
Readily available in Ontario (e.g. quickly and cheaply shipped from within Canada or perhaps the US).
Available in formats that facilitated small volume batches (anywhere from 50 mL squirt bottles for indoor demos, up to 50 L volumes for field demos).
Clearly visible on plant tissue.
I found five likely prospects for the study. I won’t list prices, but none of them were over $100.00 CAD. Number 3 was a free sample and number 5 was gifted to me by a colleague more than 15 years ago. I looked up the SDS for that last one and was surprised that it was relatively inert. So, I used it.
I also purchased UV lights. When I was bequeathed the phosphor powder it came with heavy, ancient, black lights. They made an unsettling humming noise and required a power source, making them unwieldly for field work. I opted to try three battery powered versions instead. Again, I won’t list prices, but they weren’t unreasonable.
UV flashlight number
Name of light
Manufacturer
Wavelength / wattage
Batteries
1
Super Tac
Risk Reactor
395 NM / 850 µW/cm2 at 5 inches
Rechargeable battery provided
2
Mini Zoom
Risk Reactor
395 NM / 1 watt
1 AAA
3
V3 UV Flashlight with 68 LEDs
Amazon.ca
395 NM / 10 watts
3 AA
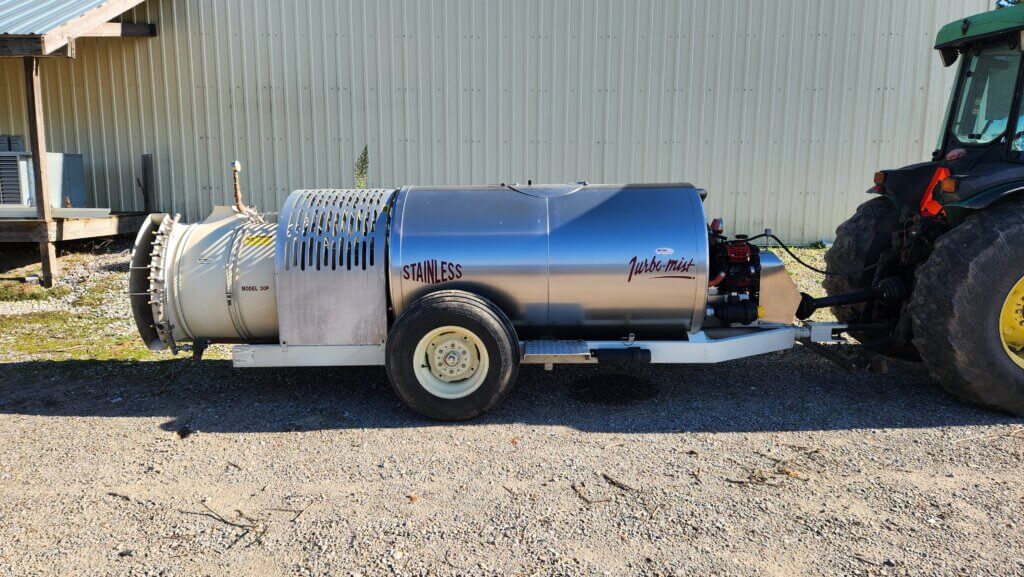
Regarding the recipes, one of my criteria was that the dyes could be mixed in relatively small batches. I chose 50 L as the high end because the airblast sprayer we were using (Turbo-Mist 30P) could still prime when only 50 L was added to the tank. This allowed us to mix as small a batch as possible, while still having enough to spray a row of berries from both sides. We left three rows between treatments to serve as buffers.
Turbo-Mist Model 30P before the dye-job.
I also had to consider the nature of the dyes. The Eco Pigment (Dye 3) is a hydrophobic powder and two colleagues warned me that it was notorious for plugging filters. So, it had to be mixed with a non-ionic surfactant (NIS) to help “wet” the powder prior to adding it to the tank. In fact, NIS seemed like a good idea for all my dye candidates, so I included Activate Plus (Sollio Agriculture, Winfield Solutions) in each recipe.
The candidates.
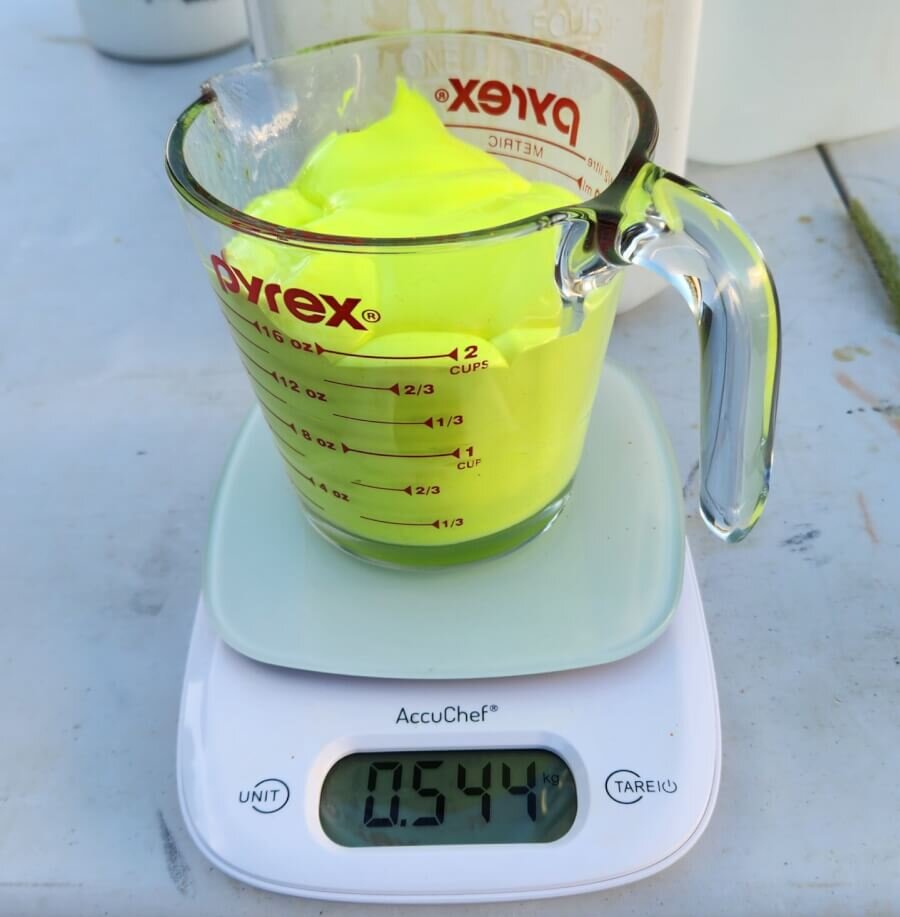
I added the dye, NIS, and a small amount of water to a Pyrex measuring cup on a digital scale, then rinsed the cup into a final volume of 50 L while filling the tank. I didn’t always follow the advice I received, so I’ll show you the ratios I was told and (right or wrong) what I ultimately did.
Dye number
Manufacturer- or colleague-suggested ratio
Amount of dye
Amount of NIS
Amount of water
1
1 part dye : 10,000 parts water
125 mL
65 mL
310 mL
2
1 part dye : 10,000 parts water
125 mL
65 mL
310 mL
3
1 gram dye : 1 mL NIS : 200 L water
65 grams
65 mL
425 mL
4
1 part paint : 100 parts water
500 mL
65 mL
0 mL
5
1 gram dye : 1.25 L water
65 grams
65 mL
425 mL
It took roughly 15 minutes to fill, prime, spray, and rinse out each dye. We started at 5:00 p.m., were done at 6:15, and then waited for sunset at 7:30.
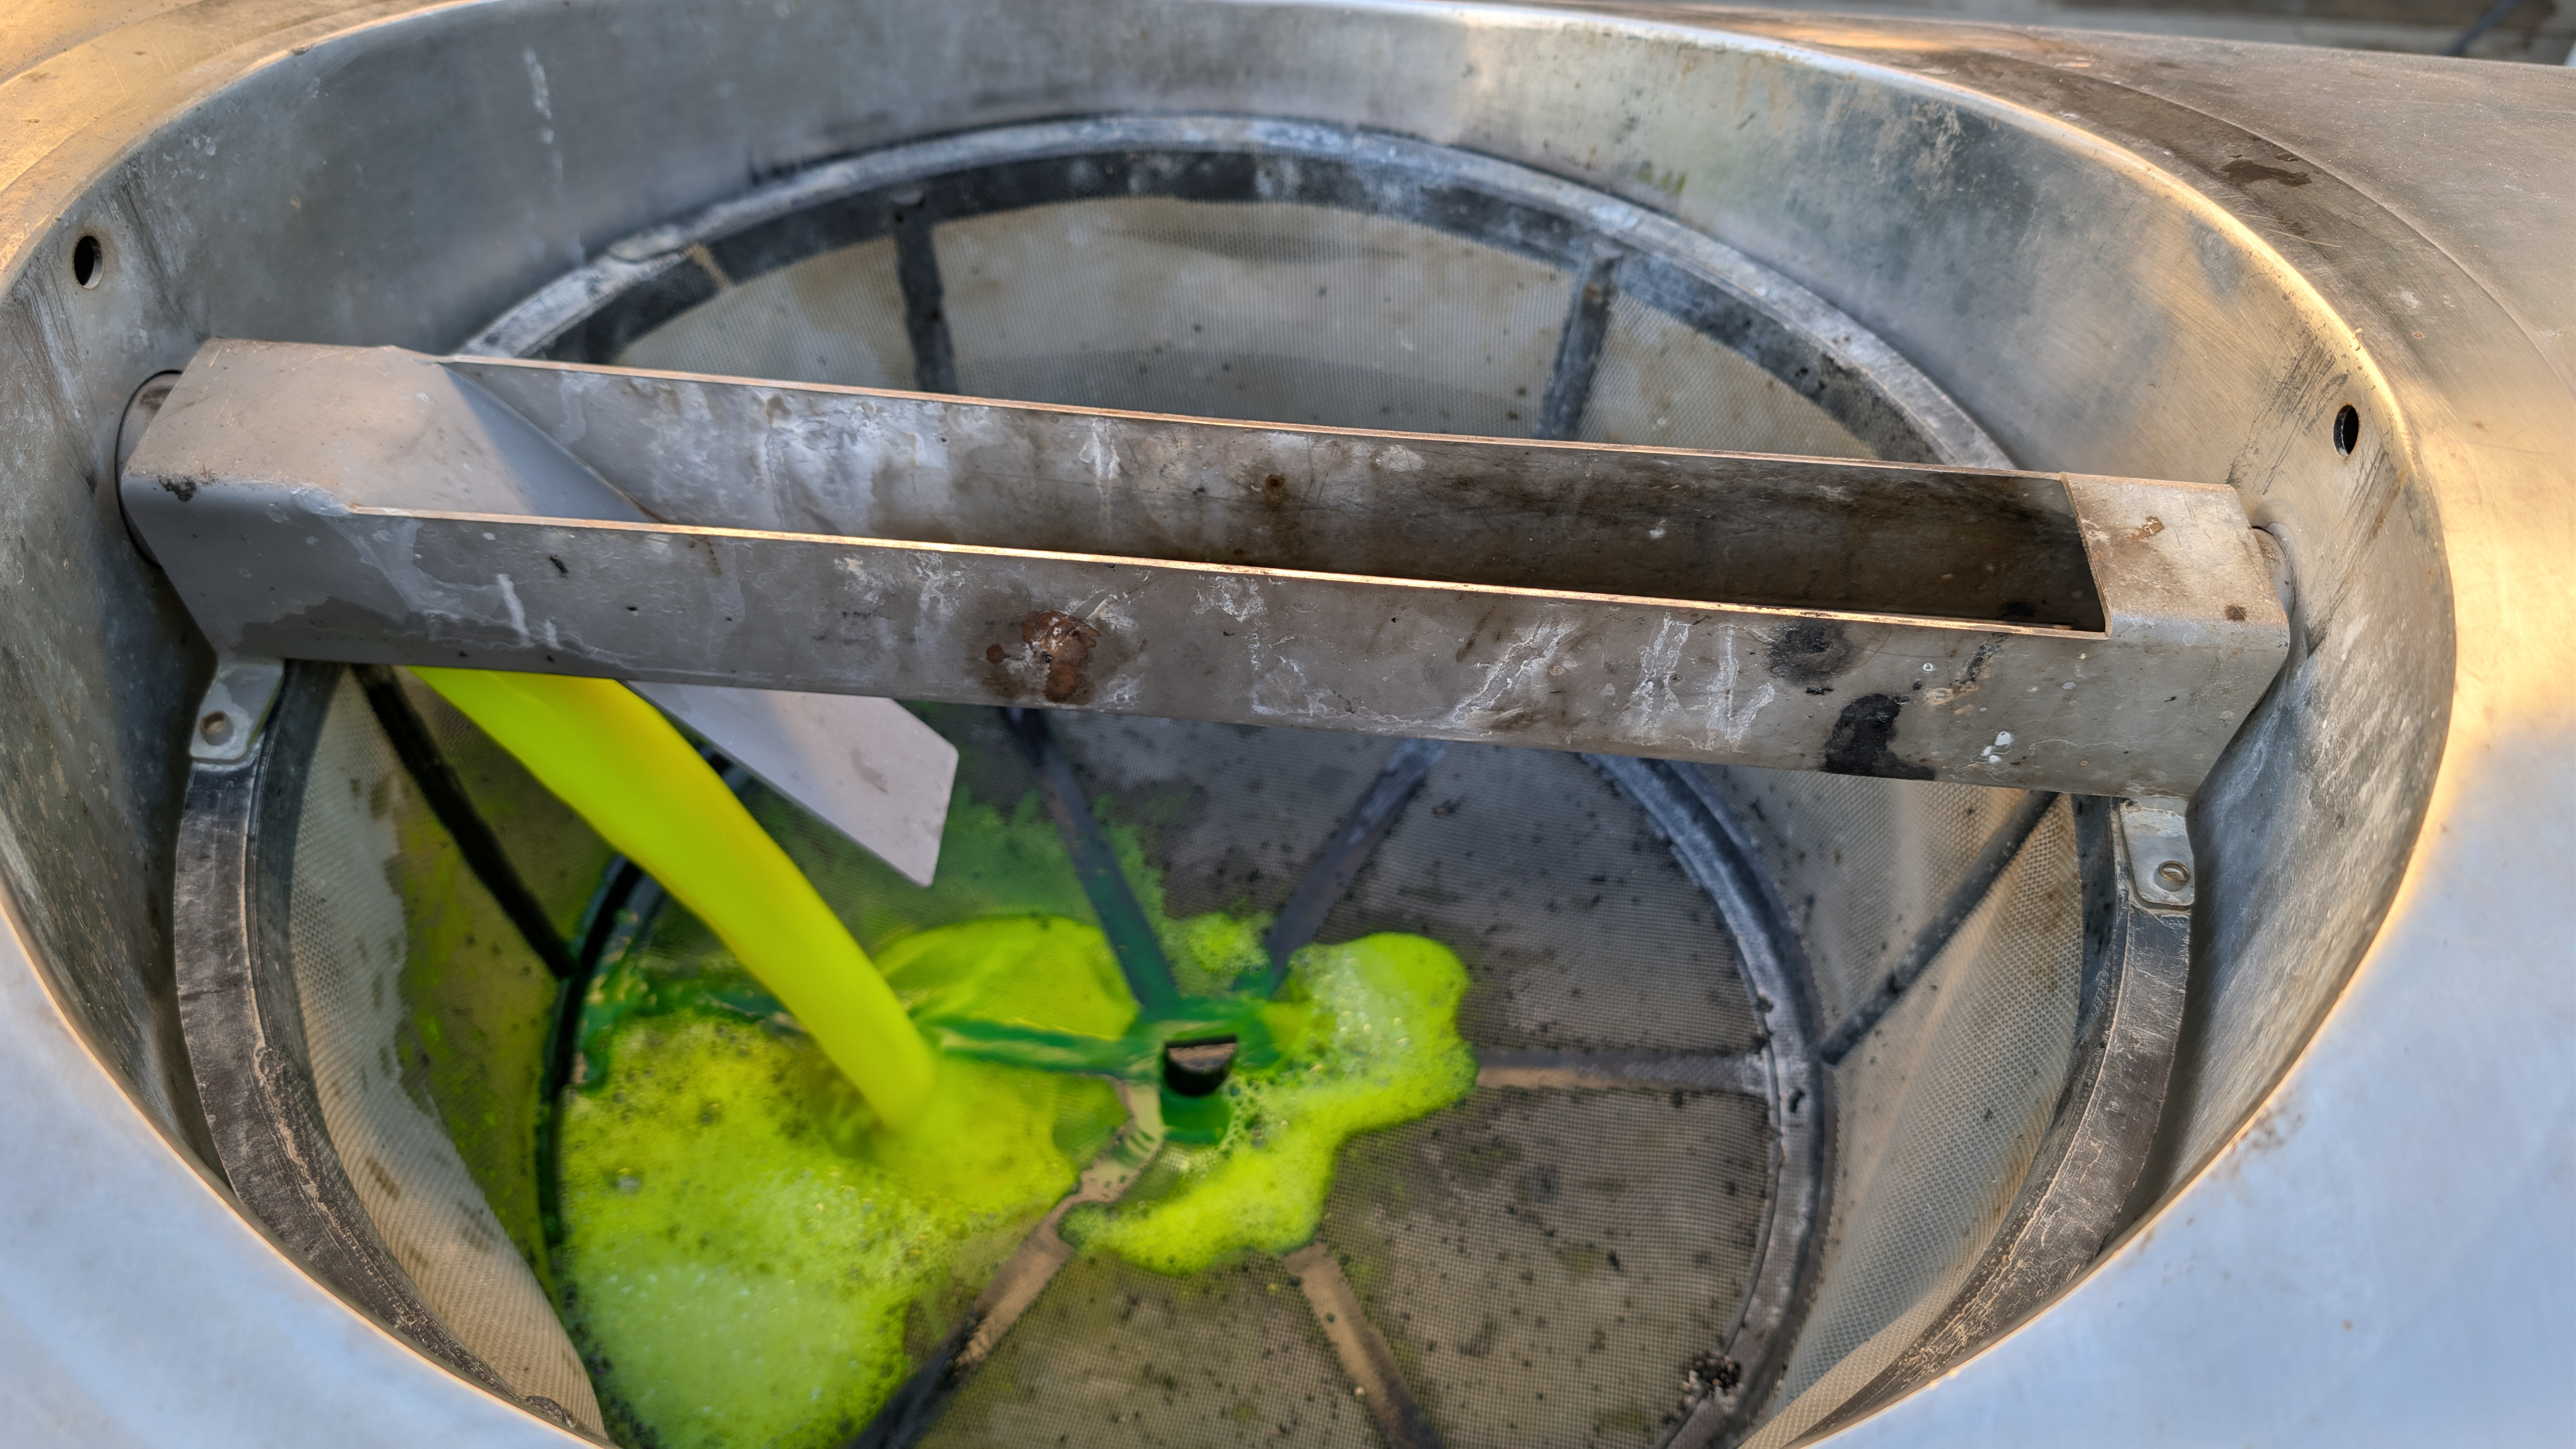
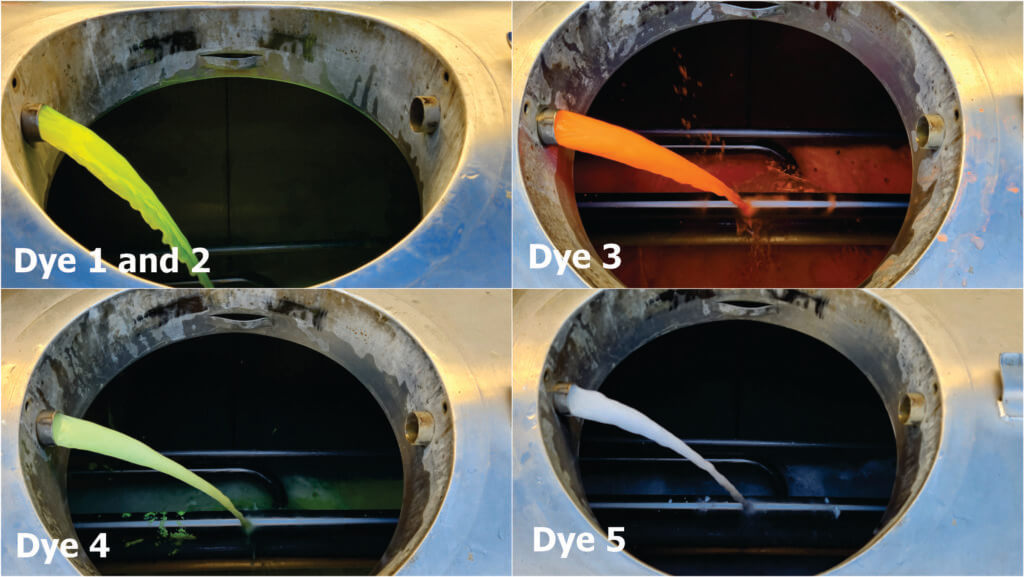
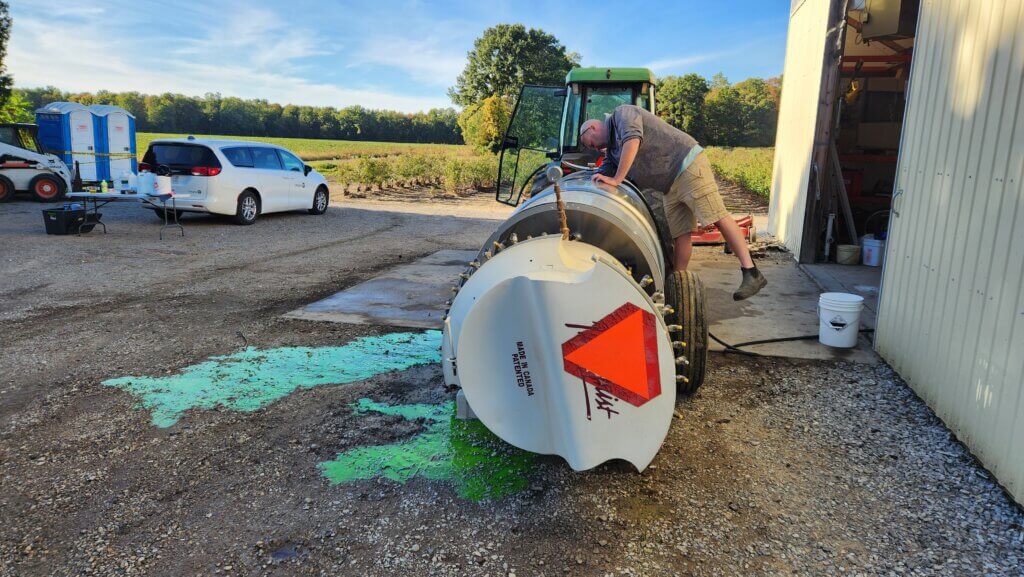
50 L tank mixes going through circulation and paddle agitation.Draining the remains and rinsing the tank. It looks terrible, but these dyes are intended for environmental projects like tracing water courses.
We used a smartphone (Google Pixel 9a – 48 megapixel camera) to photograph each combination of dye and flashlight. It was tricky to find an angle where the black light illuminated the residue, but didn’t wash out the photo. In those cases where the dye was evident, it was always far more vibrant in person than through the lens of a camera. As for the results?
Lets start with the lights. We found that the high wattage of Light 3 showed dye more easily. This also happened to be the cheapest light, which was a pleasant surprise.
Dye 1 and 2 were disappointing. We couldn’t see anything on the plants. This dye is intended for monitoring plumbing and water courses, and the manufacturer states that the colour will disappear if the solution is mixed with chlorine. Perhaps mixing it with city water caused it to fade, but that’s likely to happen, so these dyes failed.
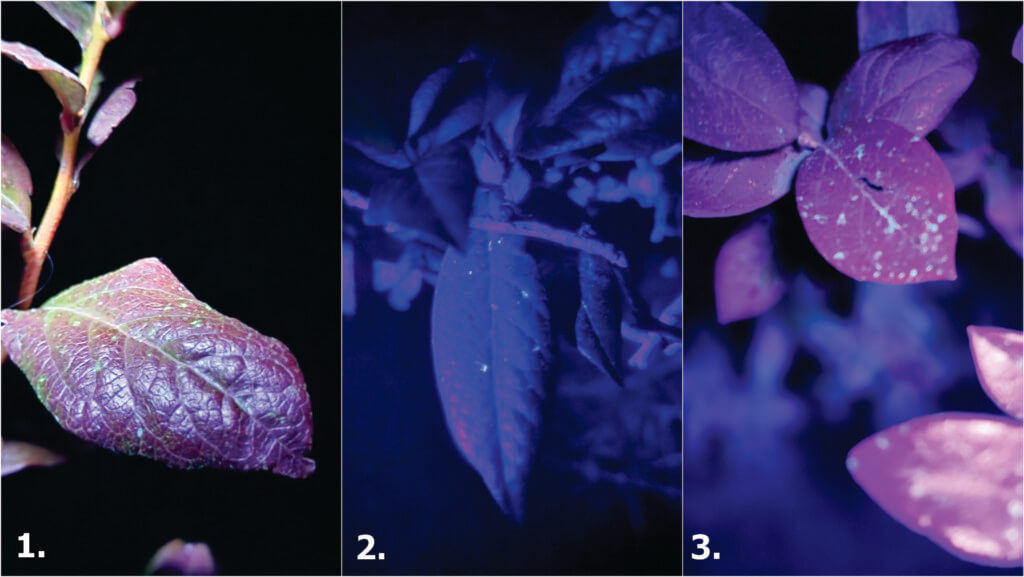
Dye 1 – Light 1, 2 and 3. A sad, single drop showed up for Light 3.Dye 2 – Light 1, 2 and 3. Again, a solitary deposit illuminated under Light 3.
Dye 3 was spectacular. Not only was it evident with every light source (including day light to some extent), but we were able to find it several rows downwind, on the sprayer nozzles, all over the tires and on the floor of the cab (which surprised the operator). I may have mixed this one too strong; It seemed to clump on the leaves, but perhaps that’s because they were exceptionally waxy.
Dye 3 – Light 1, 2 and 3.Dye 3 showed up everywhere… whether we wanted it there or not.A nice close up of Dye 3 on a leaf.A close up of Dye 3 on the boom.
Dye 4 came in second place. It wasn’t amazing, but it was visible. This is children’s tempera paint, used in daycares for finger painting and at universities for raves. I’ve used it in the past with mixed results, not only to spray canopies, but in classroom demos on cabbage leaves and as a surrogate tracer to hunt down where pesticide hides in sprayer plumbing. It’s OK in a pinch if you mix it at least 2x more concentrated than I did here.
Dye 4 – Light 1, 2 and 3.A nice close up of Dye 4 on a leaf.
Dye 5, like dyes 1 and 2, was a disappointment. I’ve seen it used in powder-form to demonstrate how dermal exposure can spread as you touch clothing, doorknobs, your face, and places where the occasional adjustment is required. But in a liquid solution, it wasn’t any good at all.
Dye 5 – Light 1, 2 and 3
Persistence
We followed up after the application to see if the dyes would persist. Twenty four hours after application, Dye 4 (our runner-up) was gone. This was no surprise given it was a water soluble paint and wasn’t terribly showy to begin with. However, Dye 3 (our winner) was still clearly in evidence. This is a hydrophobic, micro ground powder (~0.1 micron). That’s one reason it had to be mixed with a non-ionic surfactant. The following photos shows little or no change after 24 hours and a respectable dew:
Dye 3 after 24 hours.
Three days after application (DAA), we had a rain event. Four DAA this (blurry, sorry) image was taken:
Dye 3 after 96 hours and a heavy rain.
We see that the deposits did redistribute to drip points and the overall coverage was reduced, but it was still holding on. This means it likely shouldn’t be used on any horticultural crop that isn’t going to be washed. Or at least used long before any fruit, leafy green or vegetable contacted by the powder will be harvested. Not because it is unsafe (see safety data sheet) but because of the optics to buyers.
Conclusion
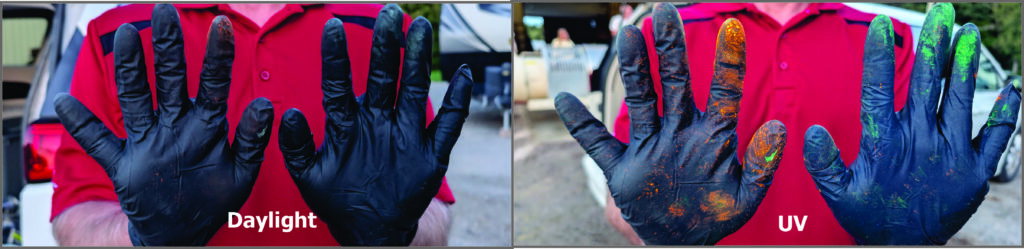
And so, I hope you have been inspired by this process. I’ve learned that the use of dyes for education and research is potentially powerful, relatively cheap, and more accessible than I originally thought. Certainly the growers were impressed by what they could suddenly see and it’s led them to reassess some of their practices. Just bear in mind the possible persistence, and remember to wear gloves when mixing.
Wear gloves. Trust me.
Thanks to Mark Ledebuhr, Helmut Spieser, David Manktelow, and Ben Werling for the helpful advice. Thanks to Brandon and Jordan Falcon for use of their spray equipment and their blueberry operation.