
- Wear proper personal protective equipment before any cleanout: waterproof coat, face shield, and rubber gloves to avoid exposure and contamination.
- Remove previous product as soon as possible: spray out, drain boom plumbing both directions, open filter valves to expel residue.
- Triple rinse with agitation using smaller volumes; use cleaning solution twice then a final water rinse; consider leaving solution overnight.
- Select cleaner by formulation: detergent cleaners for emulsions and oily surfactants; ammonia or high pH cleaners for Group 2 products; follow label rates.
- Disassemble and scrub filters and nozzles with a small brush, inspect for leaks and nozzle performance, then drain rinse before refilling.
This text was generated by OpenAI GPT 5 Mini
Editor’s Note: Changes have been made to this article since its original publication in 2015.
When in-crop spraying is around the corner, sprayer tank clean out is an important topic to address on your farm. Many farms have done the same clean-out routine for years and not had any issues with contaminating residues in the tank resulting in crop damage. Although the old saying “If it ain’t broke, don’t fix it” definitely has some merit, in this case it is good to question whether your cleanout routine is adequate. When you consider the way chemicals have changed over the years, especially the higher reliance on oily surfactants in modern chemicals, it makes sense why we need to pay attention to spray tank cleanout.
The goal of cleaning the tank is to remove and dilute the previous chemical formulation as much as possible to prevent buildup and carryover of residues which can cause crop damage on non-target crops.
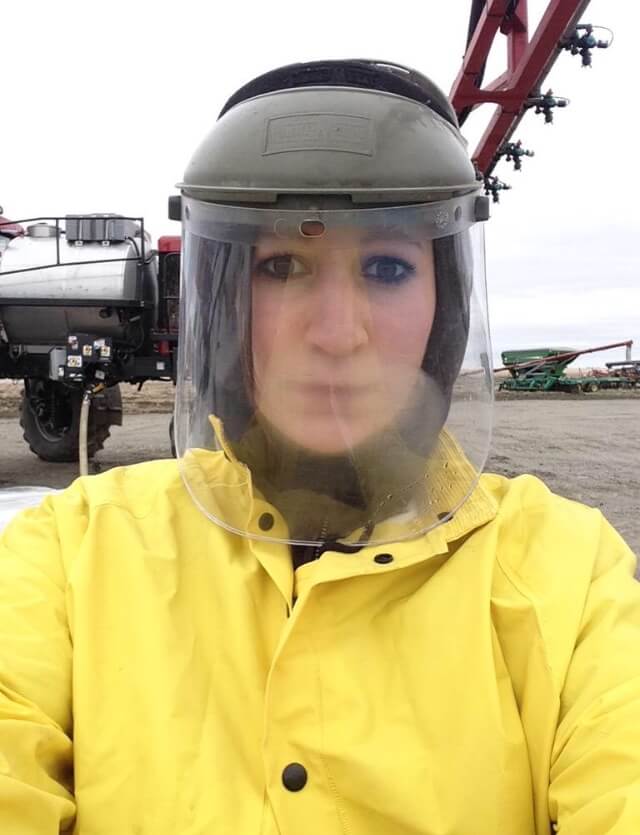
Safety First
Always wear safety gear before working around chemicals. Although it can be a hassle, we all know that it is no fun spilling chemical on your clothes and skin. What’s even worse is smelling it all day in the sprayer cab. I use a long waterproof coat, a plastic face shield to prevent back splash when spiking jugs, and of course rubber gloves (No judgment on me looking like a total dork please:).
1 – Get the Previous Product Out of the Tank ASAP
In my experiences spraying, I have always tried to get the previous product out of the tank as soon as possible. Spraying the extra product out of the tank is the safest and most environmentally responsible way to rid your tank of left over product. Dr. Tom Wolf of AgriMetrix Research and Training, states that spraying a crop twice is usually safe, as all herbicides must be registered to be sprayed at twice the rate in order to be registered by the Pest Management Regulatory Agency (PMRA). If one lets the product sit in the tank overnight before beginning the cleanout, there is more time for product to congeal and adhere to the tank and plumbing components.
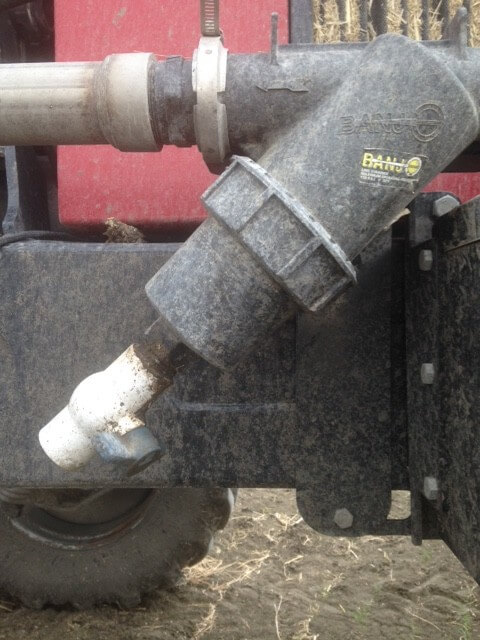
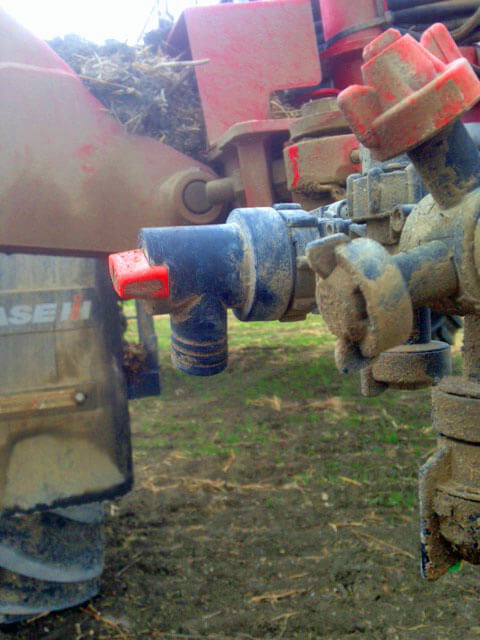
I open the valve ends on my filters to empty the buildup in the bottom of the filter canister. There is often chemical residue or green slime from dug-out water in here. Next I like to go along my booms and empty out all the chemical product within the boom plumbing. Our farm runs a Patriot 4420 sprayer, with valves on each boom section to empty out product. Usually I will go to the sprayer and tip the boom ends up so that gravity allows all of the product to drain out. Then I raise the centre rack, and tip end of booms down to force the product to drain out the other way. You would be amazed at how much product comes out by doing this both directions!
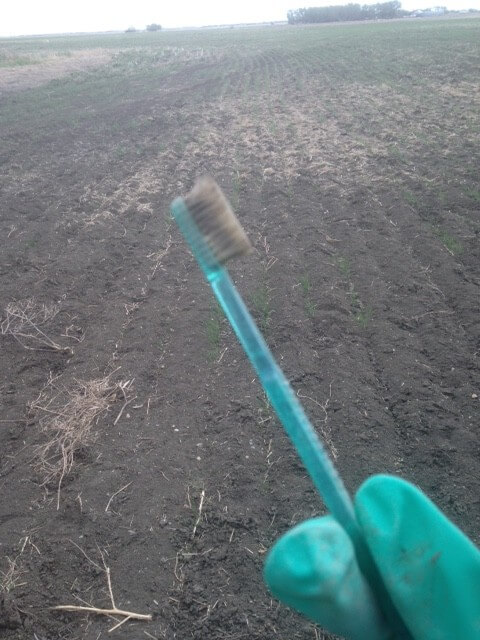
While the tank is empty and no pump is running, I will remove all the filters on the sprayer, and grab the handy dandy toothbrush – this is the most valuable tool in filter cleanout! This brush is just small enough to get it in the centre of the filter and scrub all of the residue and gunk out of the filters. A pail filled with rinsing solution is an easy way to clean filters and nozzles.
2 – Begin Rinsing Process
I used to always put about 1,000 gallons of water to our 1,200 gallon tank, thinking that a larger volume would clean all areas of the tank better, but I’ve since changed my thinking. Research has shown that two or three smaller rinses *aka triple rinsing) is more effective for rinsing the tank than one large volume rinse. I always crank the agitation up to high and allow the cleaning solution to agitate for as long as possible.
Nowadays I try to do three 400 gallon rinses.
| 1st Rinse | Cleaning product plus 400 gallons water |
| 2nd Rinse | Cleaning product plus 400 gallons water |
| 3rd Rinse | 400 gallons of just water to rinse, and run through plumbing system to check nozzles and for leaks |
Many labels Recommend leaving the rinsing solution in the tank and lines overnight. This will allow more chemical deposits to loosen up. If an operator is forced to speed up the tank cleaning process due to limited time, they must understand that there are risks involved in doing a less thorough tank cleaning.
Cleaning Products
Detergent or ammonia? Check the label. If the label doesn’t specify, you can consult this table from Winfield United.
| Detergent Cleaner | Ammonia |
| Solution contains an adjuvant | Sulfonylureas (SU’s) |
| Solution contains a milky looking component (an Emulsion or EC) | Thiencarbazone – methyl |
| Glufonsinate | Flucarbazone |
| Imi’s (Group 2) | Dicamba |
| Simplicity |
Detergent (e.g. All Clear)
This detergent cleaner is specifically designed to remove pesticide deposits and other debris, including oily substances from booms, filters, and nozzles. Use All Clear (or other detergent cleaner) if the solution is milky-looking (called an emulsion), which means it is oil-based.
- Label rate is 0.25 L of All Clear/100 L of water.
- If you are adding 400 gal of water, you will only need 3.78 L of cleaning product.
- Decontamination rate is double this: 7.57 L of cleaning product. Use this rate if you have had residue issues, or to do a more thorough cleaning.
pH Increaser (aka Ammonia; e.g. Flush)
This is an ammonia based cleaning solution. This product is used to raise the pH to increase solubility of most Group 2 products (from FMC, Bayer, and Corteva but not BASF). Flush contains 7% ammonia. Use Flush (or other ammonia based cleaner) for most cleaning, but especially for Group 2 products listed above, such as Varro, and Velocity M3, Express, Refine, Muster, and Spectrum.
- Label Rate is 0.50 L of Flush/100 L of water.
- If you are adding 400 gal of water, you will need exactly 7.57 L of cleaning solution.

Combo Products
Alternately, some solutions raise pH without ammonia. FS Rinseout is sodium hydroxide based, not ammonia based. It is a high alkaline solution that elevates and holds the pH combined with strong surfactants to help clean the tank. Another is CleanOut, which uses potassium hydroxide and disodium metasilicate, a detergent. In both cases they are both pH increases and detergents.
3 – Draining the Rinse Solution
After I have ensured all nozzles are working correctly, and there are no leaks in the system, I drain out all of the rinse water, fold in the booms, and get ready to fill the tank with chemical solution for spraying!
More Information
Learn where residue can hide. This video was filmed for the Environmental Farm Plan with the nice people at Clean Field Services in Drayton, Ontario. Hardly the height of our acting careers, but good messaging nonetheless.