Get ready for a busy fungicide season. If your growing conditions have been good, your crop is dense and vigorous, and soil moisture is adequate, you have yield potential to protect. A bit of moisture and warm temperatures at a critical time, and disease is likely to develop.
Before we delve into how to apply fungicides, let’s review the basics.
- There is no substitute for an informed decision about whether to spray or not. Seek the advice of a professional to make sure you understand your crop’s genetic susceptibility to disease, the conditions conducive to its development, and the parts of the plant canopy that are affected and therefore need protection. How much yield or seed quality is actually at risk? What do the disease forecasts say for your area?
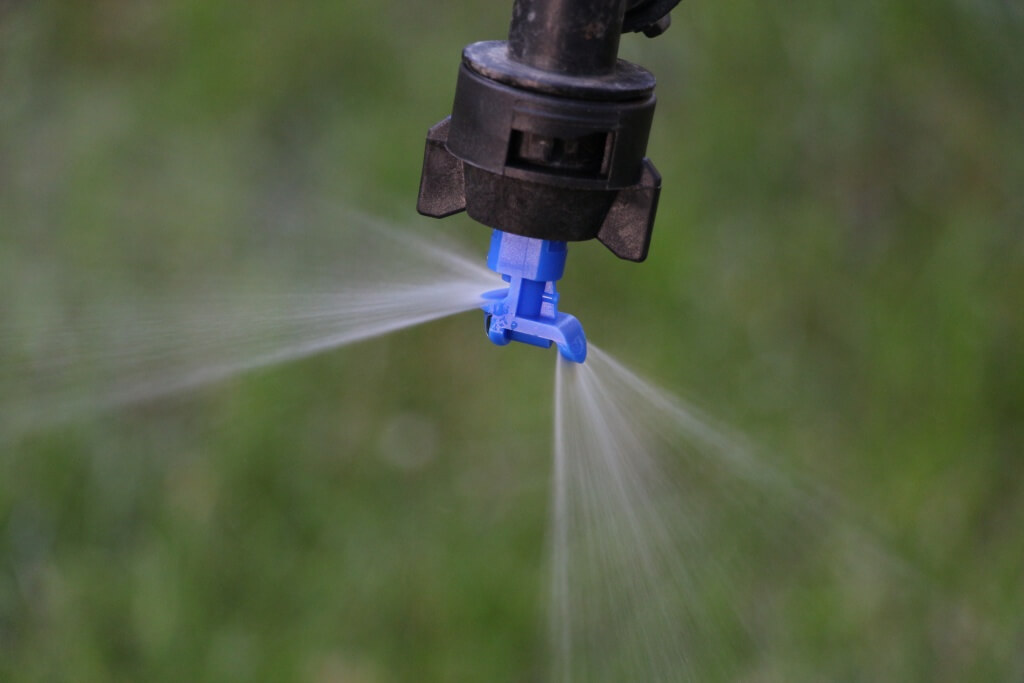
- Identify the best fungicide product for your disease situation. Consider inherent efficacy, but also the longevity of the protection and the fungicide’s off-target toxicity (less toxic products can be sprayed in windier conditions without harming susceptible ecosystems). Remember that most fungicides are not curative and must be present on the plant foliage before infection takes place. Also remember that most fungicides are not easily translocated and are at best “locally systemic”. This means that fungicide deposit must cover the plant part that requires protection with an adequate droplet density. If the fungicide is systemic, these deposits must be absorbed through the plant cuticle and will only migrate a small distance within the plant tissue, usually in the transpiration stream, from the point of application.
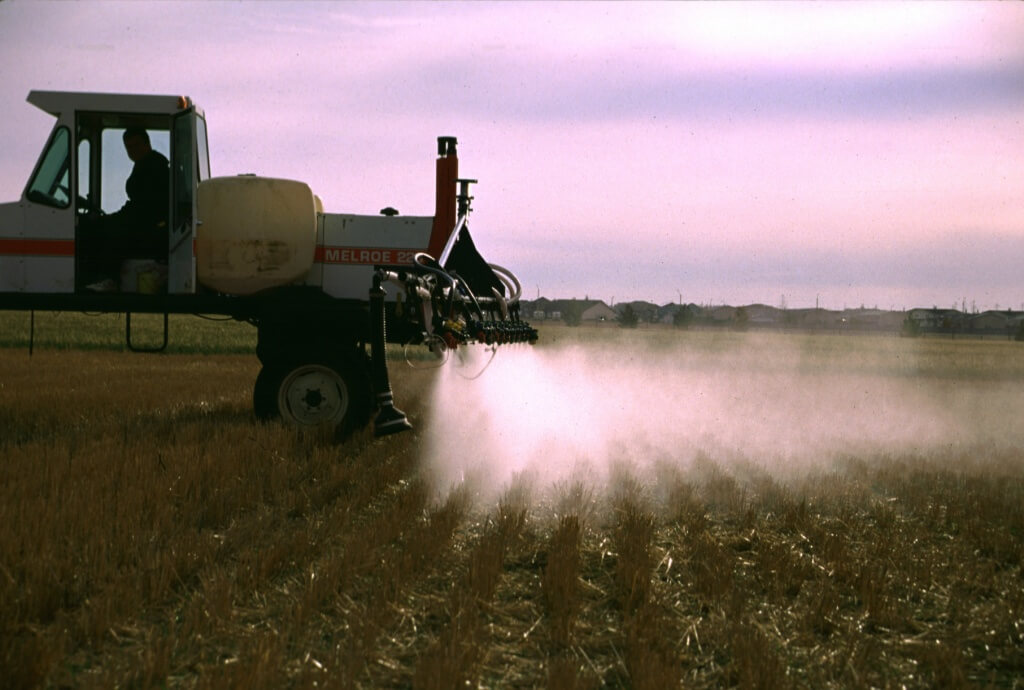
- Make proper timing the priority. Disease control is usually only effective if the fungicide is applied in a narrow time frame in which the crop or disease is at a certain developmental stage. A great application at the wrong time is less valuable than mediocre application at the right time. The use of low-drift nozzles should be considered an agronomic tool that permits the correct staging even under marginal wind conditions.
Let’s now review the major highlights of fungicide application in the major cereal and oilseed crops.
Wheat
In wheat, the early growth stagings for foliar fungicides are usually done to protect from leaf spot diseases such as tanspot, septoria nodorum blotch and septoria tritici blotch. Because these diseases are trash-borne, they tend to migrate up from the bottom to the top and good canopy penetration of the spray is important.
Better canopy penetration can be achieved the following ways:
- Higher water volumes. This is probably the most powerful tool in an applicator’s arsenal. More water usually delivers higher doses of active ingredient deeper into the canopy, and whatever dose does get deposited will be present in higher droplet densities. So in short, for any given spray quality (droplet size), more water provides better coverage. We all intuitively know this.
- Slower travel speeds. Moving slower imparts less of a forward velocity on the spray cloud, particularly in the larger droplets. As a result, these droplets move more vertically. In the case of a cereal canopy, more of the spray will reach the lower leaves. The finer droplets in the cloud tend to deposit with the wind direction regardless of travel speed.
- Backward pointed nozzles. If a droplet moves backwards at the same speed as the spray boom moves forwards, then it is basically standing still relative to the crop. It will have a greater chance of moving down towards the lower canopy than a droplet that’s moving forwards. The latter droplet will likely be intercepted by something vertical, like a wheat head or stem.
A single nozzle oriented back, applying a water volume that is at least 10 to 15 US gpa, will be sufficient to get good canopy coverage for leaf spot and rust protection.
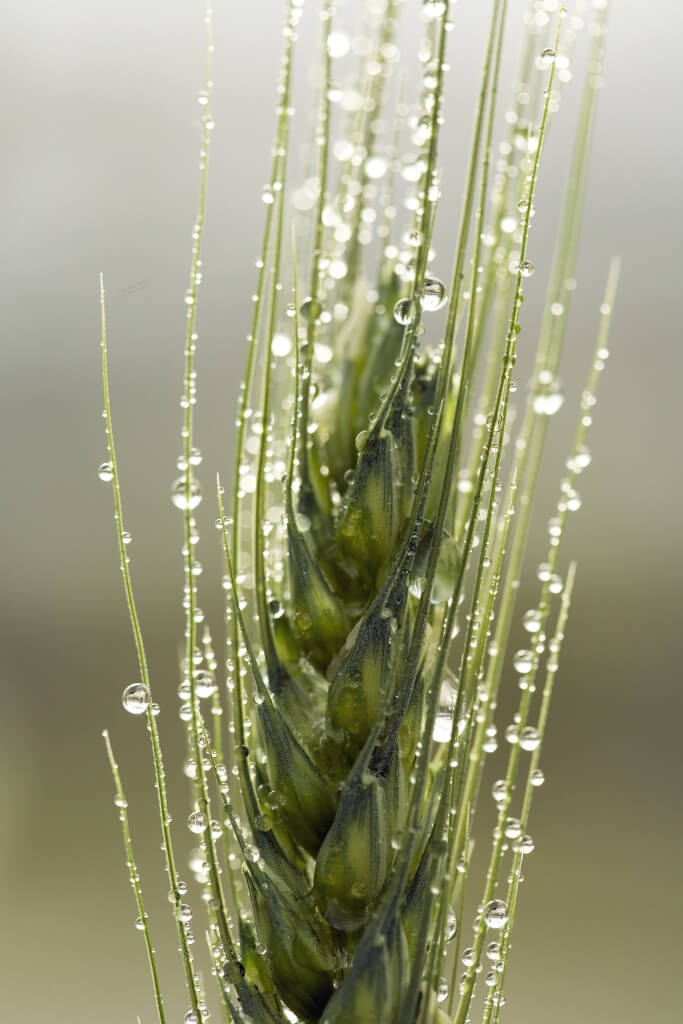
Fusarium Headblight (FHB), caused by Fusarium graminearum, is a special case. It infects the wheat head at anthesis, and fungicide must be present on the head, at the glumes where the anthers emerge, at the time of infection. So we have a relatively large vertical target that is at the very top of the canopy. Initial work at North Dakota State University, followed up by work at AAFC in Saskatoon and the University of Guleph at Ridgetown, found the following:
- Angled sprays are essential. Field and lab studies showed that angled sprays were much more effective at depositing the fungicide on heads than vertical sprays. Backward pointed angled sprays provided additional help at targetting the other side of the wheat head. Twin nozzles are available from most manufacturers.
- Use Coarse sprays when angling. Angled and twin sprays have their challenges. The angle at which the spray is released dissipates quickly, particularly for smaller droplets. As a result, more aggressive angles and coarser droplets were found to be more effective. Larger droplets were able to maintain their initial trajectory for a longer distance, increasing the chance that the droplet hit the head from the side rather than passing it by vertically.
- Maintain low boom heights. Even coarse sprays are deflected by air resistance and will eventually stop moving in the direction they were first emitted. In fact, this happens within a short distance. Low booms, less than 25″ if possible, help.
- Watch wind speed and direction. Field observations show that even a moderate wind can over-ride the application practices described above, resulting in most of the spray deposited on the windward side of a target regardless of its initial release.
- Awns intercept small droplets. Many of our modern wheat cultivars are awned, and these fine structures are excellent collectors of small droplets. In early studies with durum, we found a large proportion of the spray volume on awns, where it served no useful purpose. The best way to minimize this awn interception is to ensure coarse sprays and sufficient water, no less than 10 gpa.
It’s important to maintain realistic expectations with FHB. Fungicide chemistry is improving but still offers only suppression. Crop staging is variable. Excellent application practices place the odds more in favour of disease control, but can’t change these facts.
Pulse Crops
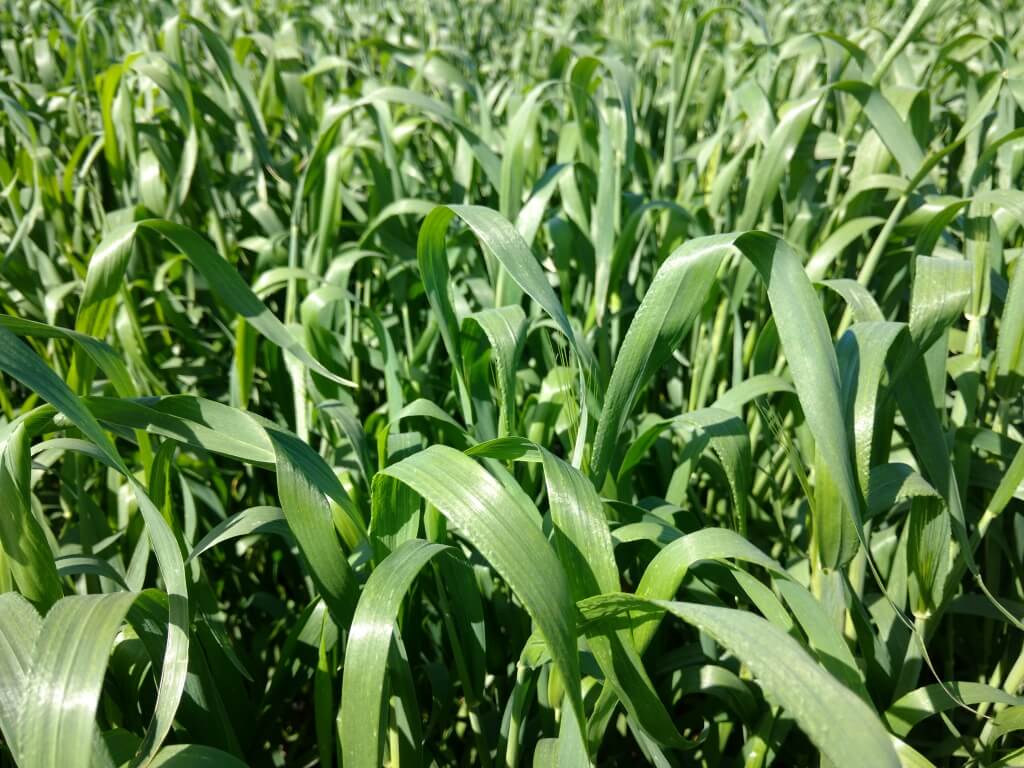
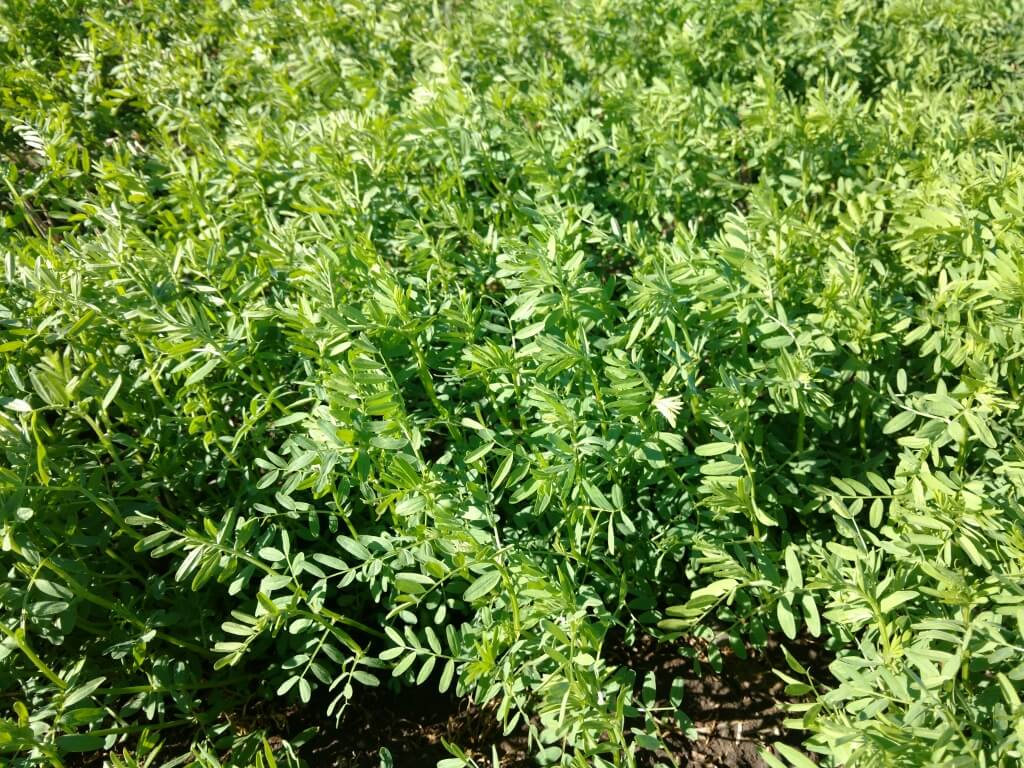
Lentils and peas are increasingly important crops. They appear spindly in their early stages of development and are poor weed competitors. But under the right conditions, lentils soon form an impressive set of leaflets that creates one of the most impenetrable barriers in our cropping systems.
Here are some pointers for fungicide application in pulse crops:
- Understand the disease in your crop. Do you need to protect stems (anthracnose), leaves and stems (ascochyta complex, mycosphaerella), or senescing leaves or flowers (sclerotinia)? This is where the spray needs to go.
- Understand the time of disease development.
- Trash-borne diseases like anthracnose and ascochyta will start at the bottom of a lentil canopy, and early treatment before canopy closure will be important to arrest or at least delay disease development as long as possible.
- Late season diseases like sclerotinia and botrytis push the application timing towards a closing or closed canopy. Success of such sprays is more elusive because of the rapid development of new biomass.
- Take a bird’s eye view of the canopy.
- If you can see the target you need to spray, the job is pretty straightforward and conventional water volumes and nozzles will work.
- If the targets are hidden from view, it will take more water and slower travel speeds to get the required coverage. Consider the higher end of the recommended water volumes (15 gpa in most cases), slower travel speeds (10 mph).
- When a canopy has many layers of cascading leaves, it is very difficult for a spray to get past these “umbrellas”. We’ve observed many times that a leaf is a very effective shield for anything below it. Large droplets have a hard time changing direction because of their mass and resulting momentum. But small droplets, especially those below 100 microns, can move with slight changes in air movement and get around these obstacles. Use higher pressures (to generate the finer sprays) or select finer nozzles to improve canopy penetration.
- Look at the size of the plant part you need to target. Large targets like leaves can capture almost any droplet size, but small targets like petioles or vertical targets such as stems may benefit from finer sprays, especially if they’re hidden in the canopy.
Generally speaking, dense pulse canopies will require higher water volumes and finer sprays than their cereal counterparts. Although twin fan nozzles have not been shown to provide an advantage in our studies on chickpeas, higher water volumes proved very effective at improving deposition and disease control.
Canola
Canola has two main diseases for which foliar sprays are used. A small number of producers choose herbicide timing for control of blackleg. Because the crop canopy is small and the spray targets are exposed, general herbicide application guidelines (Coarse sprays from a venturi nozzle, 7 – 10 US gpa) will provide good targeting and adequate coverage.
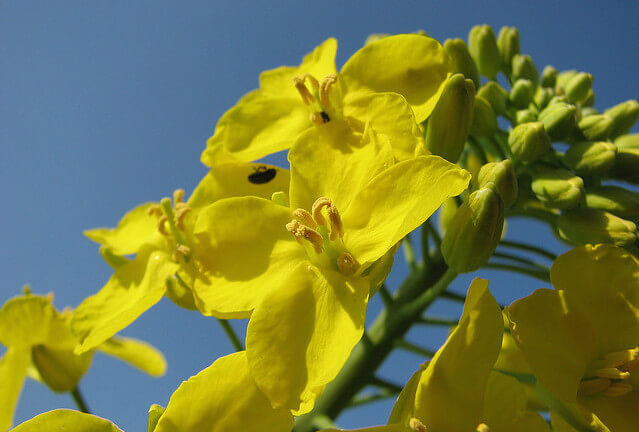
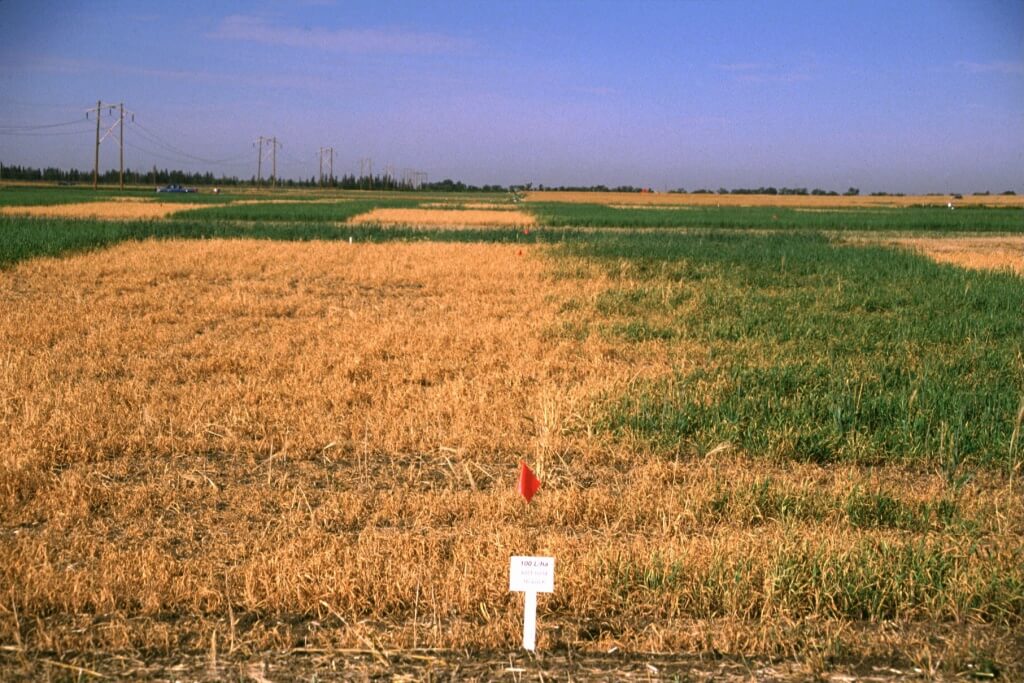
Sclerotinia control requires that the spray reaches buds and petals of canola that is between 20 and 50% flowering. Work at AAFC in Melfort compared conventional and low-drift sprays at two pressures, and showed that droplet size had no effect on disease control. In fact, the Fine spray produced by hollow cone nozzles at high pressure did not significantly improve sclerotinia control compared to a venturi nozzle at its recommended pressure of about 60 psi.
Subsequent lab work showed that the proportion of the applied spray that was retained by petals and buds was statistically identical for all tested sprays.
Water volumes may need to be increased for modern canola hybrids that have significant biomass at flowering. Such cultivars may grow over 1.5 m tall and present a large range of canopy positions in which buds and petals appear. As with the other crops, when a spray needs to cover more area, and especially when this area presents itself in layers, more water volume is appropriate.
Fine Sprays for Coverage
Conventional wisdom says that fungicides require finer sprays for coverage and best effect. This is certainly true in some cases, particularly where the leaf area index is high and leaves are arranged in cascading layers. But it’s time to retire this notion as general advice and adhere to research results for guidance. For FHB, the recommended angled sprays benefit from being applied in coarser, not finer sprays. And in pulses and canola, research showed that there was no benefit from finer sprays. In fact, finer sprays can impair proper timing because of their propensity for drift and rapid evaporation under dry conditions.
Modern coarse sprays produced by air-induced nozzles are less susceptible to these environmental conditions and therefore offer an important advantage: they allow for better timing accuracy. For this reason, I view them not so much as drift control tools, but rather as agronomic tools.
There is a downside to the coarser sprays – they do require more water. Volumes should always be above 10 US gpa, and many recommendations go to 15 gpa if the canopy is dense. In some cases, 20 gpa may be beneficial. These higher volumes are a reasonable price to pay to protect a valuable crop, and we certainly have the equipment to make this price bearable.
Aerial Application
Aerial application is an important way to apply fungicides. An aircraft’s chief advantage is to cover large areas with no crop trampling, and can do so even in wet conditions. As a result, they offer the timing advantage we so often mentioned in this article.
A producer hiring an aircraft for spraying ought to have a conversation with the pilot and discuss water volume and droplet size. Aircraft, out of practical necessity, apply less water and distribute it in finer sprays to offer the required coverage. Although this has been shown to be effective, it creates drift and evaporation potential. It is worthwhile to ask for higher water volumes if it means that the spray can be applied somewhat coarser, creating less drift.
The rotary atomizers on many aircraft produce fairly uniform droplet sizes and do a good job of eliminating the larger droplets. This makes even more droplets available for coverage. However, even with this technology spray drift still matters and all steps to prevent it should be taken. This means using larger average droplet sizes and increasing water volumes accordingly to their label recommendations.