- Air handling is the most important sprayer system; air gives low-mass droplets momentum and moves canopy to expose surfaces.
- Match air energy to canopy: too little fails to penetrate, too much overshoots and wastes spray.
- Adjust travel speed first; it changes air energy per row and balances coverage versus work rate.
- Calibrate sprayer in the crop using a handheld weather meter; face prevailing wind and assess the canopy top third.
- Use a 10 inch ribbon test to view air angles, detect asymmetry, adjust deflectors, and aim outlets at the densest canopy.
This text was generated by OpenAI GPT 5 Mini
This is part one of a two part article on how to optimize the match between the sprayer air and the target canopy. For a more fulsome description of the process, consult chapters 3, 9, 10, and 11 of Airblast101.
Why is air so important?
Air handling is the most important and least understood mechanical system on a sprayer. Most air-assisted sprayers for three-dimensional perennial crops produce droplets that are Medium or smaller according to the ASABE S572.3 droplet size classification standard. These small droplets have very little mass relative to their surface area, so they don’t have much kinetic energy. Without air to impart speed and direction, most droplets would never go where we want them to. In addition, air opens and moves a canopy, exposing otherwise hidden surfaces to the droplets it’s carrying.
Air-assist spraying attempts to replace the empty air within a canopy with droplet-laden air (and then get it to stay there). If we don’t have enough air energy, we won’t displace enough empty air and the throw will fall short. Likewise, if we have too much air energy, the throw will extend beyond the the target, wasting spray and likely compromising coverage. Ultimately, we want the air to expend all its energy, spreading, stalling and depositing droplets inside the target canopy.
Travel speed
Travel speed can have a significant impact on work rate. However, the effect of travel speed on air behaviour (and ultimately coverage) should be the sprayer operator’s primary concern. There will always be a trade-off between travel speed, coverage and work rate. Travel speed is the first and easiest adjustment to throw, spray height and canopy penetration. Just as travel speed modifies the liquid rate per row, it also modifies air energy per row.

Environmental and canopy conditions
Whenever calibrating or adjusting a sprayer, it is critical to do so in the crop, in environmental conditions you would typically spray in. You would not expect a sprayer to achieve the same results in high winds in a dormant vineyard as it would in calm conditions in a mature citrus orchard.
I recommend using a handheld weather meter because local weather reports often don’t match the conditions in the planting. For temperature and relative humidity, take readings in the shade. For wind conditions, face into the prevailing wind and hold the meter as high as you can. Wind speed increases with height and we want to evaluate the most challenging part of the target – the top third of the canopy.
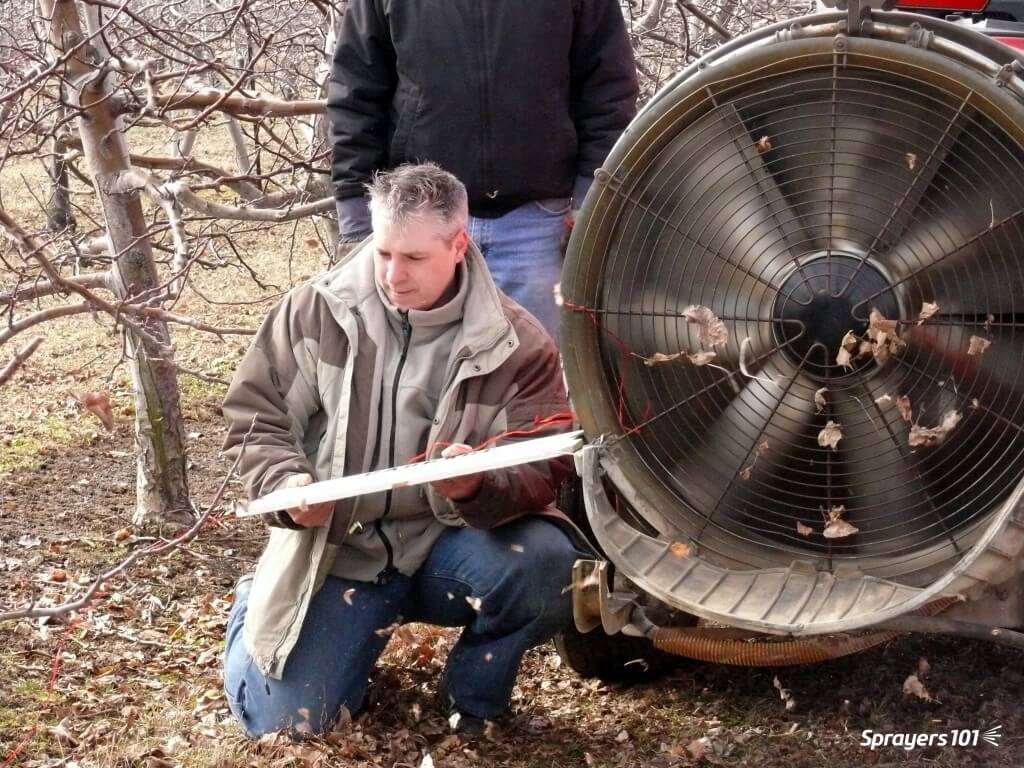
Evaluating vertical air angles – Ribbon test part 1
The air angle (or direction relative to the target) is the first concern. Research has shown that low profile radial airblast sprayers without effective straightening vanes or deflectors make the air go up on one side and down on the other. In extreme situations, this might compromise the spray job (e.g. miss the lower portion of the target on one side of the sprayer) or it might simply waste spray and stir up debris. Here’s how you can see if this is happening on your sprayer:
- Park the sprayer in an alley between the rows.
- Affix 25 cm (10 in.) lengths of tape along the air outlets. Tie them to nozzle bodies or use duct tape to position them so that they stand out in the sprayer-generated air.
- Bring the fan(s) up to the desired speed but do not spray. Stand back behind the sprayer and use the ribbons to extrapolate the air angle relative to the target canopy. Look for asymmetries and wasted air (i.e. angled above the canopy or into the ground.)
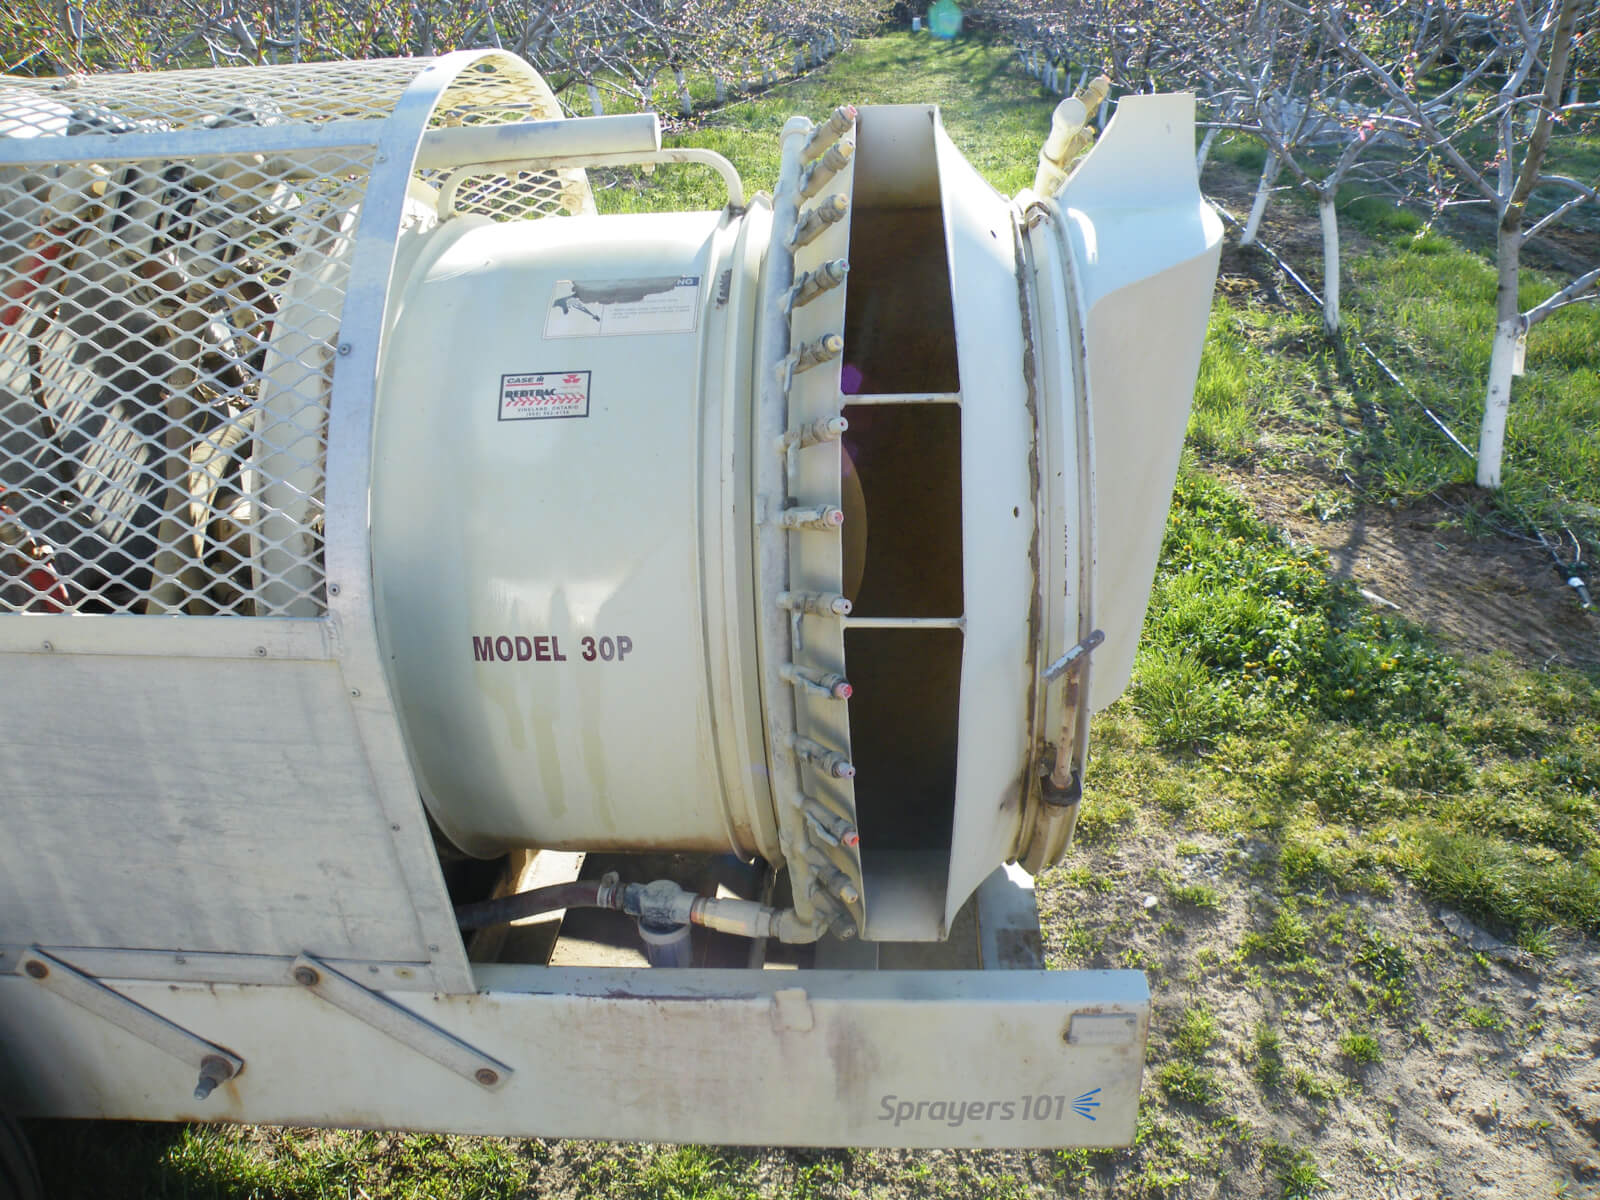
By observing the ribbons, you can extrapolate where deflectors or fan heads should be aimed. Air should be adjusted to slightly over- and under-shoot the target canopy. For ducted outlets, such as low profile Turbomist sprayers, the air outlet is not a uniform width – it’s widest about half-way down. Using ribbons to extrapolate air direction, aim the widest part of the outlet at the densest part of the canopy. This automatically repositions the booms as well, facilitating the next calibration step where we turn off nozzles that will significantly over- or under-shoot the target. This is discussed in another article.
Video Extras
These videos are a bit long-in-the-tooth now, but the concepts are still sound. If you hear anything in the videos that contradicts what’s written in the article, go with the article. Live and learn. Thanks to Penn State, the University of New Hampshire and Chazzbo Media for producing these 2014 videos.
This article will conclude in the second half:
Optimizing Sprayer Air Settings – Part 2