Note: While there’s nothing wrong with this article, a more recent article on this subject can be found here.
It’s nearing the end of a long morning of spraying and you just want to get it done. As the tank empties and you watch the last of the spray cloud waft through the row, you’re thinking about rinsing out and moving on… but did the spray land where you wanted?
How do you really know if you hit the target?
Maybe you’re content with the occasional “shoulder checks” you made from the cab while spraying. Perhaps you stop at the end of the row and get out of the tractor to look for wet foliage during.
Maybe you plan to return once the product is dry and look for white residue.

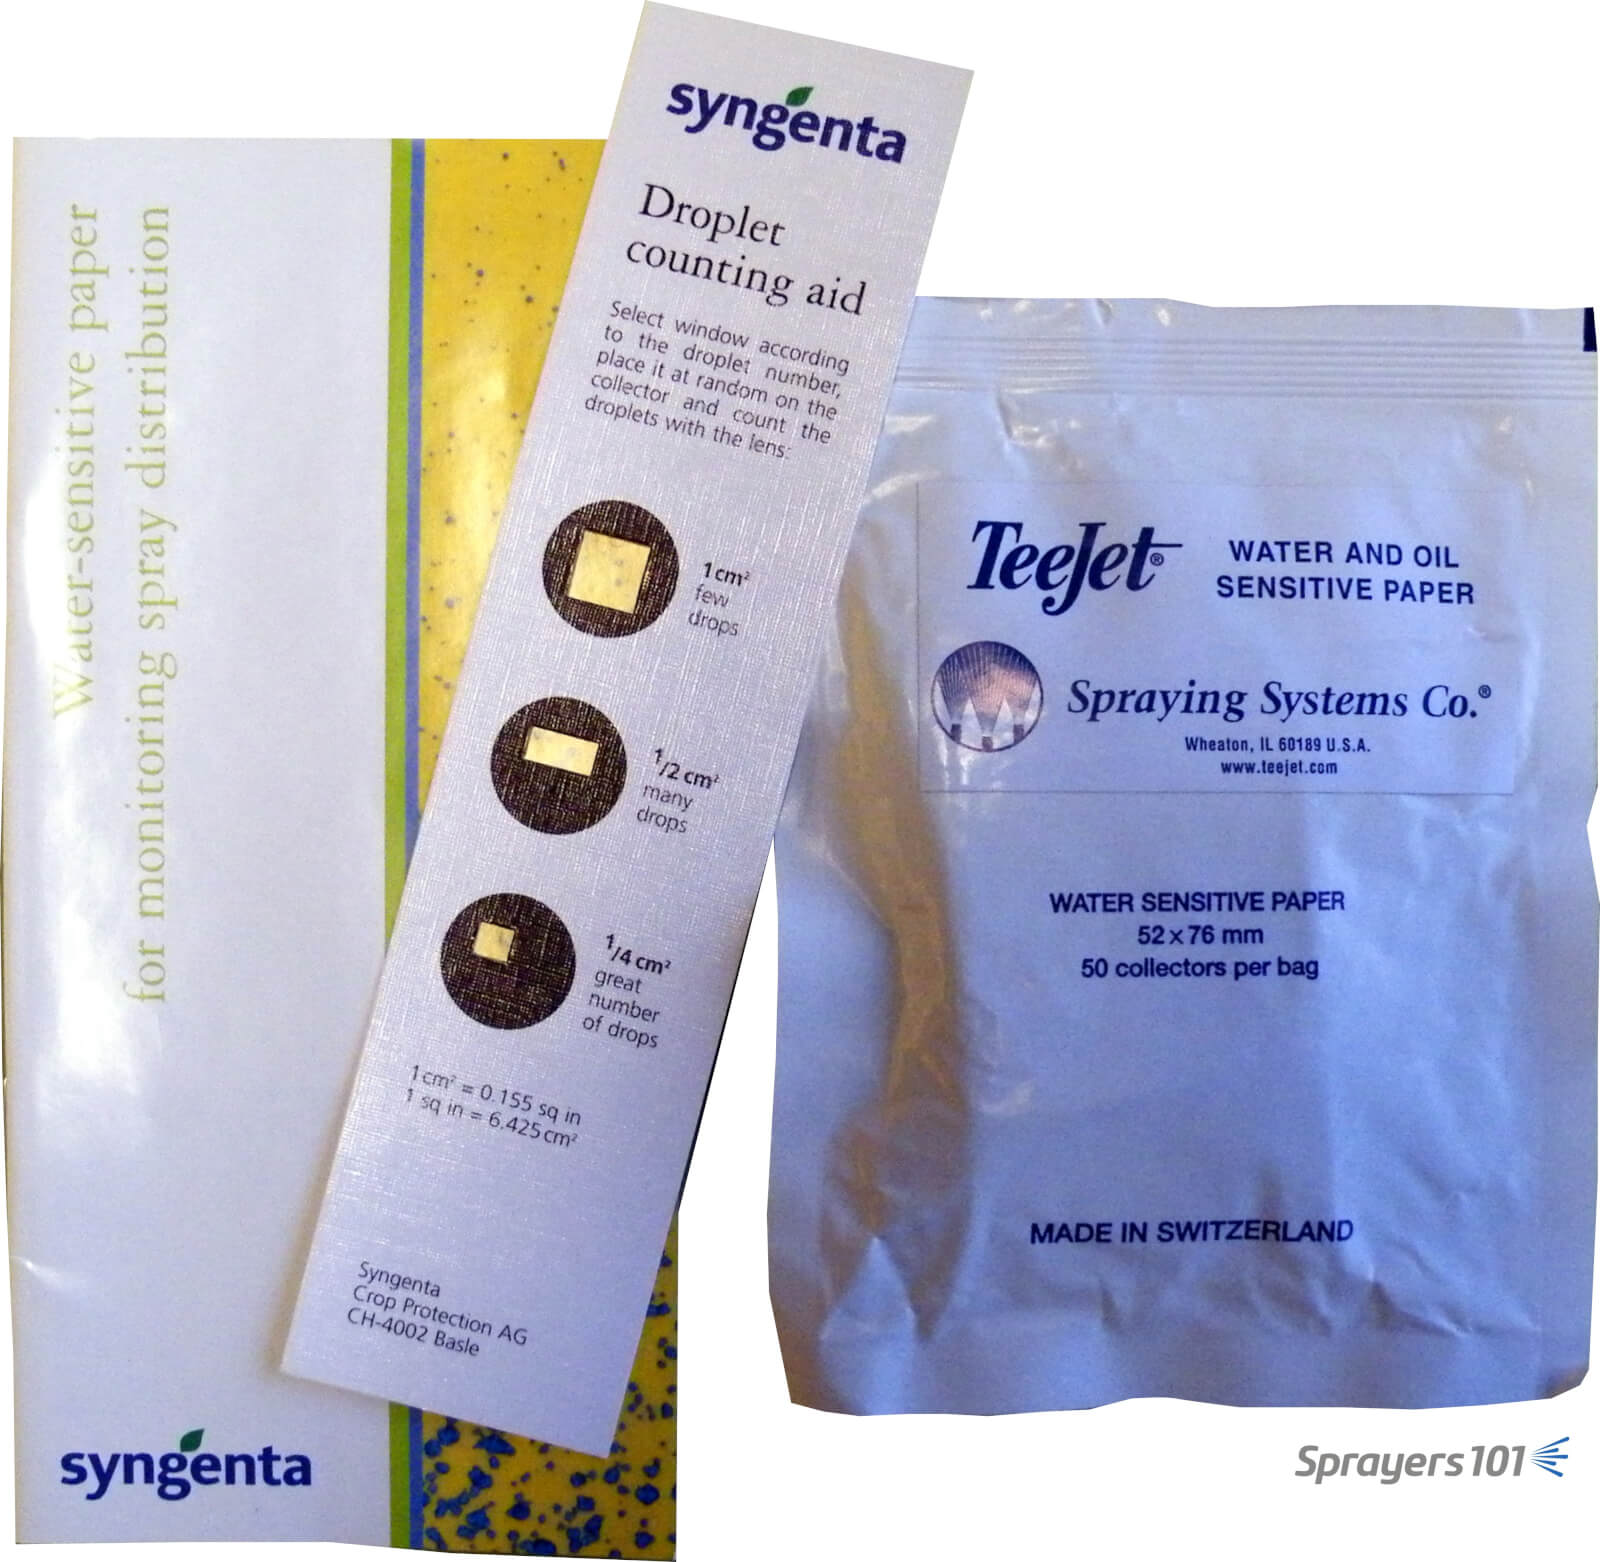
These are all good feedback practices, but a more accurate method is the use of water-sensitive paper, which turns from yellow to blue wherever spray touches it. You can easily see the distribution of the spray and the overall area covered, and it can be quantified so you can compare one sprayer set-up to another, or see the impact of weather, or even the effects of nozzle choice, pressure and water volume.
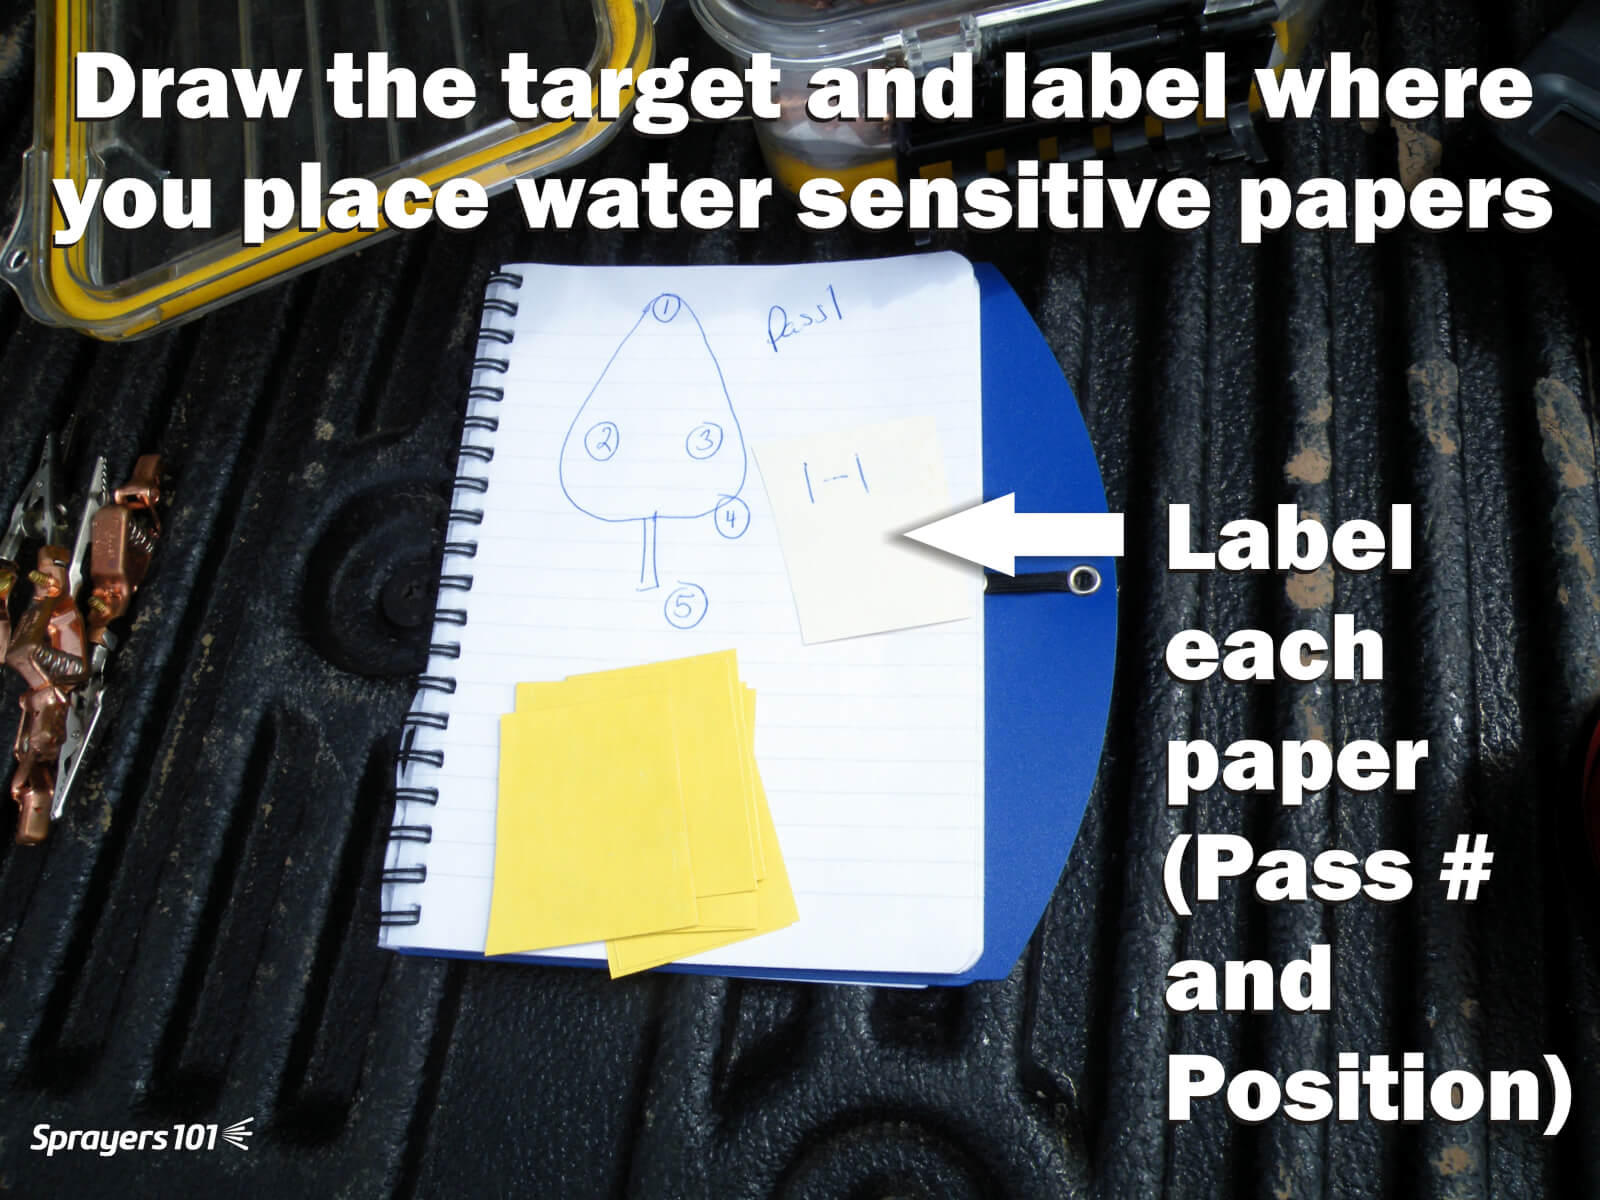
Draw a map
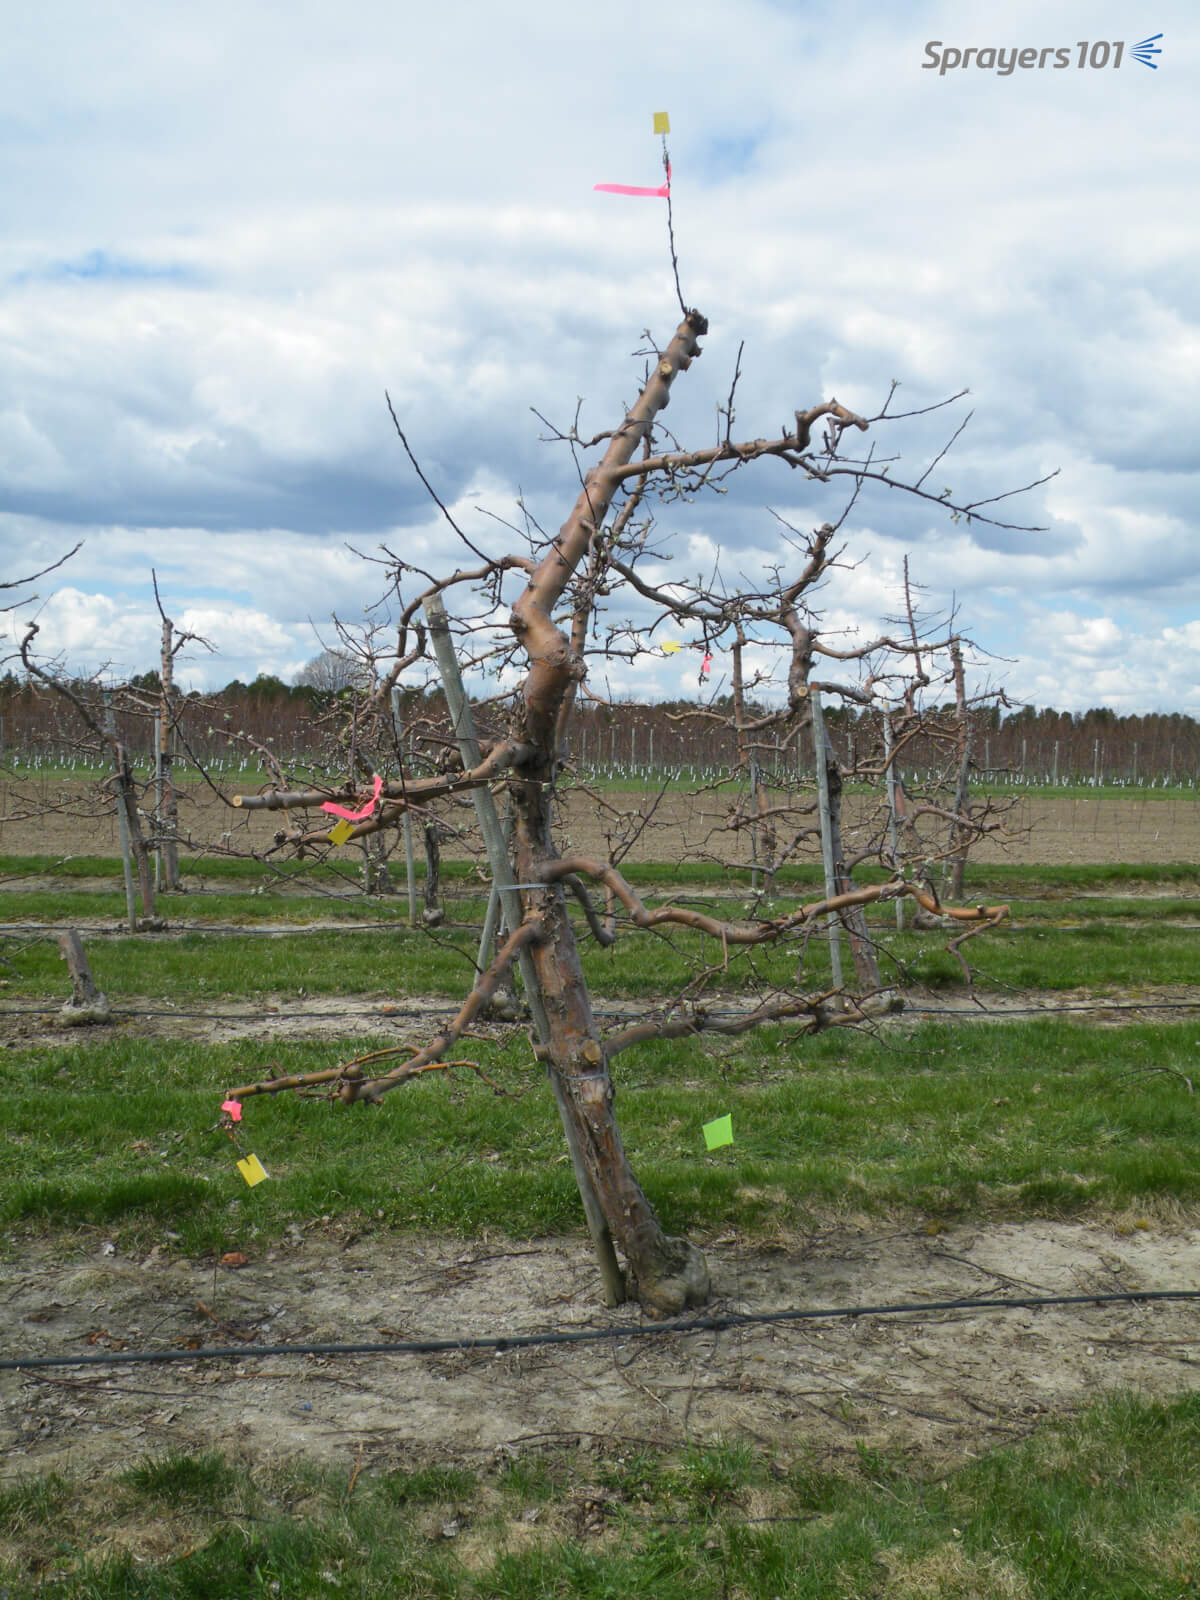
Begin by creating a simple drawing of the tree, cane, bush,vine, etc. you wish to spray. Label the drawing with unique numbers that correspond to where you are going to place the papers. Write the numbers on the back of each paper so you can see where they came from after they are collected. You should also note the pass number, so you can differentiate between each sprayer setup and corresponding pass. You might make a change and want to see how it affects coverage, and it’s very easy to mix up the papers if you haven’t record everything clearly. Plan to do this for at least two plants upwind from the sprayer to ensure you will get an accurate representation of average coverage. Be sure to wear disposable gloves and avoid dew so the papers don’t react prematurely.
Distribute the papers
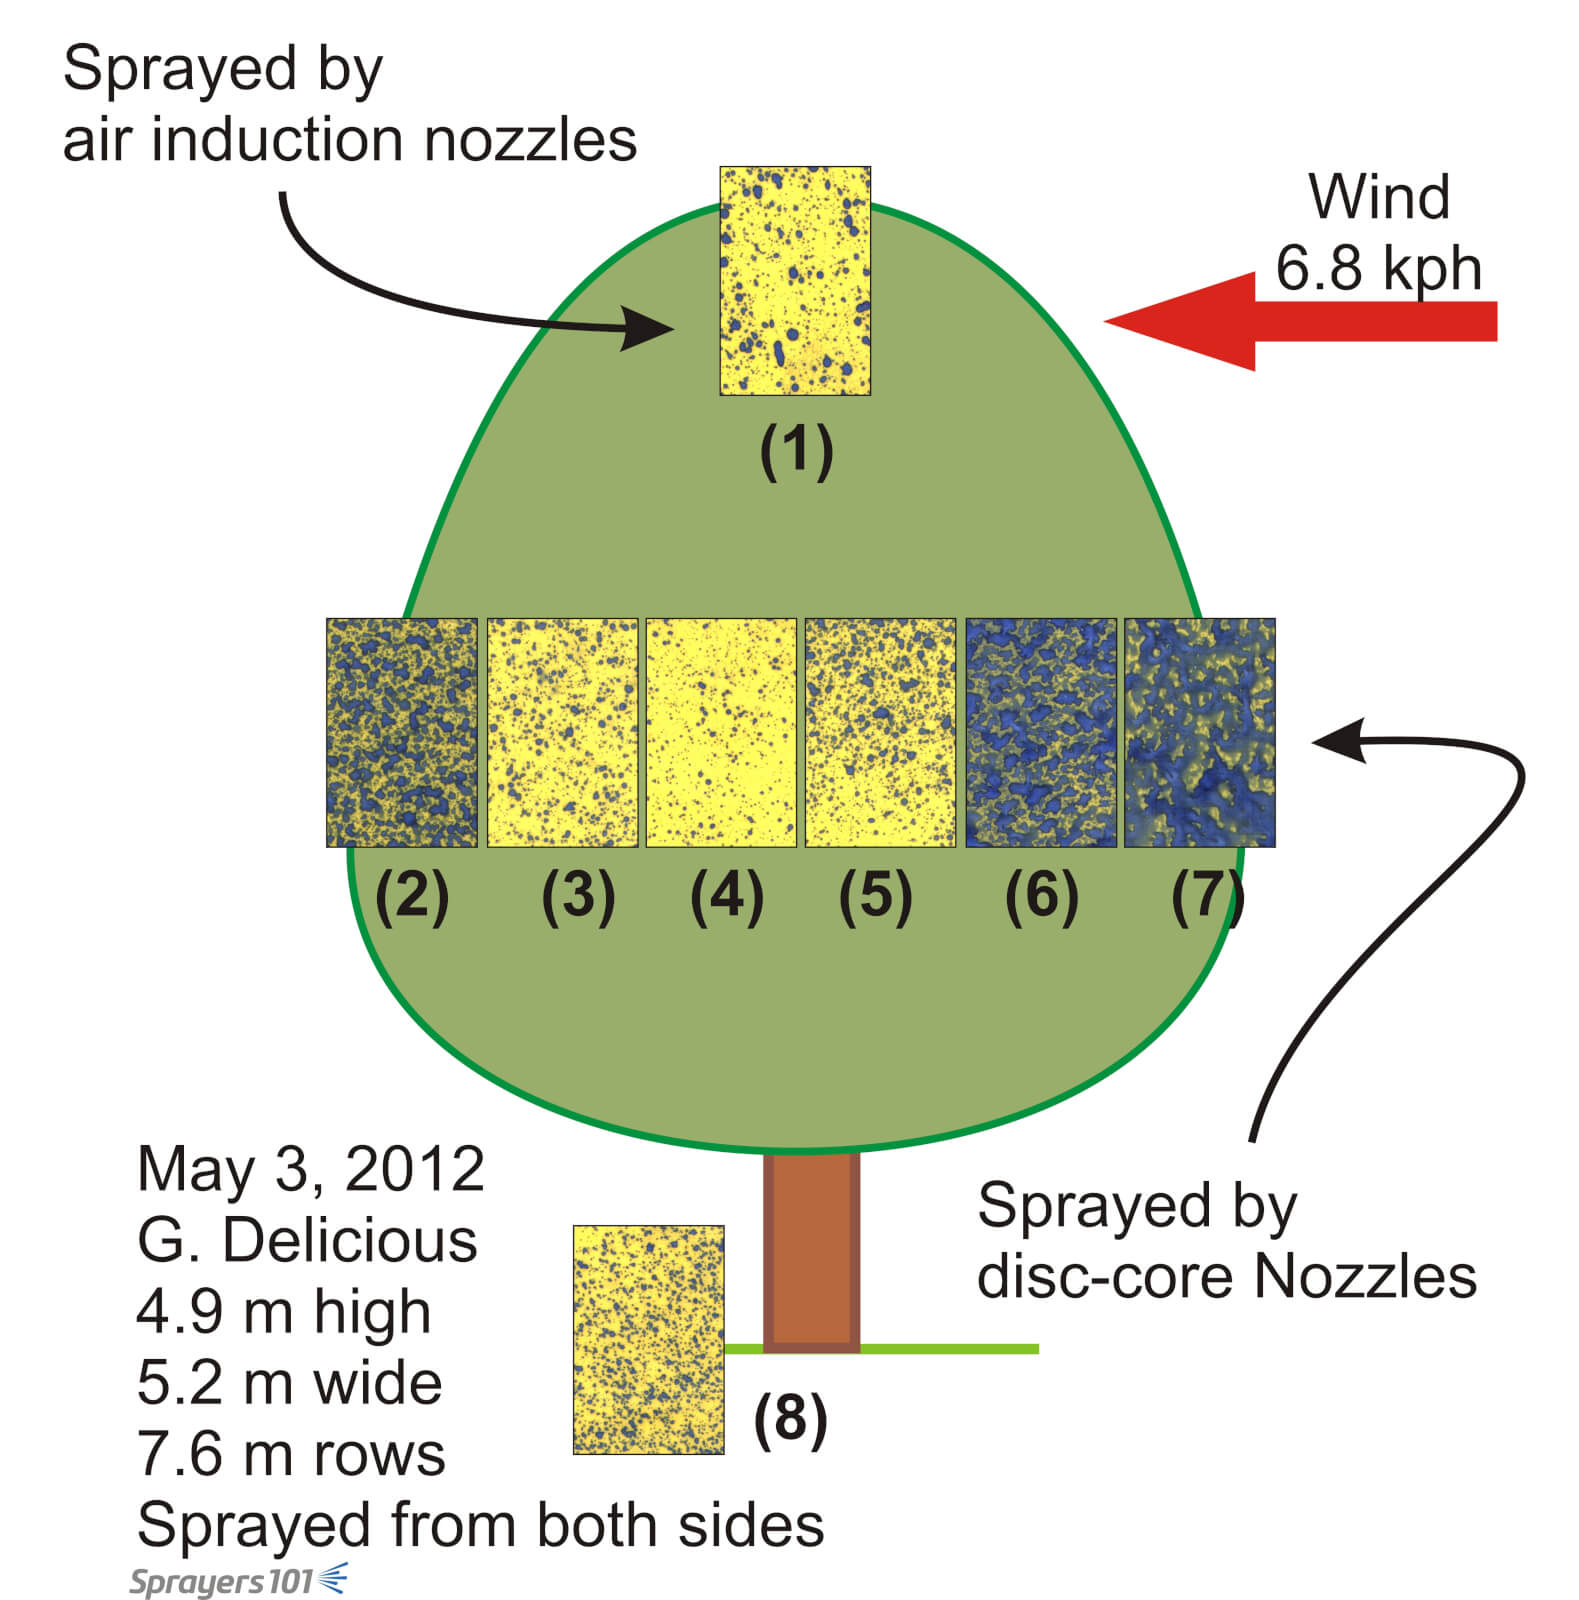
It is critical to distribute the papers evenly throughout each target canopy. They should be placed in key locations where pest damage has been an issue in the past (e.g. scab at the top of a tree, or spotted-wing drosophila at the bottom-centre of highbush blueberry), or anywhere coverage is notoriously difficult. Our preference is to place them at the top, centre and bottom of a tree canopy as well as laterally from the outer edge of the canopy beside the sprayer moving in towards the trunk.
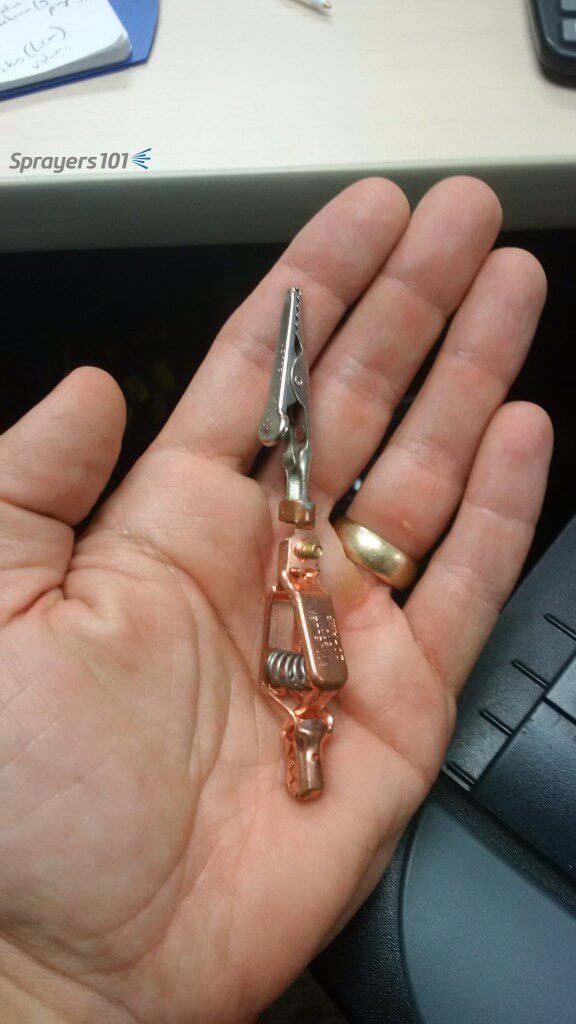
We use spring-back paper clips attached to alligator clips at 90 degrees to attach the papers to small branches. You can also staple them to the upper or lower face of the leaves (as long as they don’t cause leaf to droop). You can wrap them around stems for panoramic coverage or to monitor drenches. They can be stapled the trunk to show if spray is aimed into the canopy or being wasted. You can even skewer to the ground using wire flags to to illustrate poor lower-nozzle positioning and/or canopy run-off. Put them wherever you want to know about spray coverage!
We typically orient them facing the alleys so their sensitive faces are square to the sprayer as it passes. We often use two in each location, oriented back-to-back facing each alley so you can resolve coverage from both sides. The important part is to ensure you are consistent. Mark the location in the canopy with some colourful flagging tape so you can find the papers after you spray, and if you wish to replace them with fresh papers to evaluate another pass, orient them the same way to make the comparison fair.
Spray, check and spray again
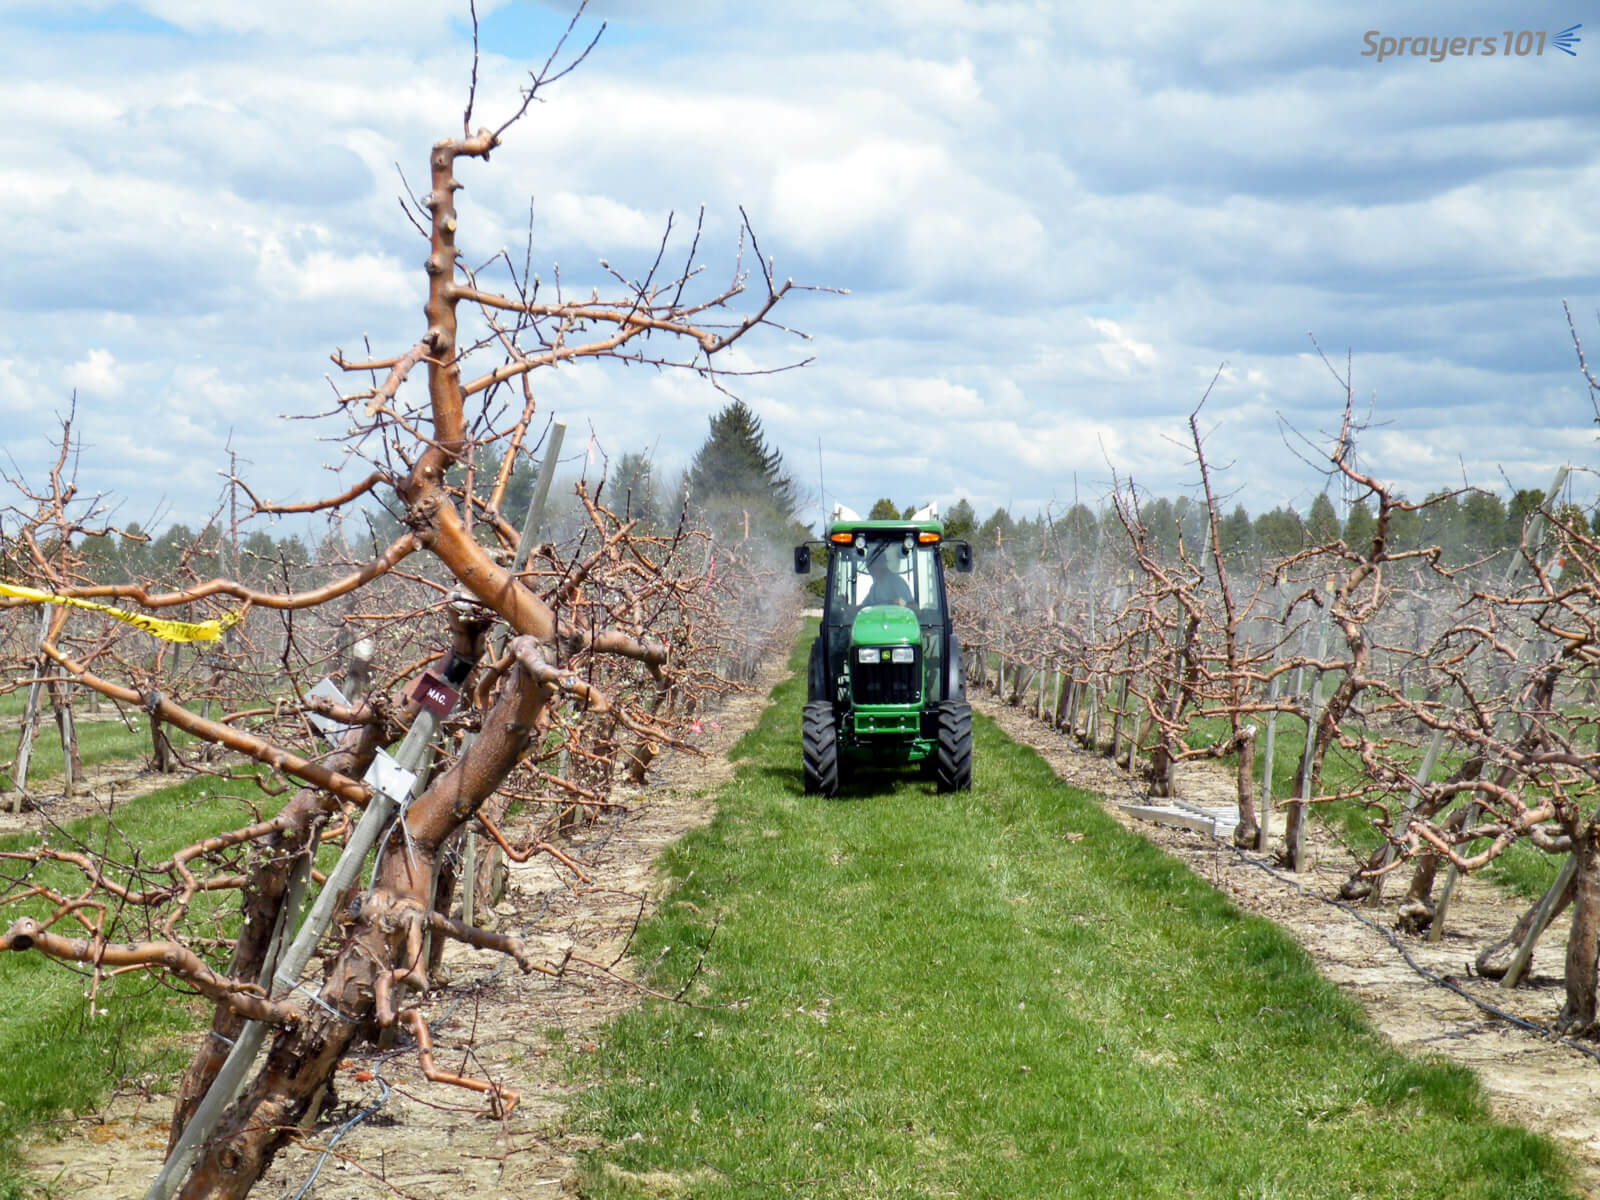
Once the papers are in place, pass by on one side with both booms open (as you would normally spray). Be sure to start spraying well before passing the target, and keep spraying afterwards to ensure the resultant coverage represents an actual application. It is very informative to get out of the cab and examine the papers before passing by on the other side. You can learn a lot about how the wind is affecting the spay.
Interpret the patterns
You might notice the outer portions of larger canopies receive more spray than the inside. This is hardly surprising given that spray must pass through the outside to get to the inside. As a result, inner papers often receive proportionally less spray and should be the basis for determining if you have sufficient spray coverage. This is also why the label recommendation of “spraying to the point of runoff” is unhelpful: the outer portion of wide, dense canopies often begin to drip before the inner portion receives sufficient coverage. Further, how do you spray to the point of runoff? How do you know when to stop before it’s too late? Label language can be frustrating…

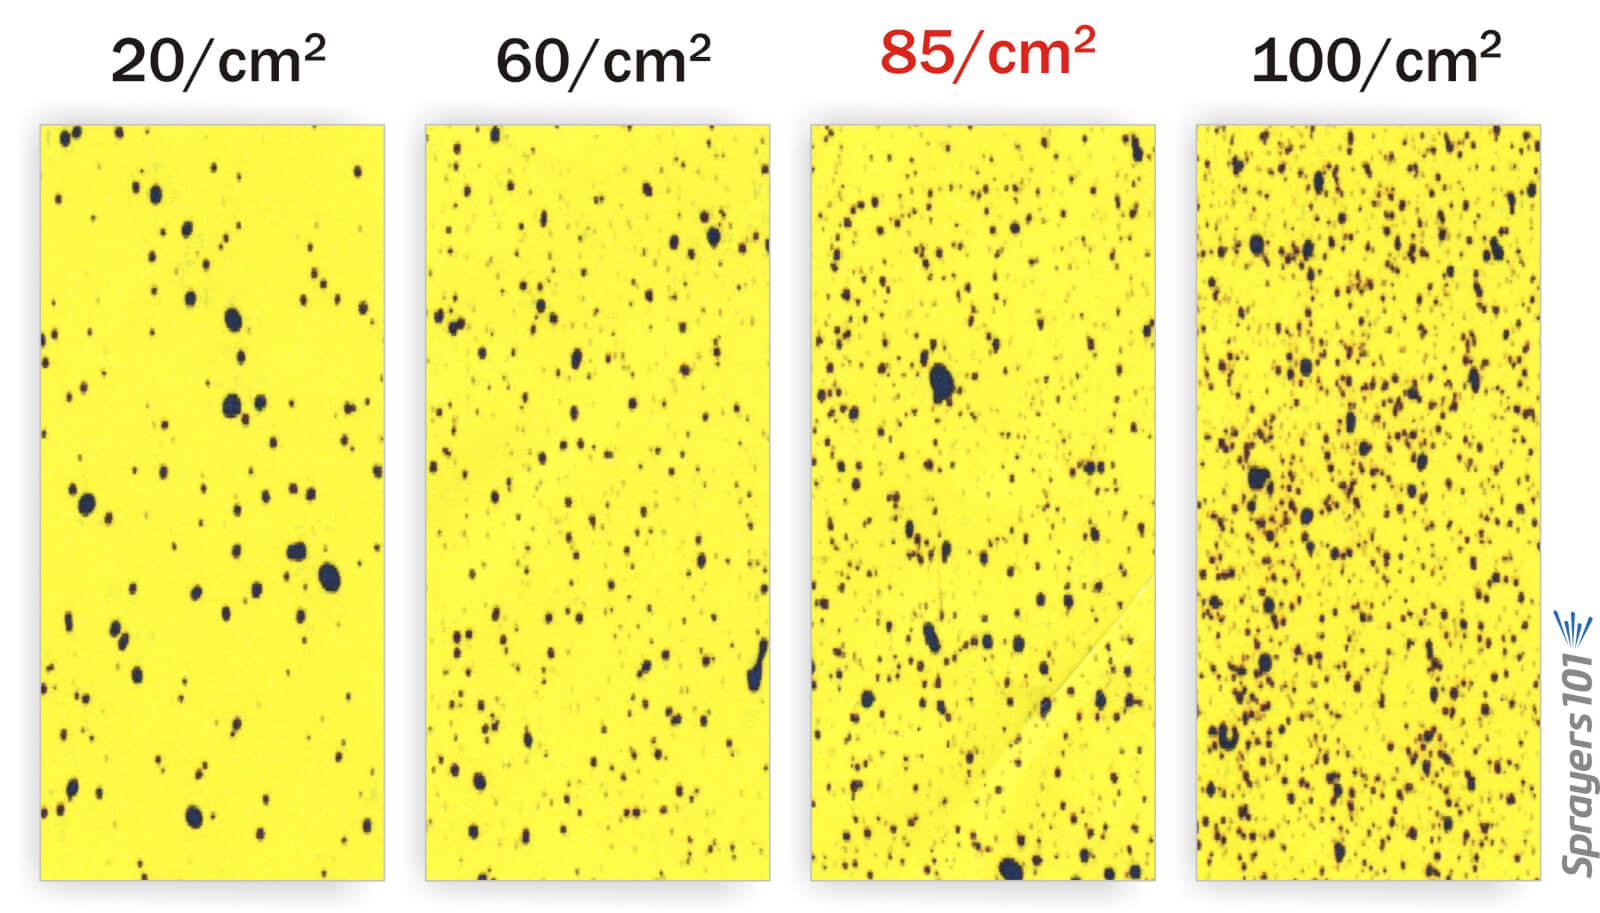
When assessing coverage, don’t follow the droplet counts in the small guide that comes with the paper sensitive paper kit – they haven’t been updated for a very long time and are more appropriate for field crop applications – not airblast applications. Research and experience suggest that 85 discrete fine/medium-sized droplets per square centimetre and a total coverage of 10-15% should be sufficient for most foliar insecticides and fungicides. Remember, this is only a suggested threshold and in the case of coarser sprays, focus more on even distribution and the 10-15% coverage.
Make a change and try again
There’s no easy way to define a threshold between sufficient and insufficient spray coverage. When you retrieve and examine the papers, think about how the product is intended to work: “Is it a contact, trans-laminar or locally systemic pesticide? What are the odds that an insect or spore will come in contact with residue? Will I be spraying again soon (e.g. fungicide) and will the spray already on the leaves have residual activity?” Regarding that last thought, protectant fungicide applications are often layered, so what one spray misses, the next will catch. Quite often, “sufficient coverage” is less than most sprayer operators think.
If you are content with the coverage, record your sprayer settings to use them again in that block (in similar weather, and assuming the crop canopy doesn’t change significantly before the next spray day). If you are not content, make a change to the sprayer to improve matters, reset the papers, and go again. It can take time and some effort to get it right, but improved coverage and reduced waste are ample financial reward for your efforts.
Other methods of evaluating coverage
It should be noted that while water-sensitive paper is versatile, cheap and easy to use, it has its shortcomings. Placement and orientation of the paper is very important; it’s easy to hit papers on the outside of the canopy with the sensitive-side facing the sprayer. It’s considerably harder when they are at the very centre of the canopy, or hiding behind fruit. When the thin edge of the paper is oriented to the spray (i.e. oriented facing the ground), it presents very little surface and can be difficult to hit.

Further, the papers won’t show the finest droplets (<50 µm), so there may be spray even though you can’t see it. Taken collectively with the product’s mode of action (i.e. contact or locally systemic), and any possible re-distribution by rain or dew, spray coverage becomes a good indicator for protection, but it isn’t definitive. While coverage is a good indicator, improved coverage does not always mean improved efficacy.
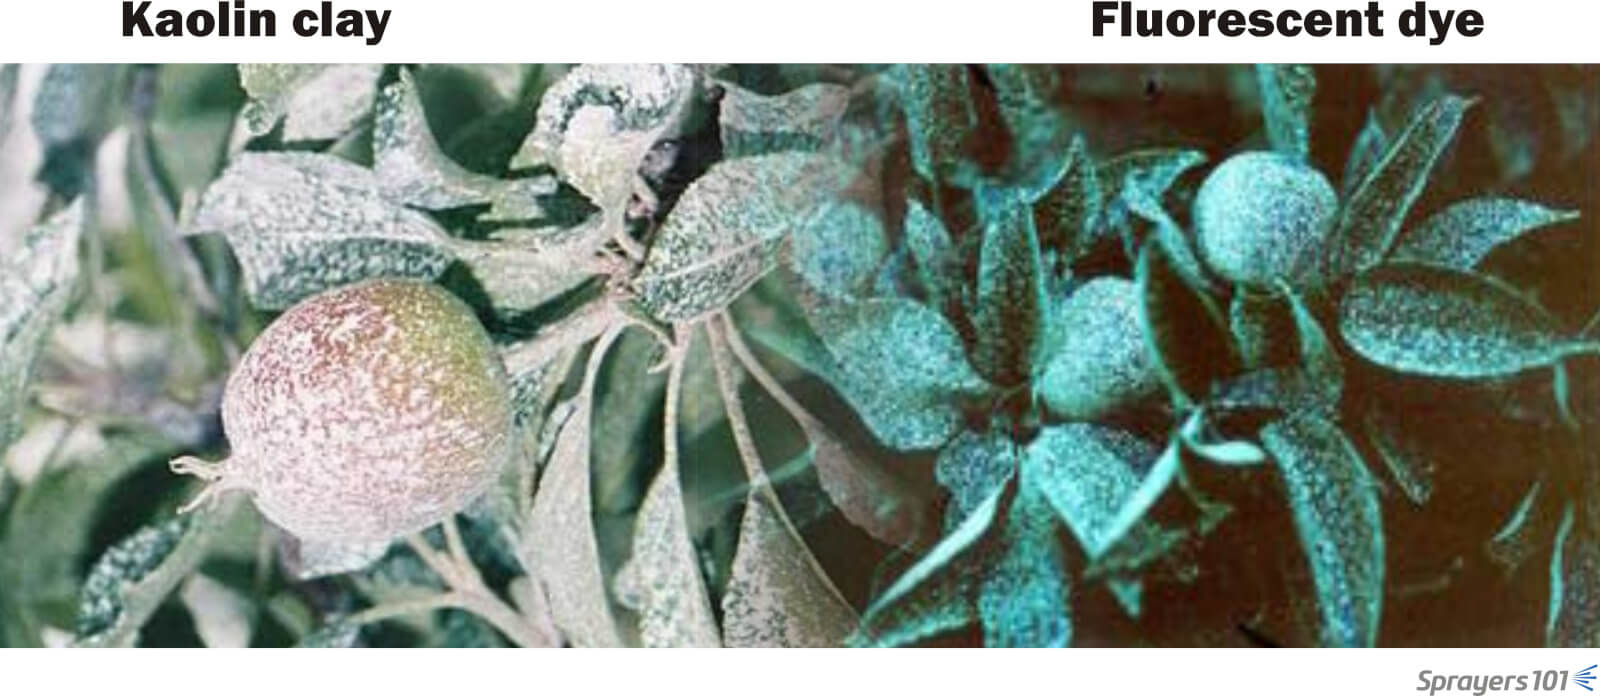
Some sprayer operators use other methods to confirm their coverage. Kaolin clay is an inert compound that leaves white residue when dry. Red, yellow or green water-soluble, food-grade dyes will also indicate coverage. Even fluorescent dyes such as phosphorus can be sprayed at night and illuminated under black lights.

Take home
These methods give the sprayer operator a lot of information because they land on the actual target, not a piece of paper hung in the canopy. But, they require a lot of time and effort and are typically out of reach for most operators. Further, they do not allow multiple applications on the same canopy to compare the effect of sprayer settings on coverage – once the target is sprayed, it’s sprayed.
No matter which method you choose to use, understanding how changes to you sprayer, or the impact of weather, affect coverage is a critical piece of information. Operators should make an effort to evaluate spray coverage. Here are a few videos describing the process:
Using water-sensitive paper for airblast coverage diagnostics – thanks to Penn State, Univ. New Hampshire and Chazzbo Media (2014).
Checking water-sensitive paper in an orchard. Tower is spraying only water during a calibration run (2013).