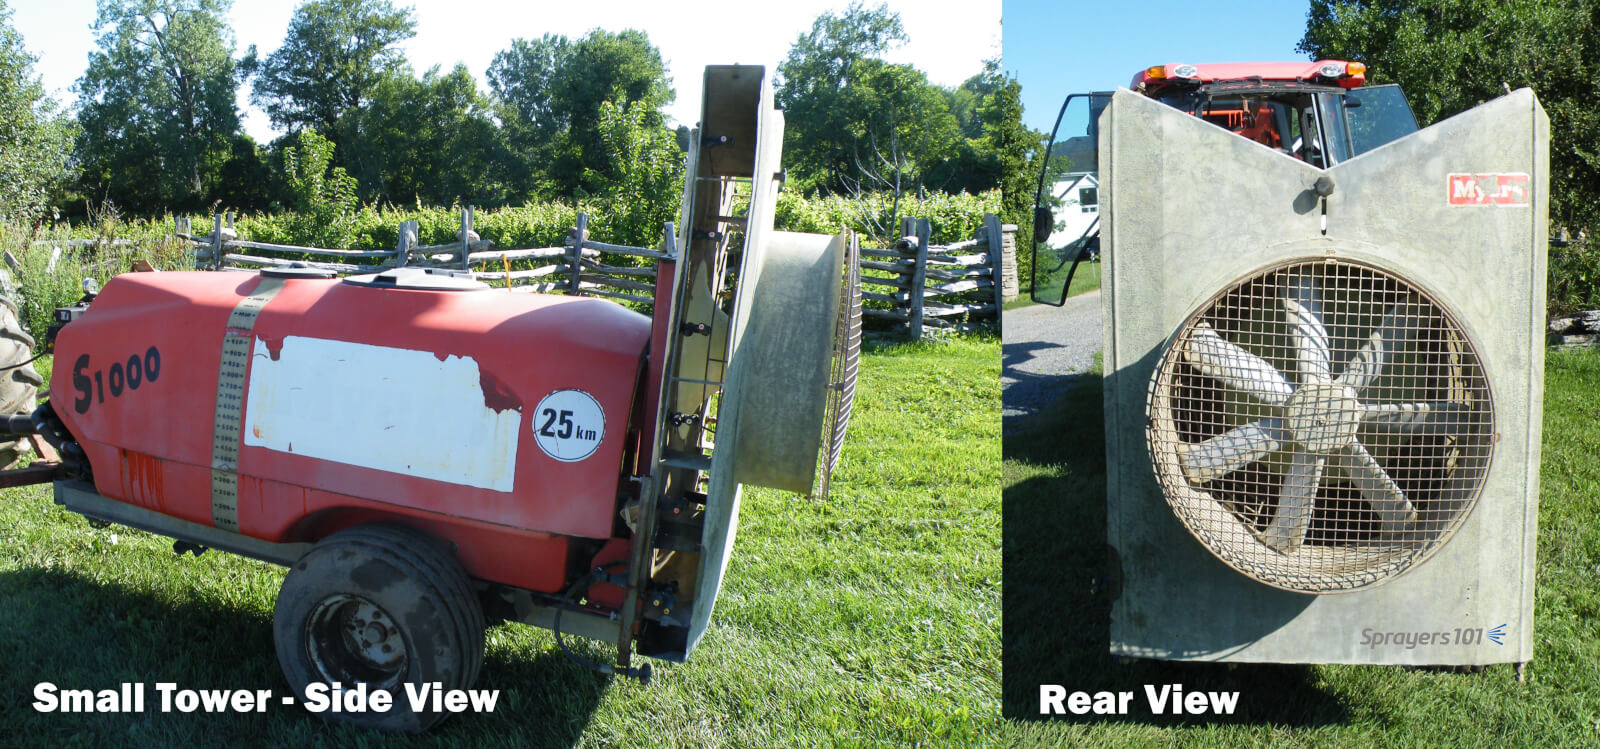
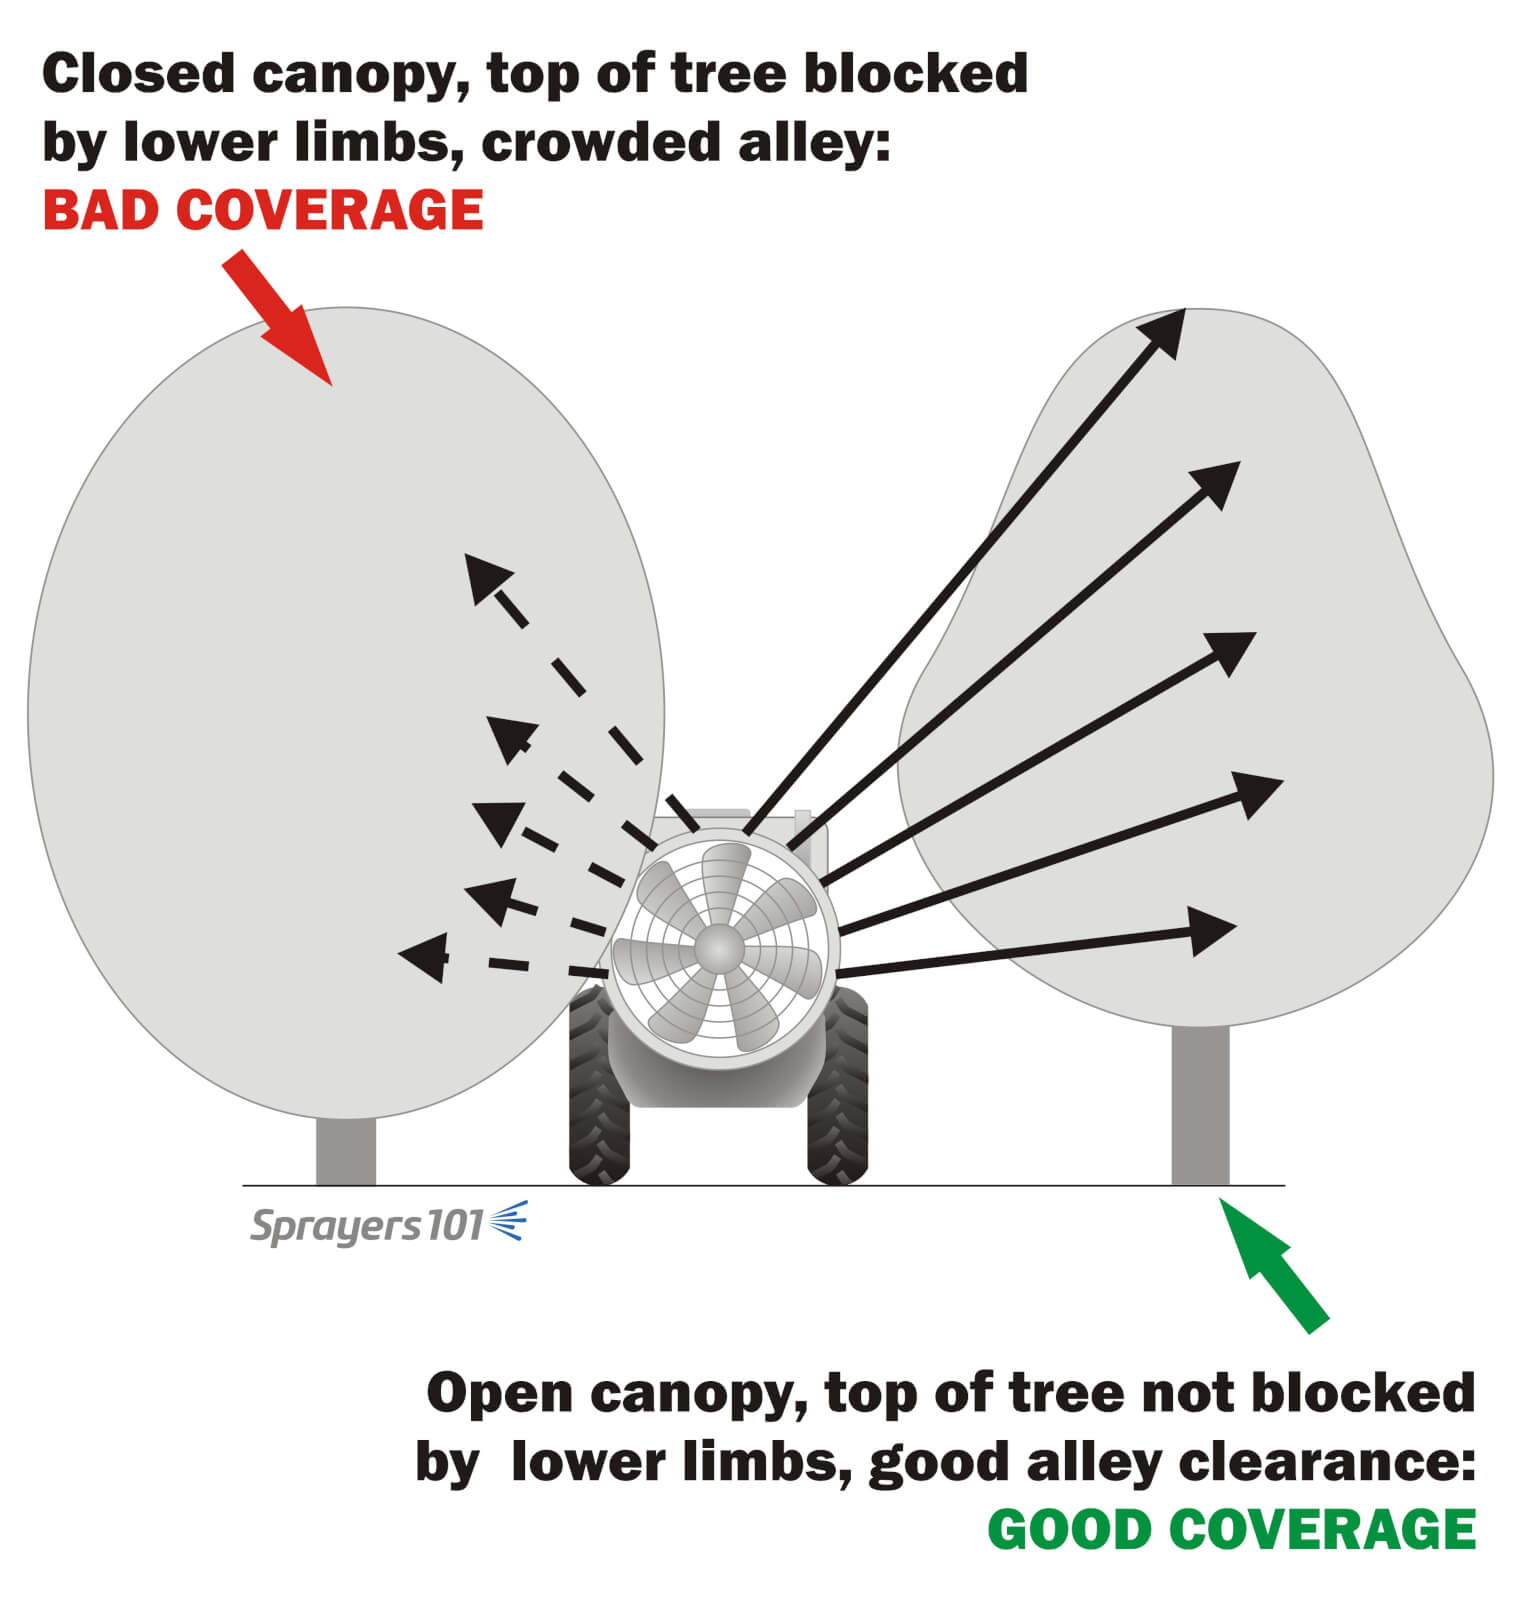
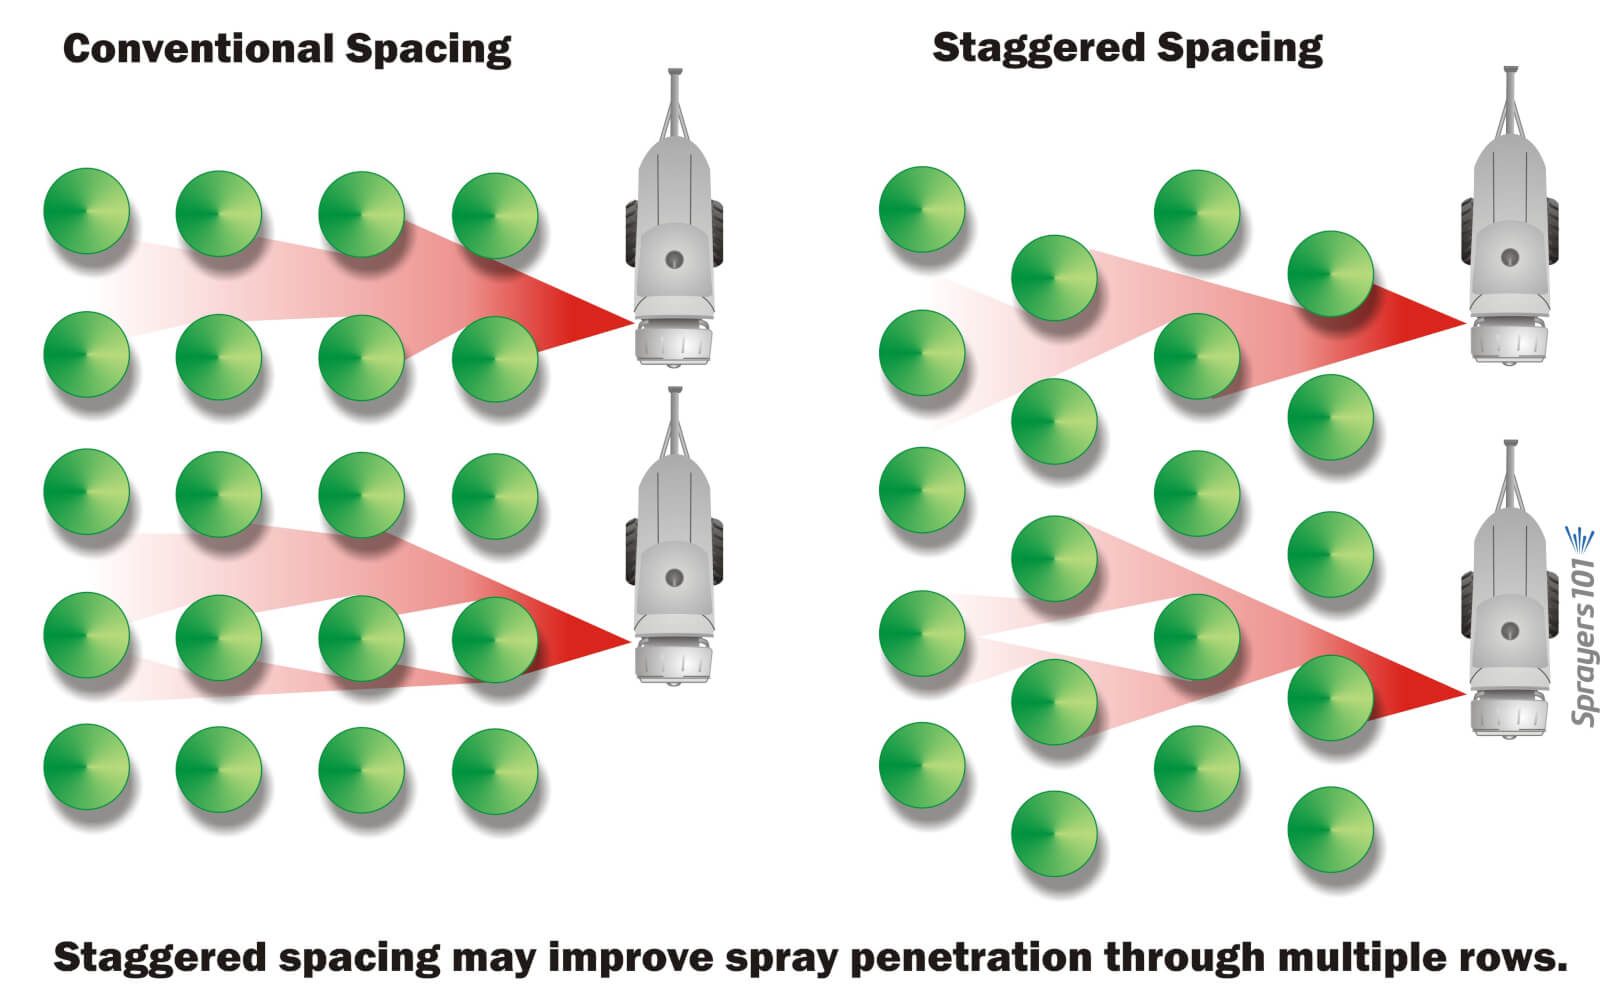
Are you considering shelling out for a tower extension for your airblast sprayer? Spray towers are an excellent investment, but they warrant special consideration. Towers move the air and nozzles closer to the target compared to the curved booms on a conventional airblast sprayer. When the distance-to-target is reduced, the odds of droplets reaching the target are improved. That means less pesticide drift and more deposit in the plant canopy.
Be Aware: Nozzles need a minimal distance from the target to create an optimal spray pattern, so do not get too close.
Many growers report savings when switching from conventional airblast to towers. The towers are more efficient at depositing the spray, so they have to reduce their typical sprayer volumes to prevent run-off. We worked with one apple grower that switched from a conventional sprayer to one with a tower. His lake-side orchard was plagued by wind, and his conventional sprayer had a relatively small fan diameter (~2 feet) that couldn’t compete. Traditionally, the grower used higher spray volumes to compensate. His new tower sprayer had a larger fan (~3 foot diameter) but perhaps equally import was that the tower reduced the distance-to-target. As a result, he was able to reduce his spray output by more than 200 L/ha while improving his overall coverage! That represented considerable cost savings and reduced environmental impact.
While there are many benefits associated with towers, they are not suitable for all situations:
- Towers must be taller than the highest target (e.g. treetop)
- Towers should be used on level ground. Towers will roll on the vertical axis (i.e. tip left and right) on uneven ground, potentially missing or over-shooting targets
- Towers must be able to clear netting, trellises, or an overhanging canopy.


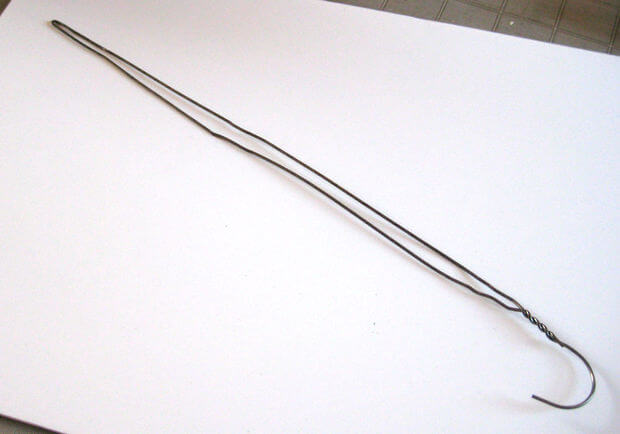
Occasionally, we have discovered areas along tower outlets where there is reduced air flow. You can usually feel these “dead zones” with your hand (beware flying debris), but it’s better to observe short ribbons attached to the nozzle bodies as described in our articles about adjusting air direction and speed/volume. In low fan gear, watch to see if any ribbons flag or appear slack from a lack of air, you can “borrow” air by re-positioning neighbouring deflectors. If that’s not possible, try replacing the conventional nozzles in the dead zone with air induction nozzles; coverage should improve in that zone because pressure propels coarser droplets further than finer droplets. We’ve seen significant improvements using this technique in high density orchards.
In the end, if a tower will fit in our operation, we suggest it’s a worthwhile investment that will make coverage more consistent, reduce off-target drift and possibly reduce the volume of spray needed per hectare.