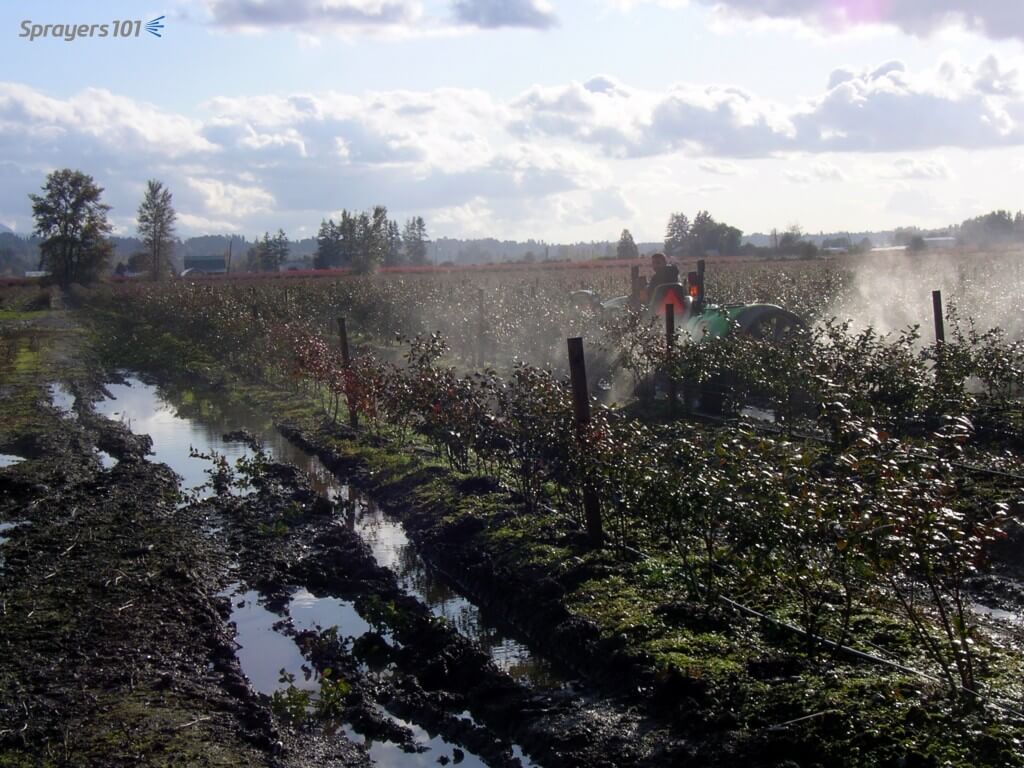
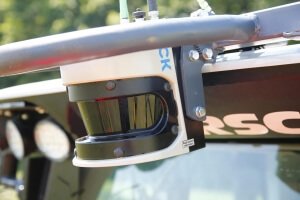
An interesting technology recently came to our attention. The Horsch BoomSight detects potential obstacles and as the sprayer passes it raises the boom to avoid the impact. We figured it was worthy of a tweet, which read:
@Spray_Guy:
Ever accidentally hit something with your boom?
<35 km/h, perhaps the Horsch BoomSight can help:
http://bit.ly/2j6ShBx
Now, when you tweet something, you hope it has some impact. That’s usually a few “likes”, maybe a few “retweets” and if you’re lucky someone may take the time to write a response. We received the following response:
@WcropW:
Yes, often bumping into kangaroos as they hop out of my crop.
Got to be quick to lift boom above them!
@Spray_Guy:
Still can’t decide if that’s a joke or not, but it certainly made me laugh.
@WcropW:
Was looking for picture – definitely true! Has happened 3 or 4 times!
@spraydriftgirl:
Definitely true! Plague numbers in crops down here #strayamat.
@ryan_milgate:
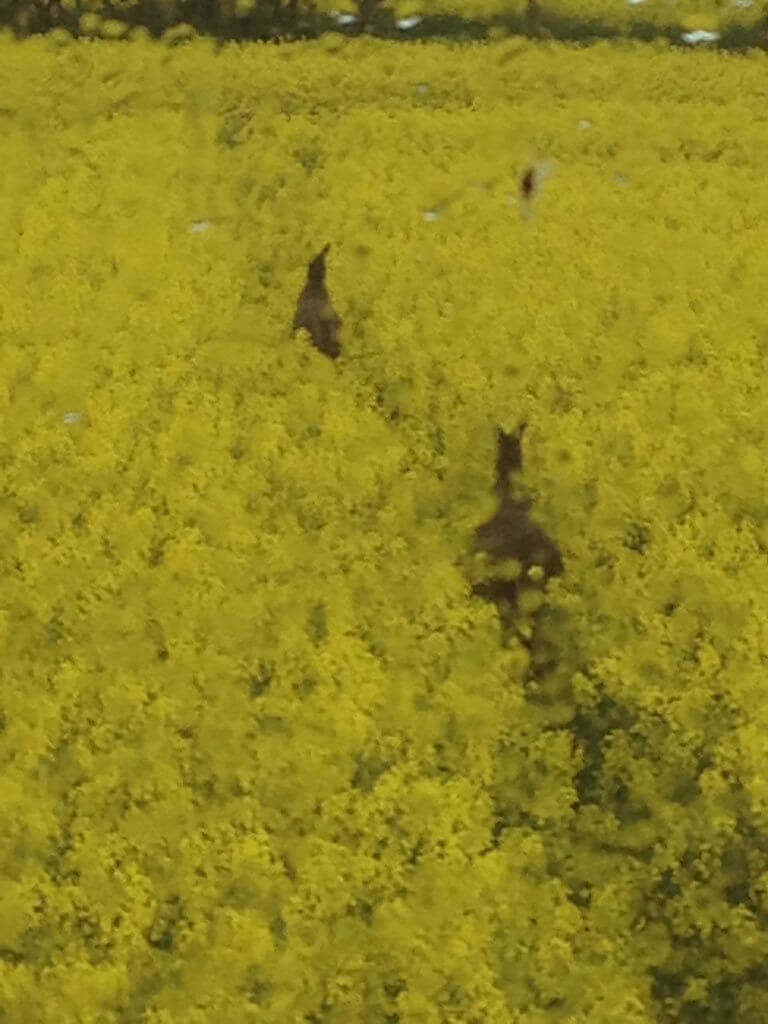
Yep I’ve hit plenty of kangaroos, esp in canola.
@Wilkshag:
Kangaroo- out side window of sprayer. They get stuck jumping through canola.
@Spray_Guy:
Wow! What a photo!
Is there any product registered for kangaroo in canola in Canada?
—
And so, it got us thinking… What other strange and unexpected things do sprayer operators hit, or nearly hit, during all those hours of spraying? So we asked:
@Spray_Guy:
Hey Twitterverse!
What’s the strangest thing you’ve hit with spray boom?
“Kangaroo” currently in lead.
In less than 48 hours, that tweet earned more than 10,000 impressions as the Twitterverse shared all. What follows is a slightly edited transcript of that thread: snarky responses, pictures, videos and all. We don’t know if there’s any educational value, but it’s certainly fun and surprising. No one wrote “fencepost” or “tree”. They covered everything else, though.
—
@SteveTwynstra:
Wild Turkey!
@Spray_Guy:
Is that what you hit, or WHY you hit?
@SteveTwynstra:
Jumped right up outta the standing wheat 50 odd feet to my right.
Next day, grazed a fawn 2 fields over…
@Spray_Guy:
Putting the “Bam” in Bambi.
@SteveTwynstra:
The doe did give me a dirty look…..
—
@MarkDavis0129:
I snagged a boat, dragged it 150 yds.
The fisherman had quite the look on their faces once I stopped.
@Spray_Guy:
A BOAT!?
Nope… I’m pretty imaginative, but this escapes me.
How was that possible?
@MarkDavis0129:
It’s true, have land right to shoreline in few spots.
Turning on head land and snagged it.
@Spray_Guy:
Priceless.
I’m still laughing picturing that.
@MarkDavis0129:
Was last fall, 18′ alum flat bottom, they were nosed up to shore, snagged boweye on boom tip.
—
@Paulvdb2016:
I have hit an abandoned small liquid manure spreader in a fast turn.
Boom hit at 30+ mph!
@Spray_Guy:
The $hit hit the flatfan…
—
@AgronomoOz:
@Pontaragrain has hit his own drone and put it on Youtube.
#honesty
@Spray_Guy:
Ouch.
UAV’s aren’t cheap.
Got the link, Andrew?
@CrystalSeedSeer:
Let’s hope crop inspector isn’t in there! LOL!
@Spray_Guy:
From this thread, it seems like he’d be at risk of being hit, too!
Turn up the volume on this video.
Great soundtrack! Shared with permission from Michael Pfitzner (@farmingfitz)
And believe it or not, it’s happened to more than one person. Bad time for battery to run low.
Shared with permission from Warwick Holding (@Pontaragrain)
—
@MattTolton2:
I’d only run a sprayer a few months but once slapped a duck out of mid air.
@Spray_Guy:
A solid example of booms set too high… or ducks too low.
Tell me you shouted “DUCK”!
@JoannaMWallace:
This thread is winning Twitter for me today.
—
@vg_tim:
Knocked over a wild turkey and porcupine at same time. Years ago, but can still remember.
@Spray_Guy:
Yikes… what were they doing when you hit them? #Darwinwouldntapprove
@vg_tim:
it seemed suspicious, they were just standing in a bean field looking at each other…
—
@DavidKucher:
I may have hit an oilwell or two.
—
@MaizingPete:
Almost hit a hippy sleeping off a punk party in the fence line.
@Spray_Guy:
LOL! You may have de-throned ‘kangaroo’ with ‘hippy’! We still have hippies?
We have hipsters… we should hit more of them.
@MaizingPete:
For sure Hippy… That poor b@stard thought he was still in Woodstock.
—
@BlackPearl152:
I gave two coyotes a good spank with the boom once.
—
@cropperandy2:
Have hit deer, a coyote, in ON and a moose in AB.
—
@jamesschiltz85:
1982 International cab cover.
—
@GregOldhaver:
Had a flock of partridge lift up and get smacked out of the air with boom.
—
@cjrnumber6:
An endangered Lesser Prairie Chicken.
@Spray_Guy:
Somewhat more endangered now, it would seem…
—
@DarLinFarms:
Travel trailer.
Guy drove into boom unfolding infield.
He watching as unfold.
Crash into me.
—
@Joe_Widdup:
Had a near miss with a guy who stopped to take photos.
Scared the hell out of me.
—
@Luckycangus:
Deer and sharp tail grouse.
—
@RowcropAust:
Emus at night go crazy in the lights.
I have hit a couple over the years.
@Spray_Guy:
I’ve heard of people jacking deer (headlights and hunting) but never emu.
Educational!
—
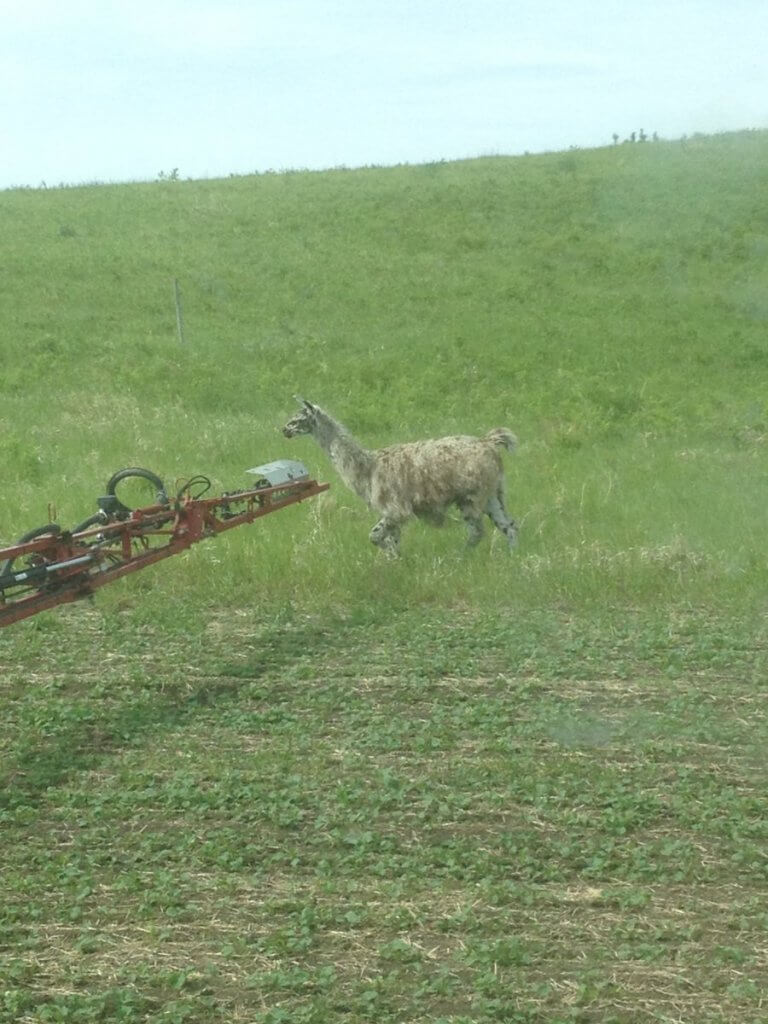
@kerriRaeMillar:
Llama in the hills of south-central Manitoba.
—
@Jeremycnobel:
Hit a gopher in head with a foam cup as he came out of his hole.
Ended with Blue dye foam ?
@Spray_Guy:
That’s one way to mark your A-B line. Trying to think of a #caddyshack joke…
—
And that’s the thread. So look up from your smart phones occasionally while you’re spraying. It seems there are all kinds of unexpected obstacles in the field.