One of my main activities in the winter is public speaking. Attending producer meetings gives me the privilege of meeting many farmers, learning about their operations, and sharing my research results.
I enjoy providing practical solutions to problems. But there are three issues that always come up to which I wish I had better answers. Here they are:
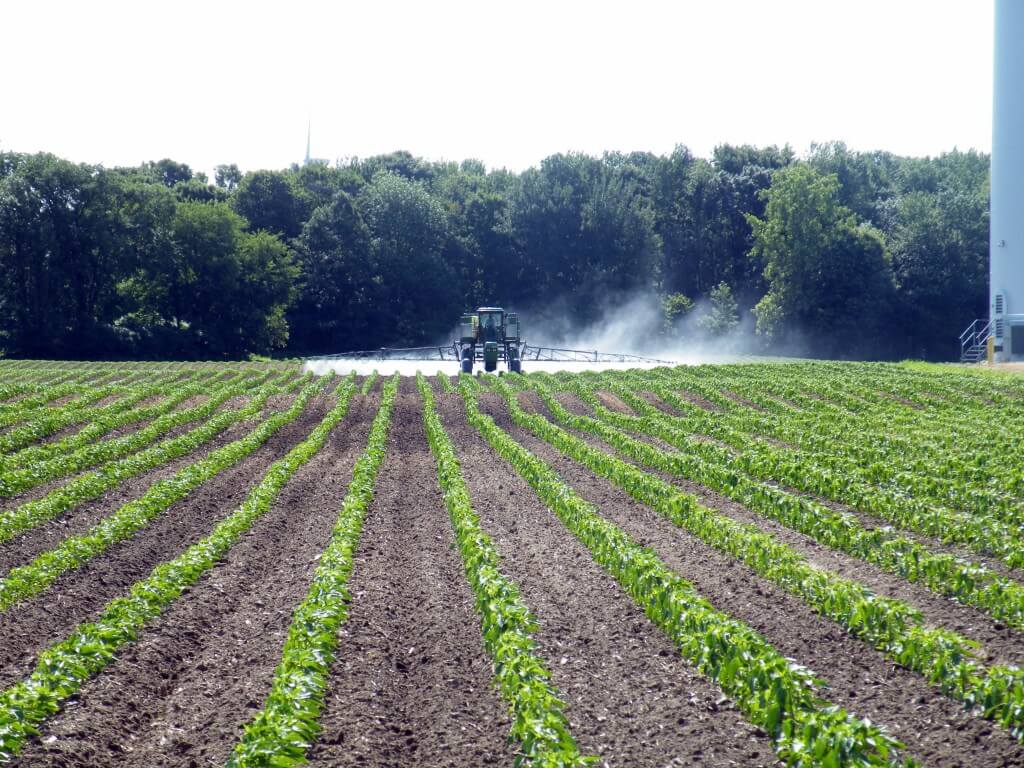
- The Correct Spray. We’re stuck with compromises in this area. We need small droplets for coverage. We need large droplets for drift control. We need to keep application volumes moderate for productivity. We’ve basically asked the nozzle to shoulder the entire burden of our application needs, seeking a spray that hits all the right notes. Not too fine. Not too coarse. Able to work with fast and variable travel speeds and high, variable boom heights.
Based on our research in field crops such as wheat, canola, corn, lentils, etc., we can be confident that Coarse, even Very Coarse sprays, coupled with a reasonable water volume, are appropriate for most modes of actions and target situations. These sprays contain enough small droplets for good coverage, and their larger droplets work surprisingly well in most cases. Sure, a finer spray could save some water. And a coarser spray would reduce drift even more. But we need a compromise spray, combined with some lucky weather, to get the job done.
And yet we usually make spray quality recommendations with caveats, because droplet size alone isn’t enough. Drift is always a possibility, no matter how coarse we go. Coverage is not guaranteed, especially if the canopy is dense. Finer sprays will get deeper into a broadleaf canopy, but then we may have drift or evaporation to deal with. The nozzle size, volume, and travel speed relationship has to be just right so the spray pressure is in the correct range. And on it goes.
I’d like to give the overworked nozzle some help. We used to use shrouds to protect fine sprays from drift. Now it’s time to let air assist take over that task.
Air assist booms can accelerate (i.e., add kinetic energy to) small droplets so they’re less prone to off-target movement. Properly adjusted, air assist can carry these droplets deeper into the canopy and enhance their deposition.
A good air-assist system allows the user to select the strength and direction of the airblast to match canopy, boom height, and travel speed conditions.
Air assist is the workhorse of most fruit-tree and vineyard spraying. It has to be done right to provide all the benefits I mentioned, and certain approaches should be rejected. For example, there are some companies using air assist to promote very fine sprays with very low volumes. That’s the wrong use of the technology, and invites a backlash.
Instead, we need systems that work with existing spray practice to address some of its classic shortcomings, such as drift management, deposit uniformity, and canopy penetration.
Let’s see some products. It’s time to bring air-assist to the mainstream of agricultural spraying.
- Boom Height, Level, Sway and Yaw Control. Boom height is so fundamental it’s almost boring. We’ve long said that it’s important to set the boom at the right height for proper nozzle overlap and drift control. It was easy with wheeled booms. But over the last 15 years, suspended booms coupled with fast speeds have caused booms to rise again (RISE OF THE BOOMS!).

Fact is that there are some tasks we’re asking of nozzles that they simply can’t achieve without level, low booms. Drift control is one such thing. Low booms are surprisingly effective at reducing drift, not only because winds are lower closer to the canopy, but also because droplet velocities are faster closer to the nozzle.
Angled sprays for fusarium headlight control are another thing that is more effective with low booms.
Spray droplets released from an angled spray soon slow down and get swept back by air resistance and begin to fall vertically, or move with wind currents, reducing their intended benefit. Low booms can prevent that.
Uniform and low booms also keep deposit variability more manageable. They can save energy needed for air-assist systems. The shorter the path to the target, the less air-velocity will be needed to get it there.
So how about it? Can we have boom linkages and suspension systems, coupled with sensors and hydraulics, that are stable and maintain 20” above canopy at 16 mph on uneven ground? Can we have systems that do this reliably enough that we’re prepared to invest in, say, expensive nozzle bodies? It’s possible.
- Sprayer Cleanout. One of my favourite questions about cleanout is: “When do you know that you’re finished cleaning the sprayer tank and booms?” Inevitably, someone from the back yells: “In two weeks!” And we laugh, knowingly.
We have a terrible system of sprayer decontamination. It’s a process that is awkward, imperfect, and time consuming, often leading to poor practice. I’ll ask a group of producers what they do with their pesticide waste. The response is silence. I don’t blame them for not telling me that they dump the remainder on the ground somewhere, but I’d rather they didn’t. Sprayer designs don’t help.
What we need is a system that guarantees results. To start, a tank gauge that is reliably accurate to the nearest gallon would remove some of the filling guesswork and help minimize leftovers.
We need a remainder volume (volume left in the non-boom plumbing after the pump sucks air) that is known and small, because that remainder can’t be expelled and needs to be diluted. The smaller it is, the easier it is to dilute.
We need pumps that can run dry, so nobody has to fear spraying the tank out completely.
We need a wash system that requires little volume and works quickly, like continuous rinsing.
We need plumbing that is easy to understand and whose inside surfaces do not absorb pesticide, or hide it in corners and dead ends. Perhaps it’s a recirculating system. Perhaps it hasn’t been invented yet.
We need pesticide formulations that clean up easily. We need an easier way to inspect and clean filters. And we need a safe place to put any waste that can’t be sprayed out in a field.
I’d like to see a sprayer that can be decontaminated in 10 minutes without the operator leaving the cab, and without any spillage of spray mixture. Clean enough to spray conventional soybeans after a tank of dicamba. Clean enough to spray canola after a tank of tribenuron. I know it’s possible.
I also know what many of our European readers are thinking right now. Much of what I’ve discussed exists in the EU in some form or another. Why does the North American, and to a lesser extent the Australian market, not have these features?
Part of the reason is federal standards and regulations. Some European countries test and approve products for remaining tank volume, boom stability, and spray drift, for example. Others have sprayer performance criteria that must be met to be eligible for sale in that country. An increasing number have mandatory sprayer inspection.
These requirements serve to protect the producer and the environment. They’re an example of useful government actions. Despite, or perhaps because of, stricter rules, the entire EU marketplace is very competitive, with about 75 sprayer manufacturers. Bottom line: producers benefit.
We need leadership, preferably from a combination of government, industry, and producers, to achieve better sprayer designs. Our market has room for products that make it easier to prevent drift, protect water, and protect yields.
As they say, a rising tide lifts all boats. And it will certainly make my job easier.