Editor’s Note: This article was posted in June 2025, and as of November 4th all rules have now come into effect.
Summary
The Government of Canada introduced the first set of Remote Piloted Aerial Systems (RPAS) rules in 2019, which addressed safety concerns and created a flexible and predictable environment for small RPAS flown within visual line-of-sight (VLOS). On March 6, 2025, amendments were made to the Canadian Aviation Regulations (RPAS – Beyond Visual Line-of-Sight and Other Operations): SOR/2025-70 Canada Gazette, Part II, Volume 159, Number 7. According to the Impact Analysis Statement in the document, the changes:
- permit RPAS <150 kg to be flown within visual line-of-sight;
- introduce rules for routine beyond visual line-of-sight (BVLOS) operations for RPAS <150 kg
- over sparsely populated areas,
- at low altitudes, and
- in uncontrolled airspace;
- remove the requirement for a Special Flight Operations Certificate (SFOC) for these operations;
- include requirements for
- new pilot certification,
- new technical standards for the aircraft and supporting systems,
- new operational procedures, such as increased distances from airports, heliports, and people, as well as
- new requirements for individuals and organizations to operate BVLOS.
In addition, the Regulations will update existing service fees and introduce fees for existing services that are currently provided for free and the new services that will be provided to the RPAS sector.
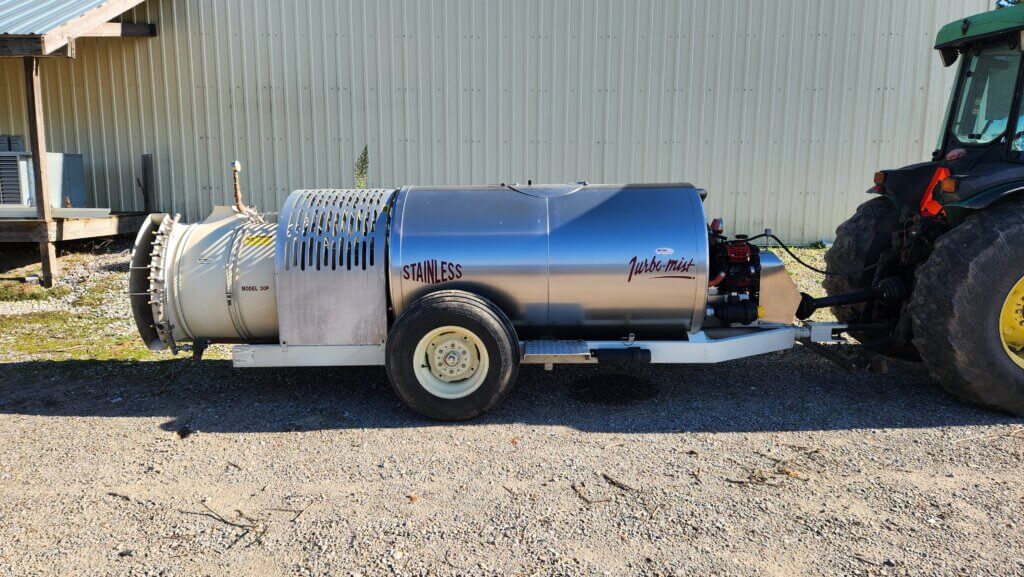
These regulatory changes are driven by agriculture, but also increasing utility in package delivery, use in emergency response (e.g. fire assessment), environmental impact assessment and infrastructure inspection.
The original document is lengthy, so only those changes that relate to the use of spray drones are reproduced here. For more details, refer to the Regulations Amending the Canadian Aviation Regulations (RPAS – Beyond Visual Line-of-Sight and Other Operations) Canada Gazette, Part II, Volume 159, Number 7. Transport Canada has a summary of the changes here.
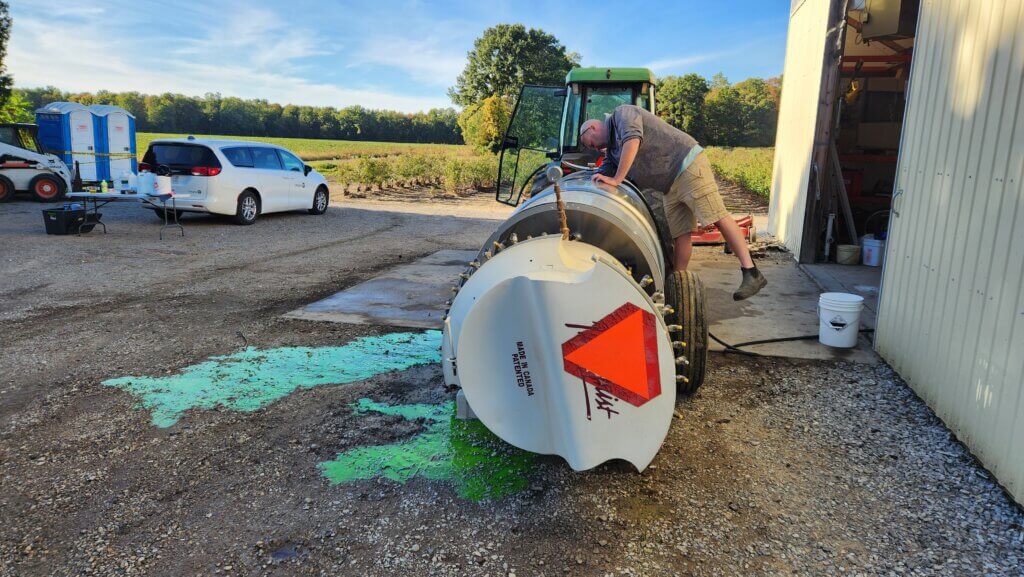
At the time of writing, there are no agricultural, terrestrial pesticides registered for application by RPAS in Canada. Health Canada’s Pesticide Compliance Program (PCP) is responsible for promoting, monitoring and enforcing the Pest Control Products Act (PCPA). Their factsheet can be downloaded here.
Objectives
There are three objectives to the new regulations:
- Regulatory predictability, economic growth, and innovation
- Safety risk mitigation
- Fee modernization
The regulations build upon Part IX of the CARs and introduce new requirements to reflect the increased risks of the two new categories of operation:
- Medium drones that weigh above 25 kg up to and including 150 kg flying within VLOS near and over people, in both controlled and uncontrolled airspace; and
- Drones that weigh 250 g up to and including 150 kg flying BVLOS in unpopulated and sparsely populated areas, below 400 feet above ground level, and in uncontrolled airspace.
Grouping the new regulations – The 3 P’s
The new regulations can be grouped into:
- Pilot (pilot training and certification)
- Product (aircraft and supporting systems)
- Procedures (operational rules)
In addition, there are new requirements for individuals and organizations operating BVLOS, such as appointing an accountable executive, and requirements to establish training programs and risk management processes, which are discussed in more detail below. These new requirements will allow for clearer organizational oversight with larger-scale operations, covering larger geographic areas, as well as an increase in the number and types of drones being operated.
The Pilot
Advanced Pilot Certificate
TC has determined that the following operations may be added to the types of operations conducted by Advanced Pilot Certificate holders, without the requirement to obtain a new pilot certificate:
- VLOS operations with a medium-sized drone (above 25 kg up to and including 150 kg).
- Extended VLOS operations (EVLOS), using a visual observer to scan the airspace.
- Sheltered operations, which allow the drone to be flown around a building or structure without the use of a visual observer.
Advanced Pilot Certificate operators will be required to pay fees associated with the obtaining the certificate:
- $10 exam fee, paid to the Government of Canada (GoF).
- $25 certificate issuance fee, paid to the GoC.
- $257 flight review fee, paid to the flight reviewer.
Pilot Certificate for Level 1 Complex Operations (Lower-risk BVLOS)
The Regulations will introduce a new pilot certification process for lower-risk BVLOS called Level 1 Complex Operations. A pilot must be at least 18 years old and have their Advanced operations certification.
- Pilot must attend RPAS training (“ground school”).
- Pilot will need to pass a new online multiple-choice exam delivered through TC’s DMP.
- Pilot will need to visit a flight reviewer to do an in-person flight review.
Every two years, pilots will need to do at least one training renewal activity recognized by TC (e.g. flight review, training activities, or retaking one of the pilot exams in the DMP.)
CARs 901.19, Fitness of Crew Members, and the requirements of the RPAS Operator Certificate (RPOC) provide sufficient mitigations to maintain safety within the level of risk for BVLOS operations. However, a medical standard for operations outside the lower-risk category may be considered in future regulatory work.
Commercial RPAS operators will need to hold a Level 1 Complex Certificate to conduct lower-risk BVLOS operations. To receive their Level 1 Complex Certificate, operators will need to pay a certificate fee of $125 to TC.
Advertised Events
Part IX of the CARs requires operators of RPAS of at least 250 g to obtain an SFOC to operate at an advertised event, which is defined as “an outdoor event that is advertised to the general public, including a concert, festival, market or sporting event.” The Regulations will expand this requirement to all RPAS, including microdrones weighing less than 250 g.
The Product
Drone registration is expanded to all drones 250 g and above.
Declaration
A drone won’t be permitted to fly in an operating environment unless the manufacturer supplies a Declaration (online form, Standard 992) or a Pre-Validated Declaration (PVD) for that respective operating environment. Operating environments include medium-sized drone in controlled, or uncontrolled airspace, or away from people, or BVLOS operation away from populated areas below 400 ft and in uncontrolled airspace.
The PVD is a two-step process where the plan for the aircraft design is submitted in the context of Standard 922, and when approved, then they complete the Declaration. Operating environments include VLOS with medium-sized drones near and over people, and certain BVLOS operations over sparsely populated areas, below 400 ft and in uncontrolled airspace.
Maintaining a PVD requires annual reports of the estimated number of flight hours, a description of any safety-related issues, and any relevant design changes.
The Procedures
Advanced Pilot Certificate holders can perform Extended VLOS (EVLOS) operations and sheltered operations if:
- The drone is within a certain distance from the pilot, while a second person with a Basic Pilot Certificate scans the airspace and notifies the pilot of any other airspace users or hazards.
- Performing a sheltered operation, the pilot may fly their drone around a structure without keeping the drone in direct line-of-sight, if they keep the drone within a certain distance to the structure (intended for building inspections).
- The Regulations increase the minimum distance from people not involved in the operation and require additional planning considerations such as weather conditions that could affect the pilot’s ability to maintain line-of-sight.
Lower-risk BVLOS
Pilots will need to remain in uncontrolled airspace away from aerodromes, below 400 feet, and over unpopulated or sparsely populated areas (i.e. <25 people/km2 per Stats Canada and the Drone Site Selection Tool.
RPAS Operator Certificate (RPOC)
The new RPOC focuses on risk management and addresses the trend of larger fleets, longer flight times and BVLOS operations. The RPOC is an assurance there are policies and procedures in place that reflect the size and complexity of the operations. It is a Declaration to TC that the pilot or organization meets requirements in CARs (via the DMP) and there is no requirement for renewal.
Fees for services
Basically, the RPAS Operator Certificate fee is $125 CDN with the goal to lower the cumulative cost of BVLOS. The SFOC structure, which originally proposed two steps (Low-Complexity and High-Complexity) now has two new categories: Very-Low and Medium Complexity. Fees were revised to reflect the different levels of complexity and the related levels of effort that would be required by TC. These fees will be adjusted for inflation.
Fines (Administrative Monetary Penalties)
Under the Aeronautics Act, the Minister of Transport has the authority to issue administrative monetary penalties (AMPs) to anyone who violates designated provisions of the Act and the CARs. Most of the provisions in Part IX of the CARs are enforced through the assessment of AMPs imposed in accordance with sections 7.6 to 8.2 of the Act, which carry a maximum fine of $5,000 for individuals and $25,000 for corporations and include the potential suspension or cancellation of a person’s Canadian Aviation Document.
When do the new regulations come into force?
New regulations will be introduced in stages to give stakeholders the opportunity to become certified and to familiarize themselves with the new requirements before the 2026 season. Some regulations will come into force on April 1, 2025, but others will activate when they are published in the Canada Gazette, Part II, including:
- the ability to register drones
- submit declarations and take new pilot exams
The remaining provisions will come into force on November 4, 2025, such as:
- provisions relating operating medium-sized drones in beyond visual line-of-sight (BVLOS) in lower-risk environments.
For more information, see the Regulations Amending the Canadian Aviation Regulations (RPAS – Beyond Visual Line-of-Sight and Other Operations) Canada Gazette, Part II, Volume 159, Number 7.
Also see this short-and-sweet summary from RealAgriculture.