We’ve recently been talking about how we can increase sprayer productivity by decreasing downtime. The main productivity robbers are time spent filling and cleaning. Using our productivity calculator, we’re able to show a 30% increase in acres per hour with some relatively simple changes to how we fill the sprayer. It’s important to actually measure the time spent filling, not estimate it.
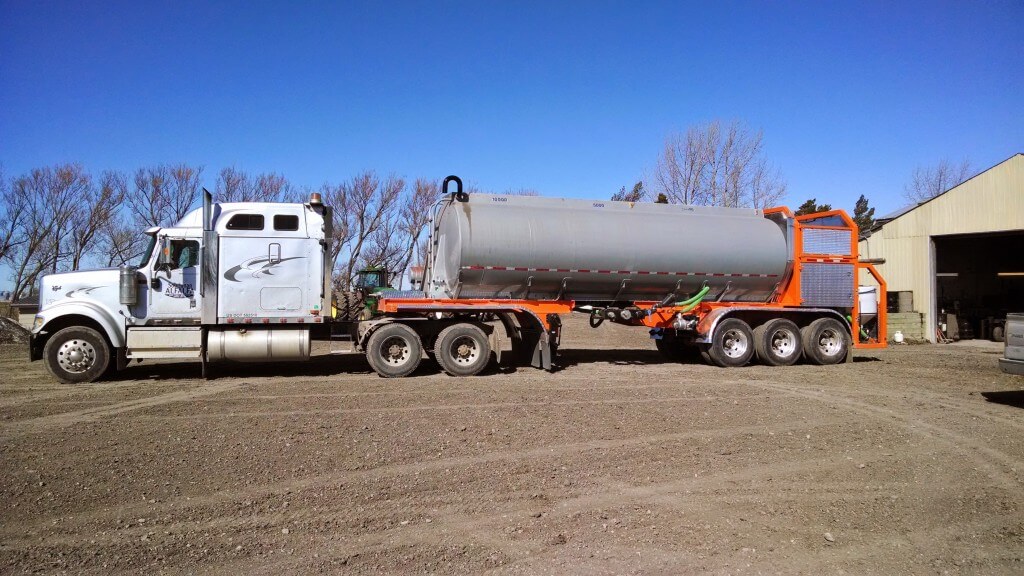
A few days ago, Jeff Calder of Letellier, Manitoba (@jcalder1983) tweeted a water truck project he’s been working on, and it generated a lot of interest. We decided to follow a suggestion made by Ron Krahn (@RonKrahn) last fall to show various designs so that everyone can learn from each other.
This post will grow over the next few weeks as we gather more submissions. The first four submissions are below, the fifth and subsequent submissions will be here.
Please use our e-mail link on the site to send us your picture and descriptions, and we’ll post them as they arrive.
The first submission came from Landon Friesen (@landon707) who farms near Crystal City, Manitoba.
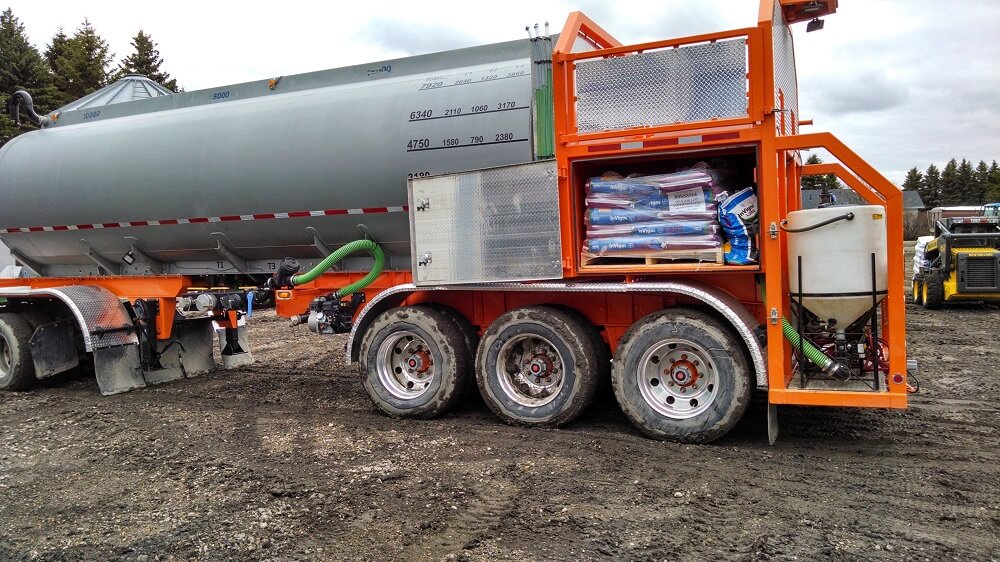
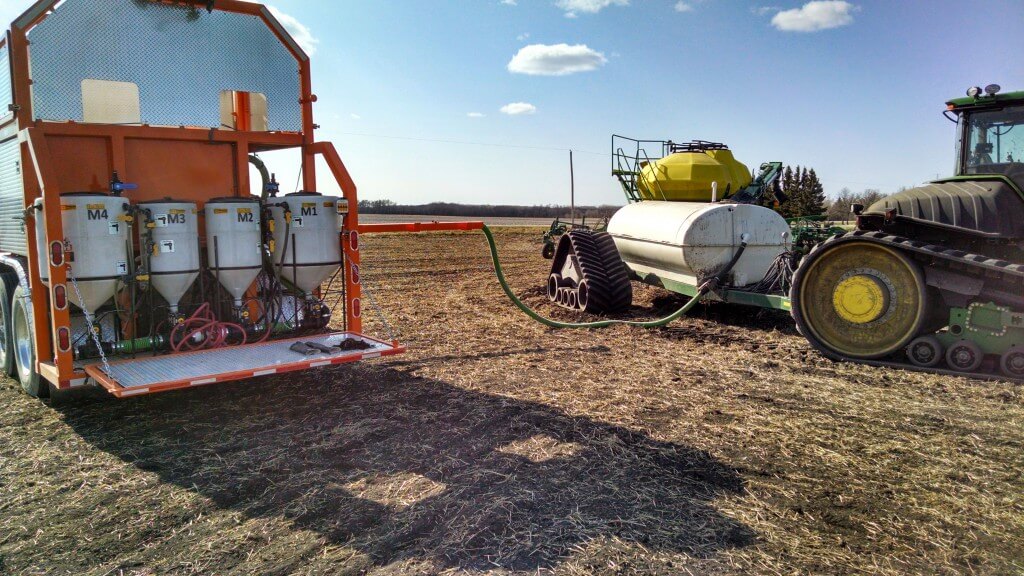
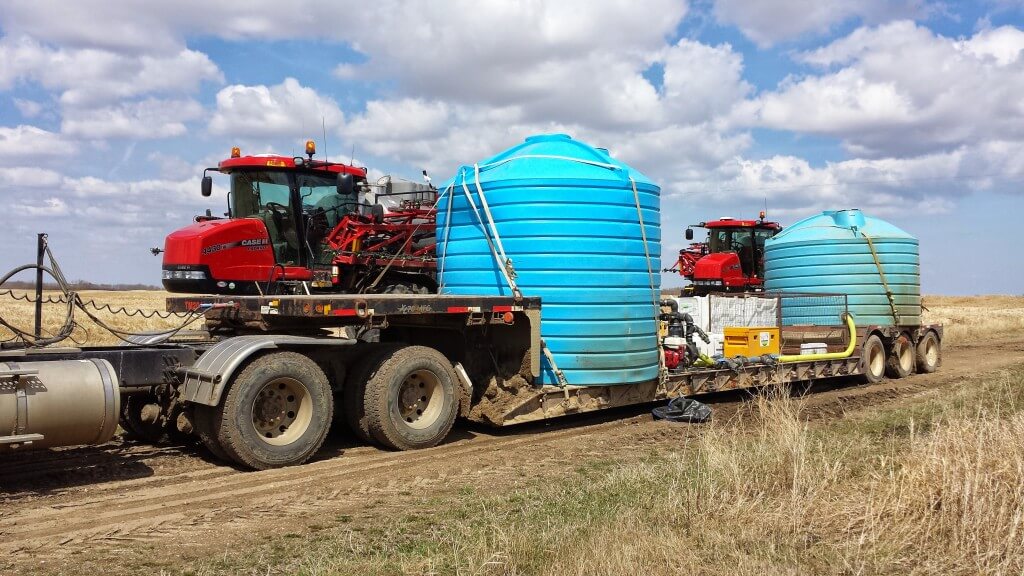
“We bought the front half of a old fuel tanker, stripped it right down to nothing, flipped tank end for end for better weight distribution, and extended the kingpin for bridge length. It’s just shy of 9000 gal to the lids (far from legal). Built the back frame/box etc.
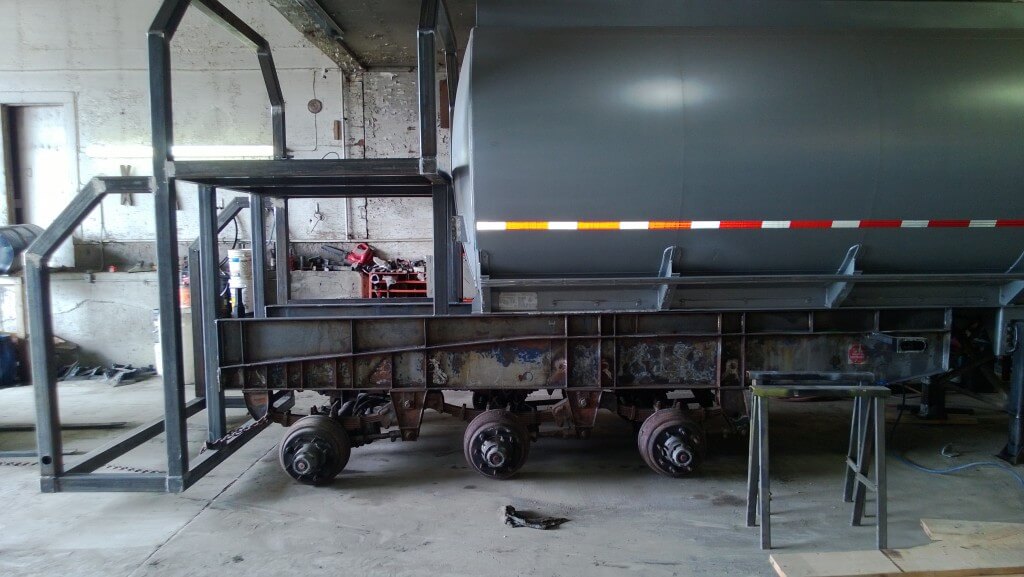
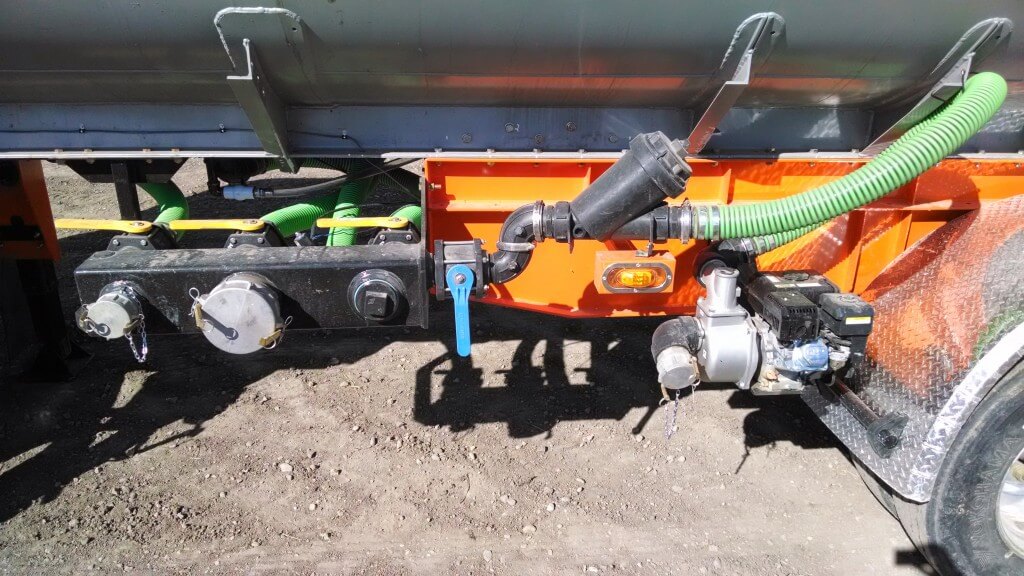
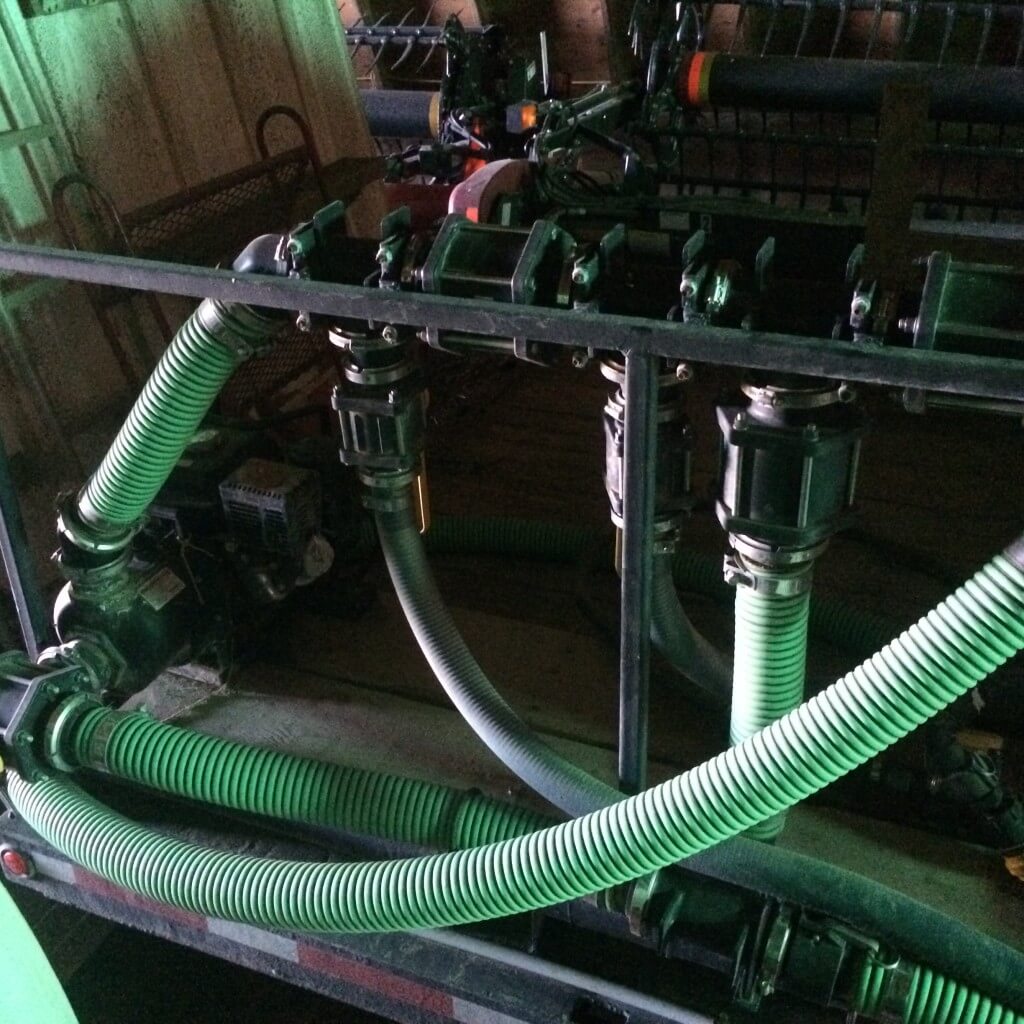
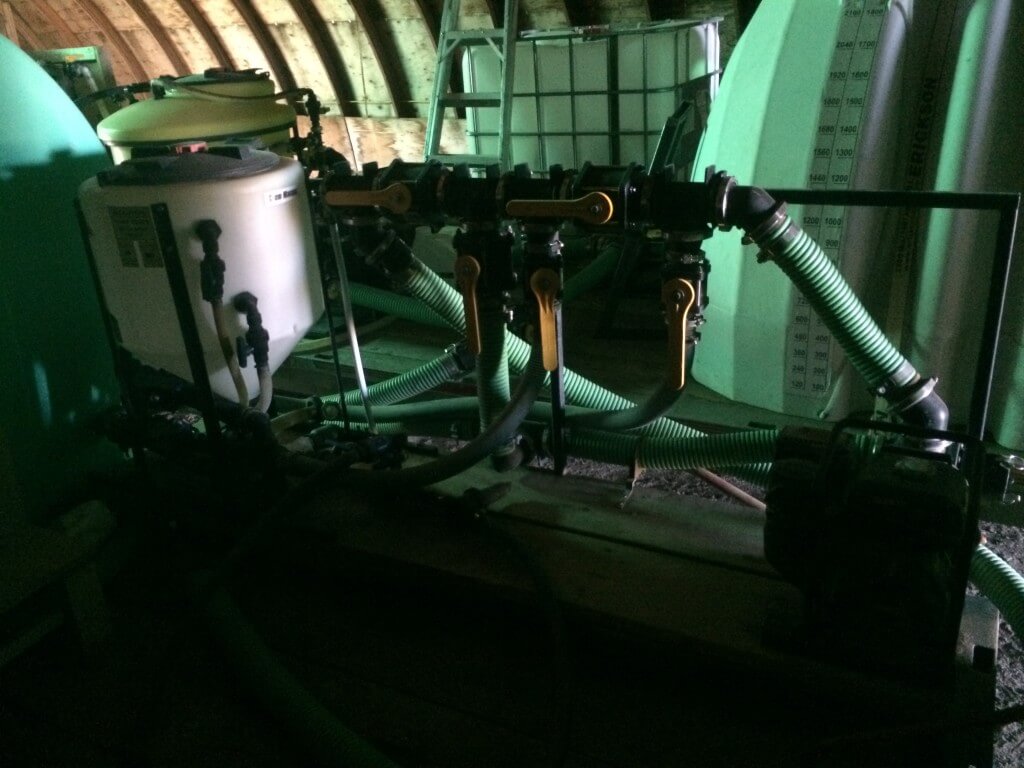
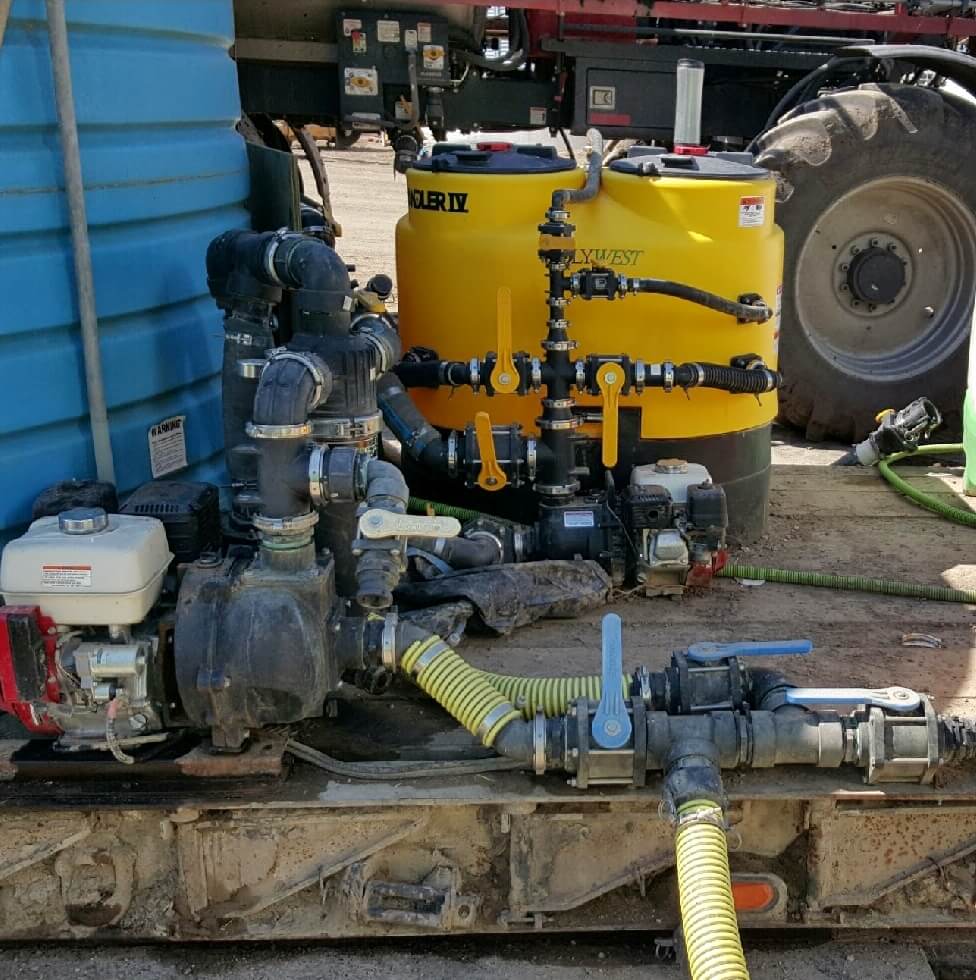
“Starting at the drivers side, all three internal tanks come together in a manifold, you can select which tank you’re drawing from or filling from. You can fill with a 3, 4, and 6 inch pump, connected to the manifold is a stationary pump for only filling ditches or water sources without pumps with a filter on it.
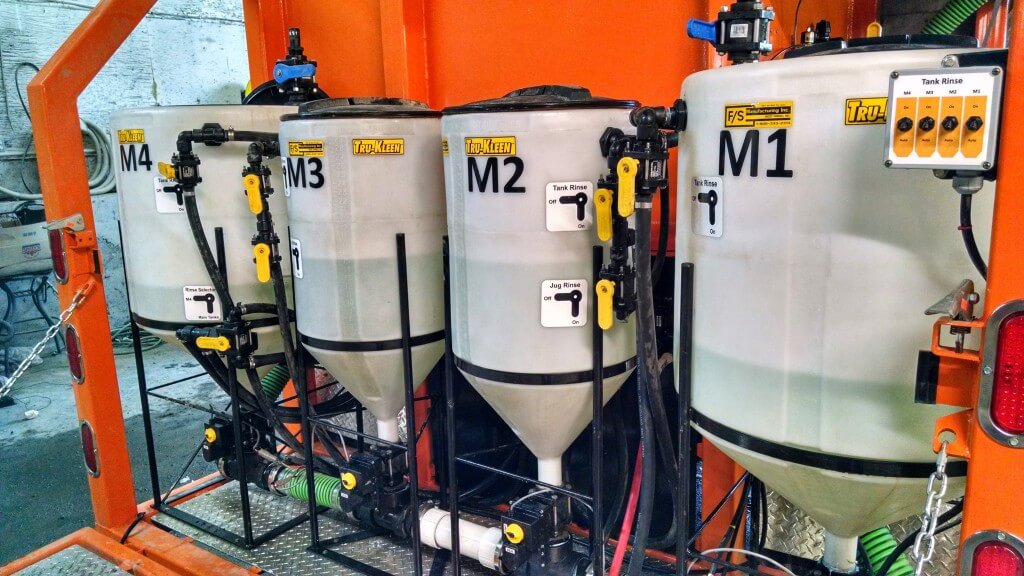
“Water then travels around the backside of the trailer under the 4 induction tanks, a check valve keeps any product from flowing back into the tanks to prevent contamination. Each induction tank has a 1.5 inch electric ball valve that feeds the three inch line.
“Each inductor has a tank rinse and a jug rinse. Tank rinse and jug rinse are powered by 2 12 V water pumps drawing from manifold on the drivers side of tank. All electric solenoids control which induction tank gets rinsed.
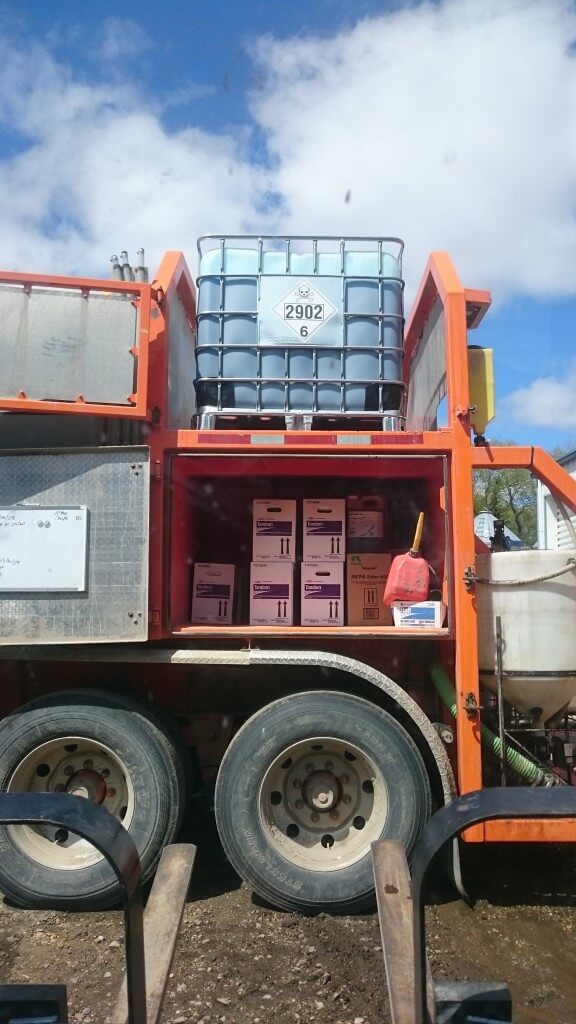
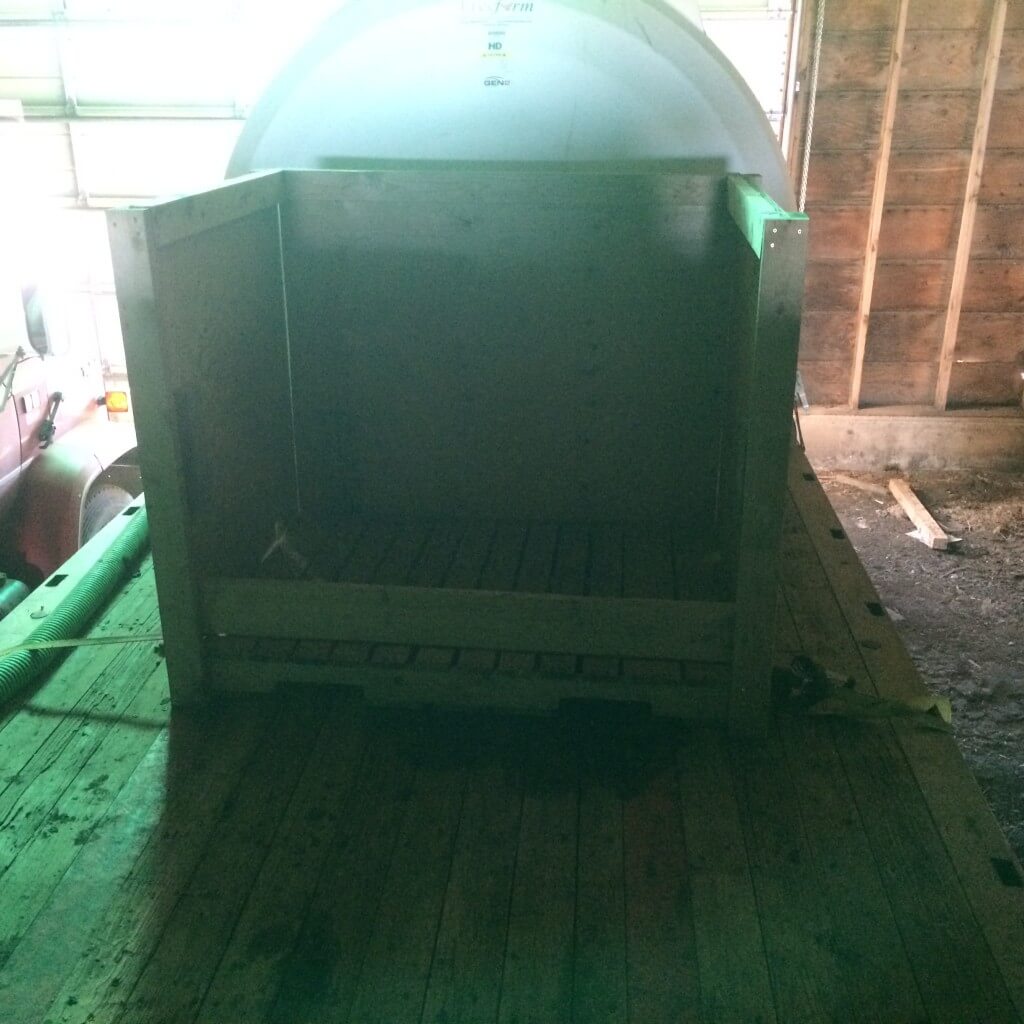
“Jugs are stored inside the large box under the bulk deck, keeps them dry and close by the the rear deck. Bulk containers go on the top deck, 900 L totes are gravity fed into the inductors, accurate measurements on the inductors let us know when to shut off the gravity valve, if barrels are used a chem pump is on the back now too.
“Inductors are handy because it keeps all products “preloaded” and separate for chem safety until you need them.
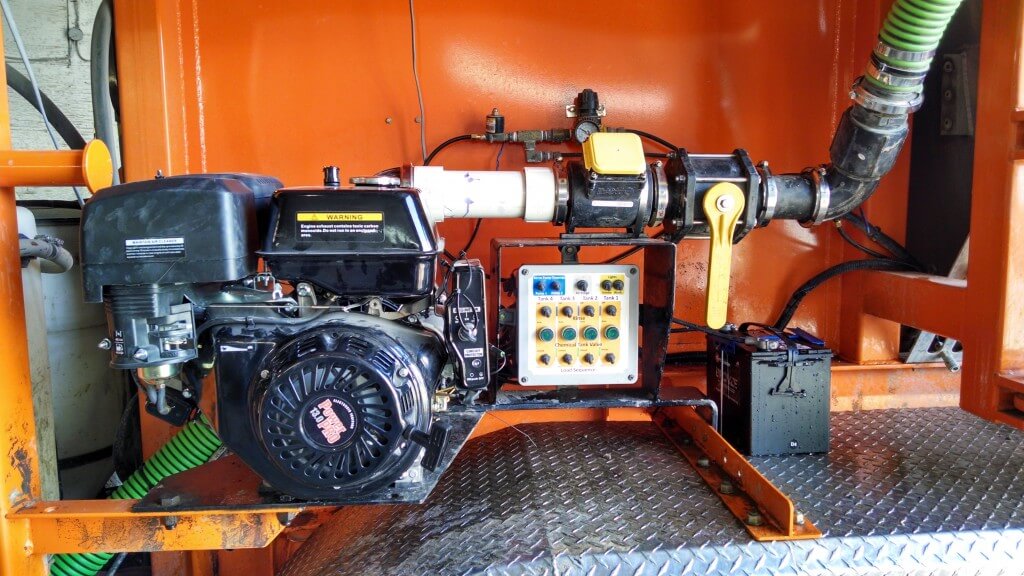
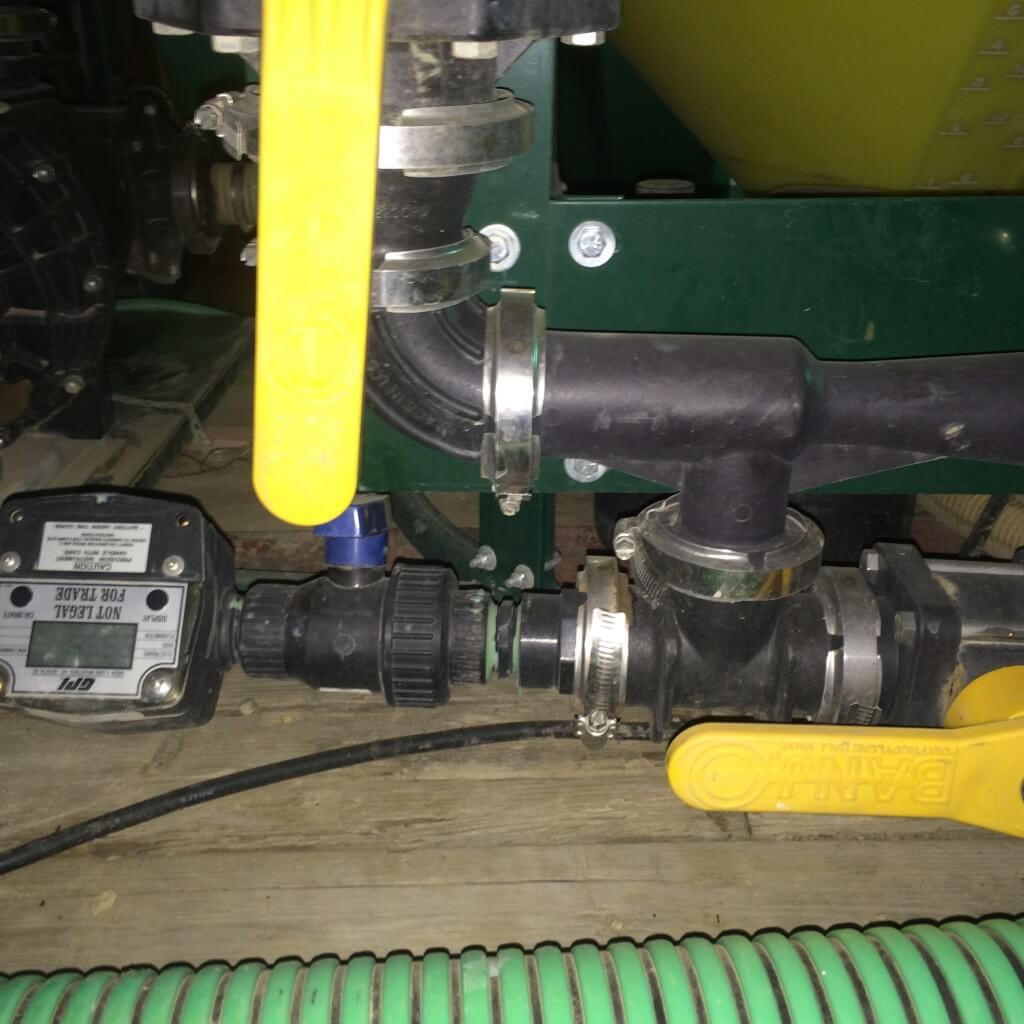
“After the inductors the hose travels to the suction side of the pump, was a 6.5 hp Honda and now replaced by a 13 hp Hypro pump, water or fertilizer then passes through a flow meter and out the 12 ft boom with hose doubled up for 24 ft reach across the ditch.
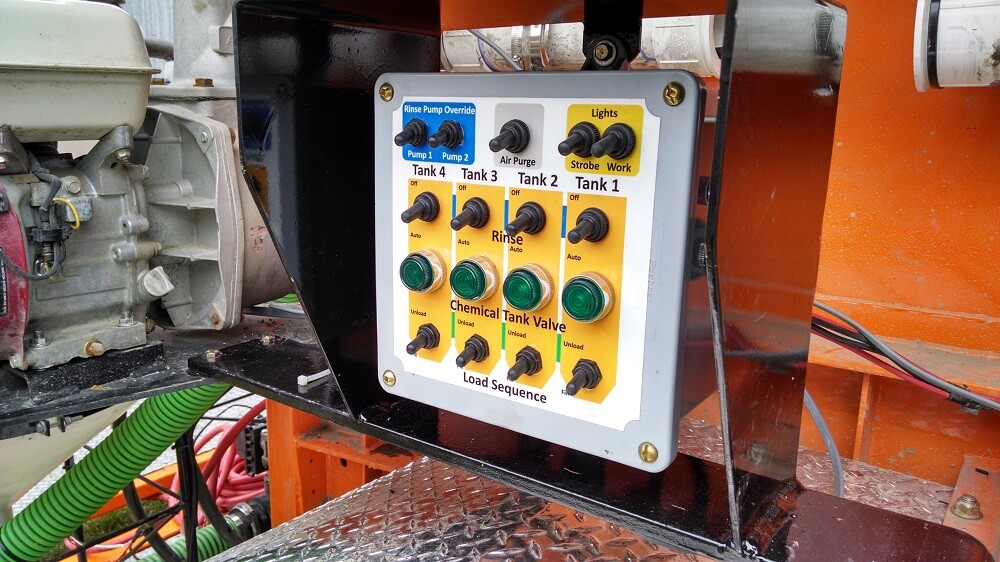
 “Our goal was to have the tanker operator stand by the pump and control panel the whole time, no valves to turn, when you engage the “unloading” of a induction tank on the control panel the auto rinse is activated for that inductor, keeping it cleaned out for the next batch.
“We can fill a 1200gal sprayer with all chem in just under 5 min with all chem included, that’s from hose connection to disconnect. Gained many acres/day b/c of this trailer. Took us 2 years to build and I’d do another in a heartbeat!
“We use it for seeding in spring to bring liquid fertilizer to the drill, can keep a skid of seed out of the rain and blend N, S, and liquid P with the flow meter. Next to the sprayer it’s the most widely used piece of equipment on the farm!
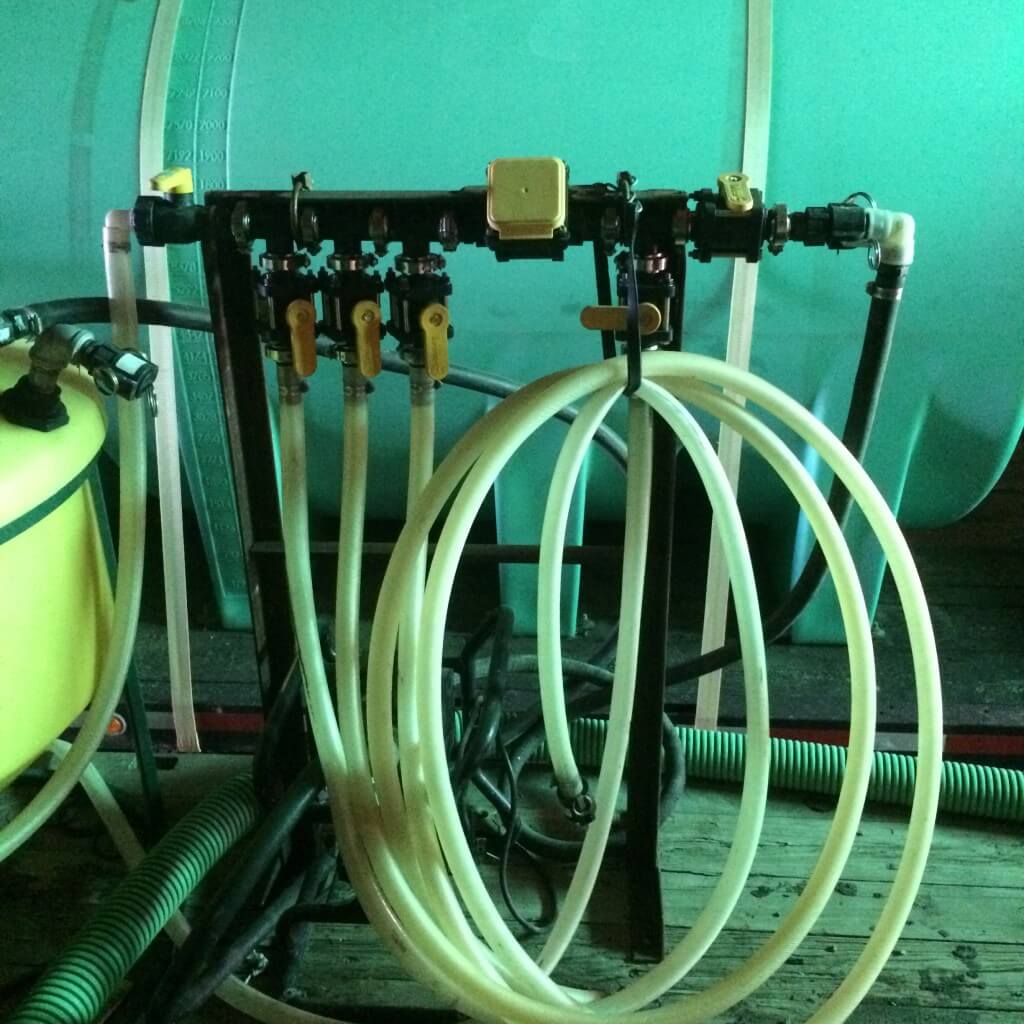
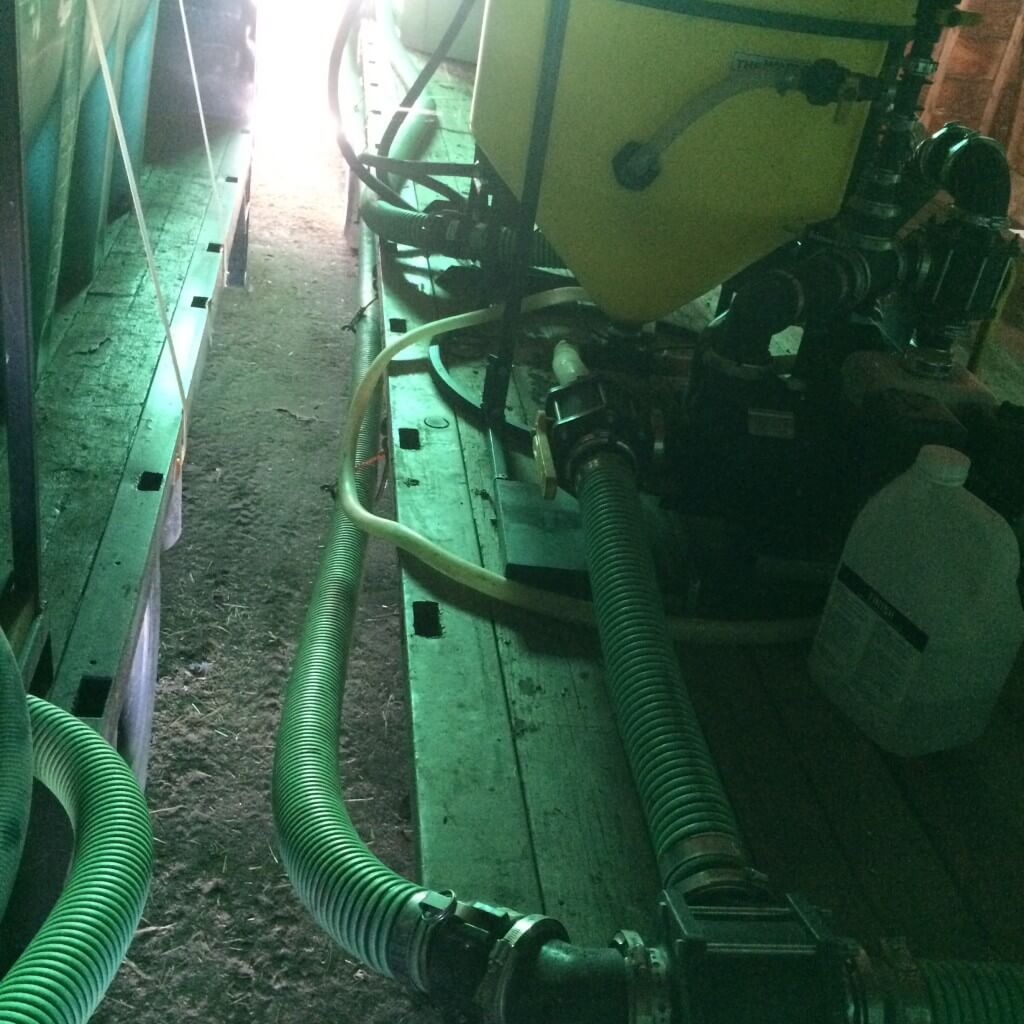
” My bulk chemical hose setup can suck out of three totes or barrels. It can dump into the chem handler using a 1 inch chemp pump or I can use the venturi to suck depending on what we want to do. This system is also plumbed with a fresh water line to be flushed. It also has a banjo flow meter. Banjo last a long time, other brands do not. BUT it measures EC not flow which does not work for all chemicals. Back up is measuring in the chem handler.
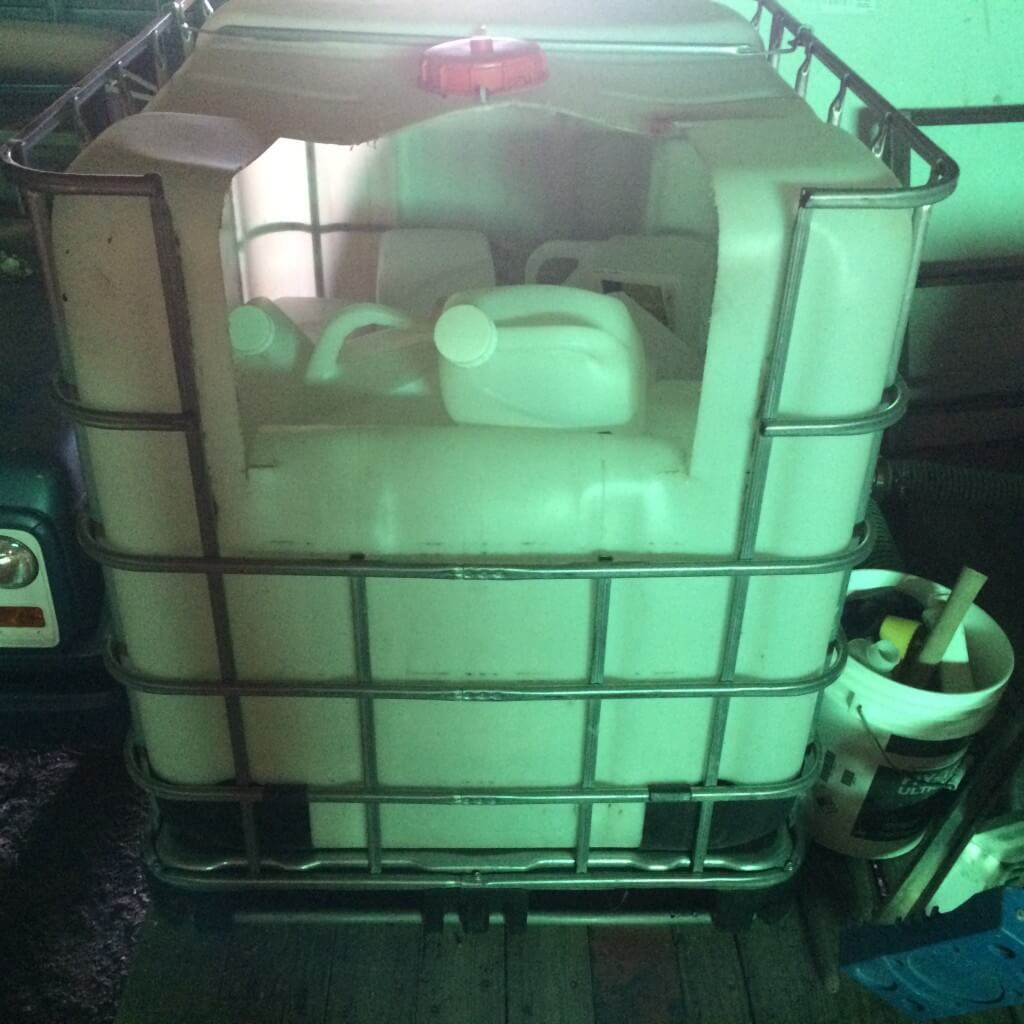
“When we use jugs we throw them in an old ICB tote so they don’t blow out down the road.
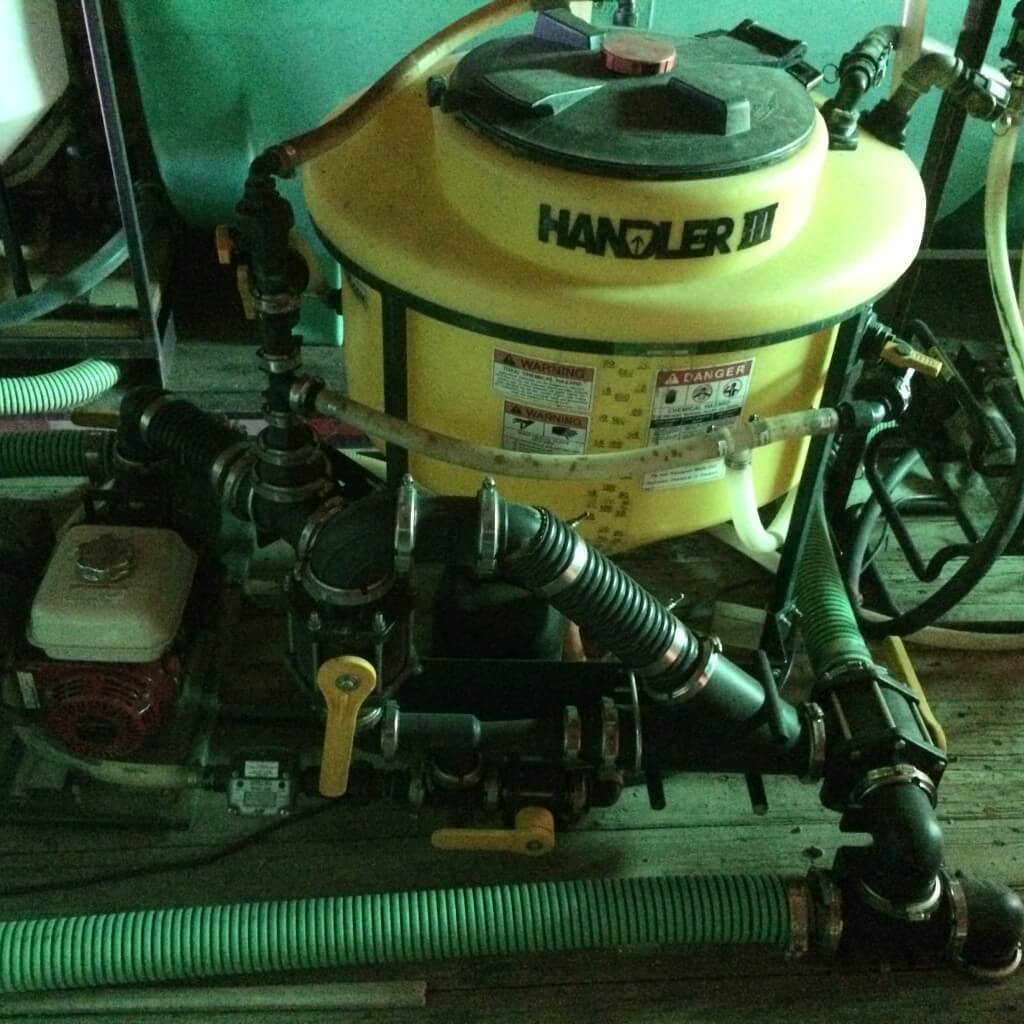
“We are using a chem handler 3 with all three inch hoses.
“When we have barrels and or jugs we have a pallet they we built sides for that also has a shelf. We can remove it with one strap and reload or use 4 totes.
“We have a long hose for filling that has hooks and bungy straps to hold it up. We empty the hose every time because its very heavy when full. To drain the water we just open a valve on the handler to let air in the hose. We installed an air assists clean-out on the sprayer side so we can push the hose back into the chem handler if we need. The water is always murky so there must be some chemical in the hose. This is also where we fill the tanks on the truck with a three way valve on the suck side of our pump and a three way valve on the pressure side. We have free form tanks, tank 1 is 2350 gal and tank 2 is 3100 gal I think.
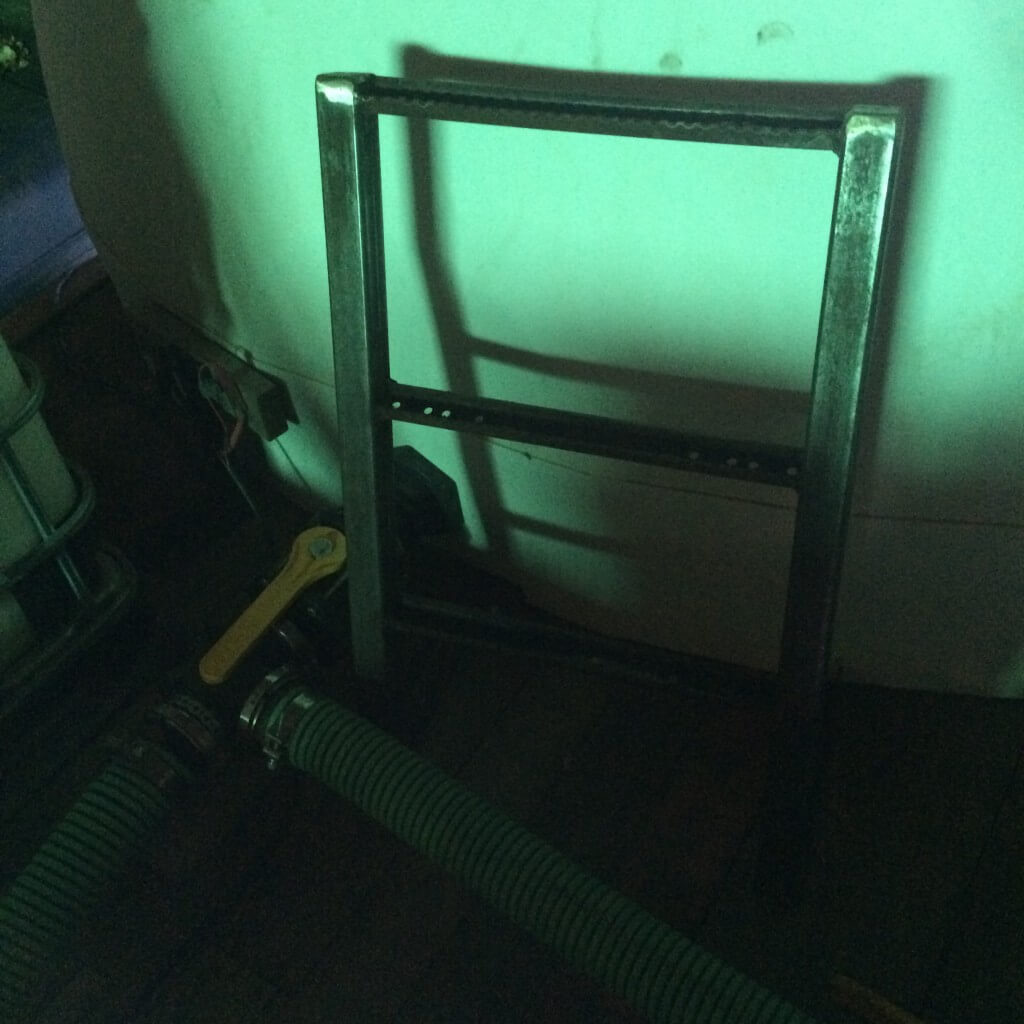
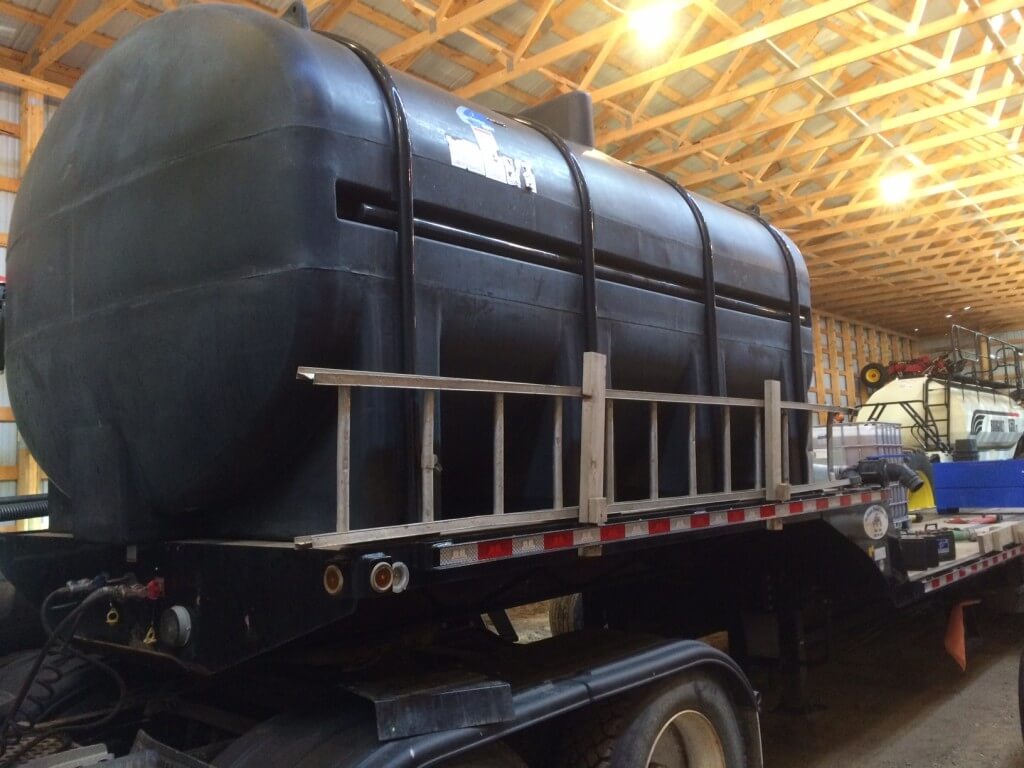
“If you have broken feeder chains lying around, the slats make excellent ladder rungs.
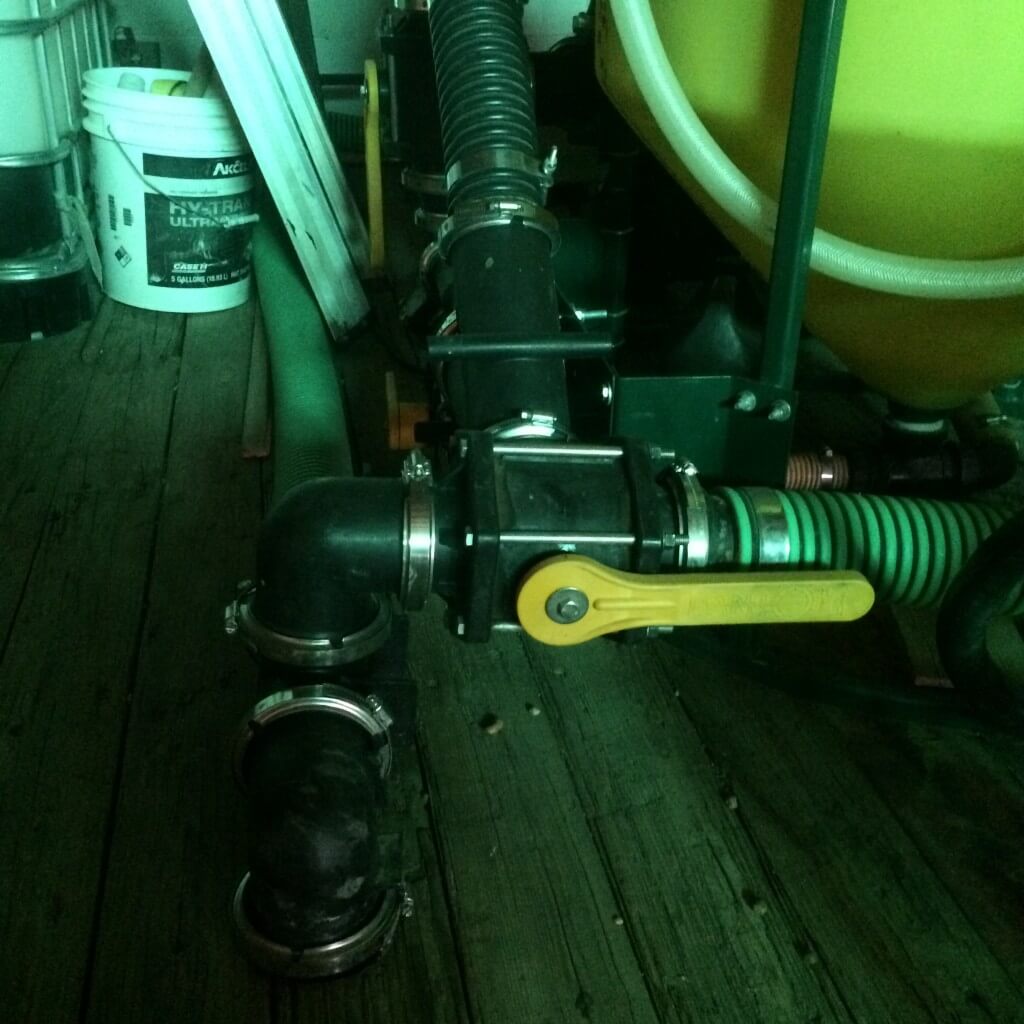
“Showing the 3 way valve on the pressure side. Its positioned to fill the sprayer in the picture.
“They have since modified the chem handlers for this purpose but I teed into the venturi to use this for chem totes. I also had an old flow meter I added. I don’t trust it though.
“Our trailer is 48 ft which we bought used for about $8000. Its a bit on the long side for getting into fields. If we could slide the wheels forward it would help but this trailer we cannot. We can fill in about 20 min and our sprayer is 1135 gal. Some advice, when you buy a Rogator the tank size does not match the number on the machine. We though our rate was out but it was because the tank is 1135 gal not 1100 gal. We can spray 4 tanks out and have room for a sprayer clean. We fill the tender at home with a free form 9000 gal trailer tank that we also use for 10-34 during seeding. We fill with a garden hose but are setting up a 1 inch pump to pump out of our overflow spring water system.
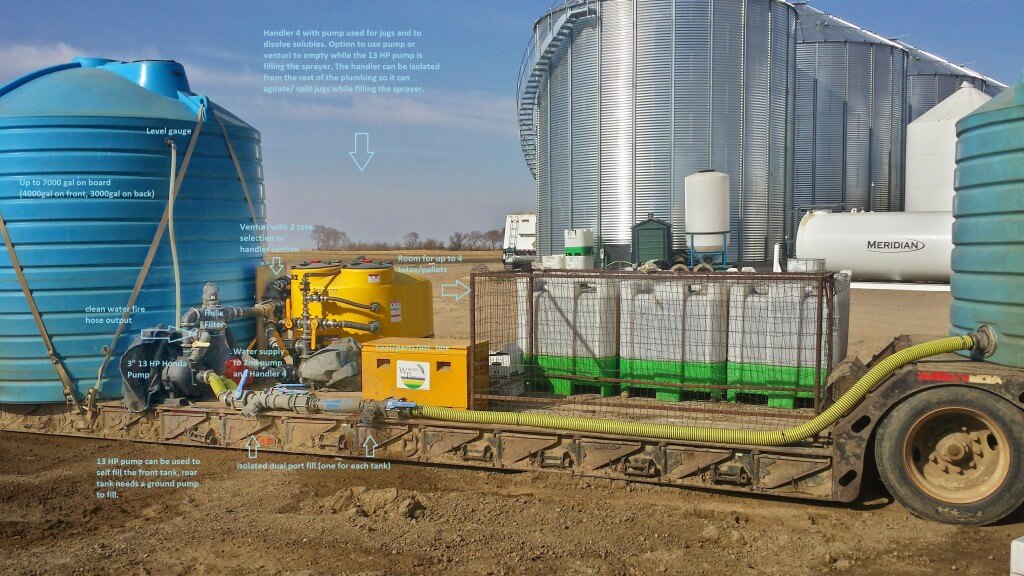
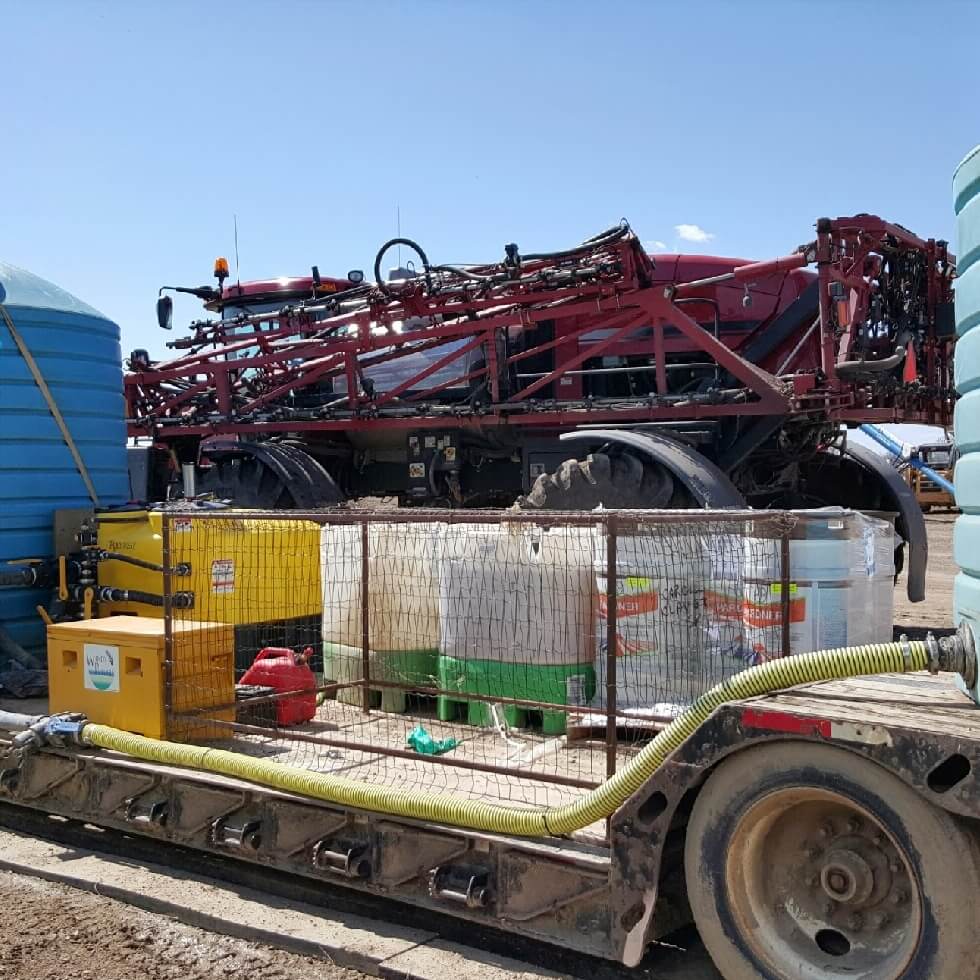
- Dual 3” fill ports: ability to isolate the two tanks in order to fill each tank with it’s own port, front tank can be filled with on board 3” 13HP pump, back tank requires a ground pump to fill.
- Main Pump: Banjo 333 Series Cast Iron Self-Priming Pumpwith 13 hp Honda electric start and pull rope capable of filling a 1200 gal sprayer in under 5 min if you’re only filling water and the filter is clean. Real time fill will range from 8 to 15 min dependant on what chem mix is being used. A future desired upgrade would be a 1200 gal SS tank on the empty upper front deck to pre-mix a complete tank so that every fill would be down to 5 min. This would require a knowledgeable person at the fill site though.
- Auxiliary outlet: 2” clean water outlet often used for washing equipment, grain bag slip n slides or fire control.
- Filter:3” Helix filter with extra filter elements if you need to swap in the field. Two outlet ports off of the filter. One going straight to the venturi assembly/sprayer fill line, the other going to the Handler 4 or tank #1.
- Tank #1: The front 4000 gal tank placed just after the upper deck.
- Tank #2: The back 3000 gal tank placed on the upper rear deck over the tridem axles.
- Chem Handler: A Handler IV with attached Honda pump. The secondary pump allows for the ability to agitate a chemical mix or dissolve a dry component. The pump can also quickly empty the handler in stream with the clean water while the 13 hp pump is filling if you don’t want to use the slower venturi option to suction out the product. The secondary pump does not need to be running to get pressure to the Handler rise ports as you can open the valve on the outlet side of it to get a supply of water from the primary pumps flow.
- Venturi assembly: full 3” venturi and bypass. Venturi can suction either 2 different chemical barrels or totes and 2” suction of the Handler IV. The chemical induction ports are all dry poppet couplers and the lines 1” induction lines can be swapped if you change products. There’s also a clean dry poppet port to connect to easily flush any of the induction lines.
- Flow Meter: There’s a 1” Banjo flow meter to measure the volume of chemical induced. One issue with this meter is that it doesn’t work with all chemicals but I switched to this make because it doesn’t restrict the flow. As nice as it is to use a venturi to transfer chemical is it does significantly increase fill times. (5 min vs 8 to 15 min.)
- Level gauge: the level gauge on the front tank helped to minimize overflows and to more accurately fill the tanks to the desired level.
- Chemical Payload: Room to fit up to 4 pallets of jugs or 4 450L totes.
- Cage: Empty jug and box cage.
Our fourth submission was made by Kelly Baillargeon (@k_baillargeon) of Edam, Saskatchewan
“We have set up many spray trailers the last few years, each design has had its improvements. We run two sprayers between our farm and custom spraying business. It is very important to our operation to carry the sprayers, it allows the sprayer operator to be able to head out in the morning full of chemical and fuel and spray the entire day by himself. Our trailers have a 3200 US gallon tank on them which will give us three full fills on our 1000 gallon 4830 John Deere sprayers.
“We purchased a triaxle water tanker trailer from SGI salvage two years ago (sorry no picture right now as it is tucked away in a shed) that can haul 8000 US gallons per load that keeps our spray trailers full of water and allows my brother and I to spray all day. We built a large cage underneath the tanker out of iron and expanded metal (8′ x 8′ x 2′) that allows us to throw all of our empty chemical boxes and jugs in it when the spray trailer is getting filled with water.
“We used to buy older flat deck trailers and build sprayer cradles for them. But two years ago we decided to buy two of these spray trailers from Flamans in Saskatoon.
“The trailers are built for hauling a sprayer with the cradle being able to be folded up while not in use, which makes it nice for putting into storage or if needing to use the flat deck to haul anything else. These trailers should last a very long time for us.
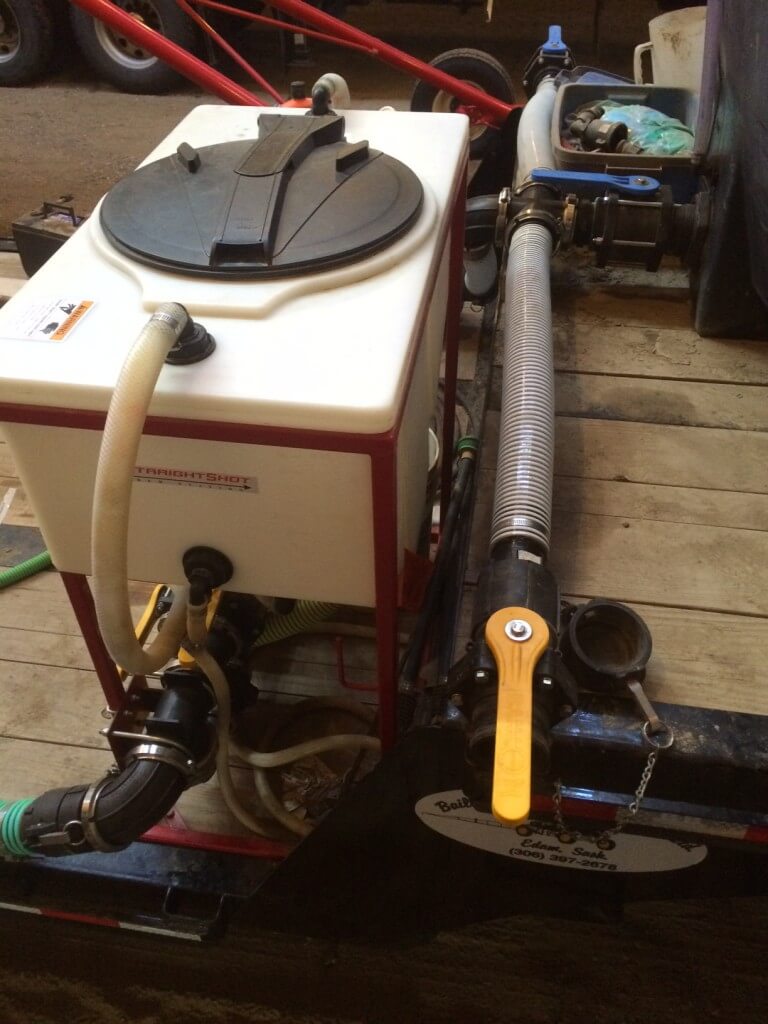
“We mounted one 3200 gallon tank on the nose of the trailer. This conserves valuable deck space, we used to use 2 smaller tanks, but this really compromised deck space on our trailer that can be used to haul lots of chemical. It is also much safer to have lots of room while mixing and filling the sprayer. We aren’t crowded or tripping over lots of hoses while working on the deck. There is a ladder stored on the side of the tank to be used if we are parked at a water source that we are able to throw a hose in the top of the tank to fill while we are out spraying.
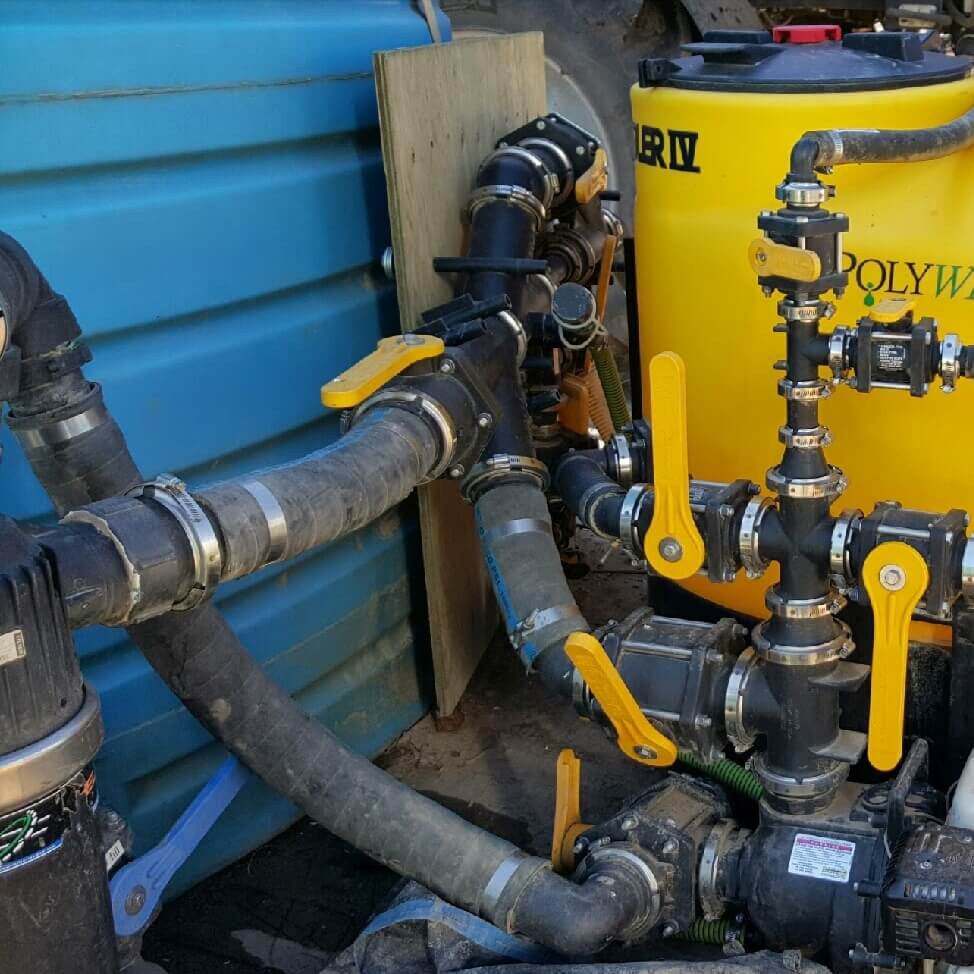
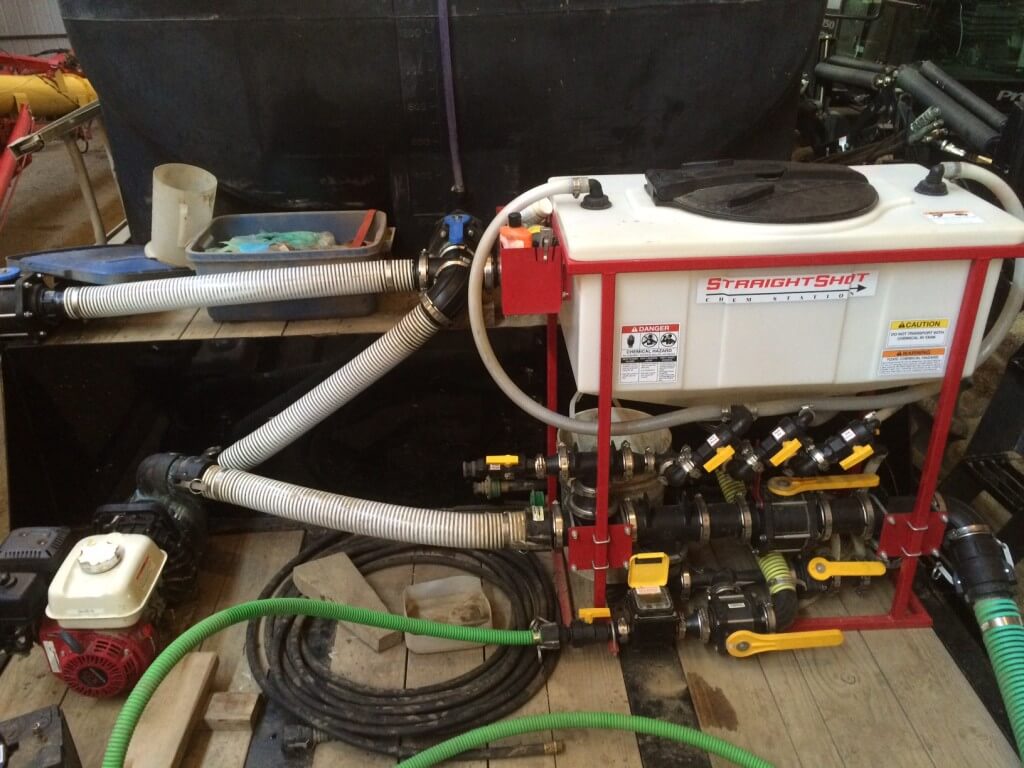
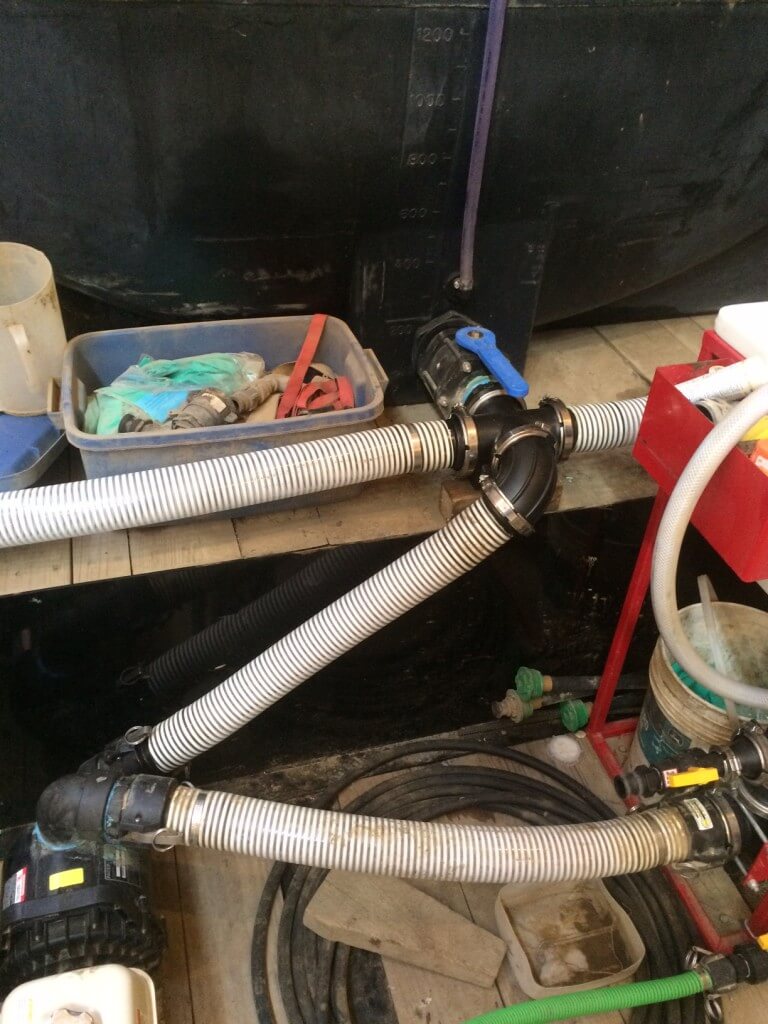
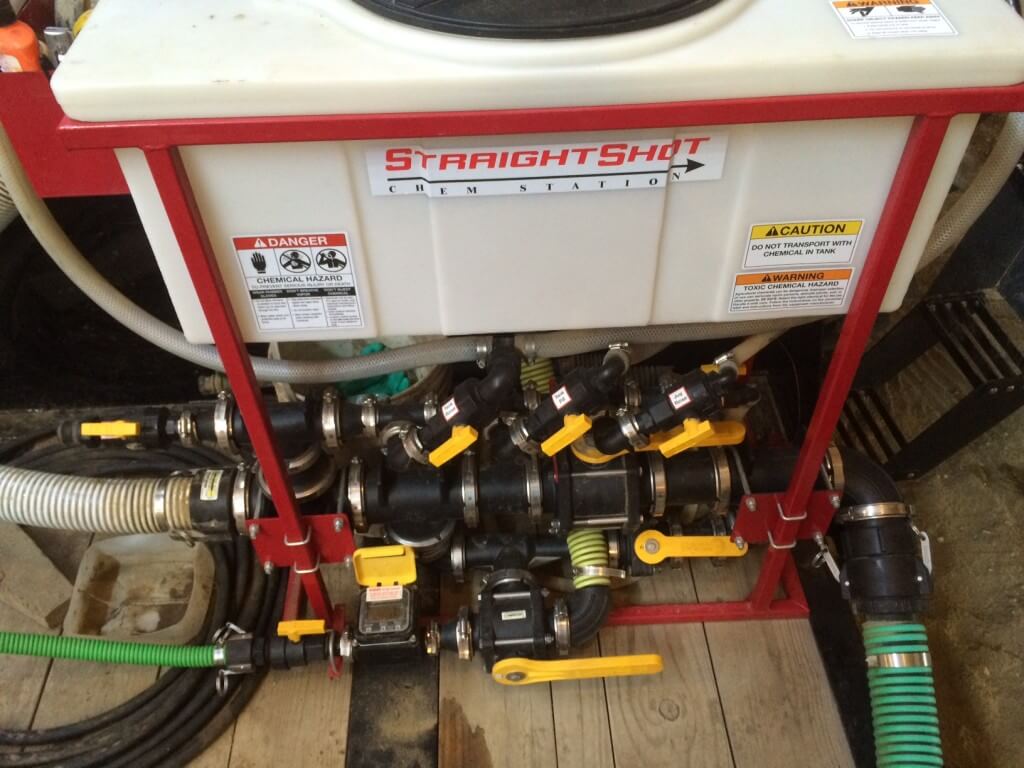
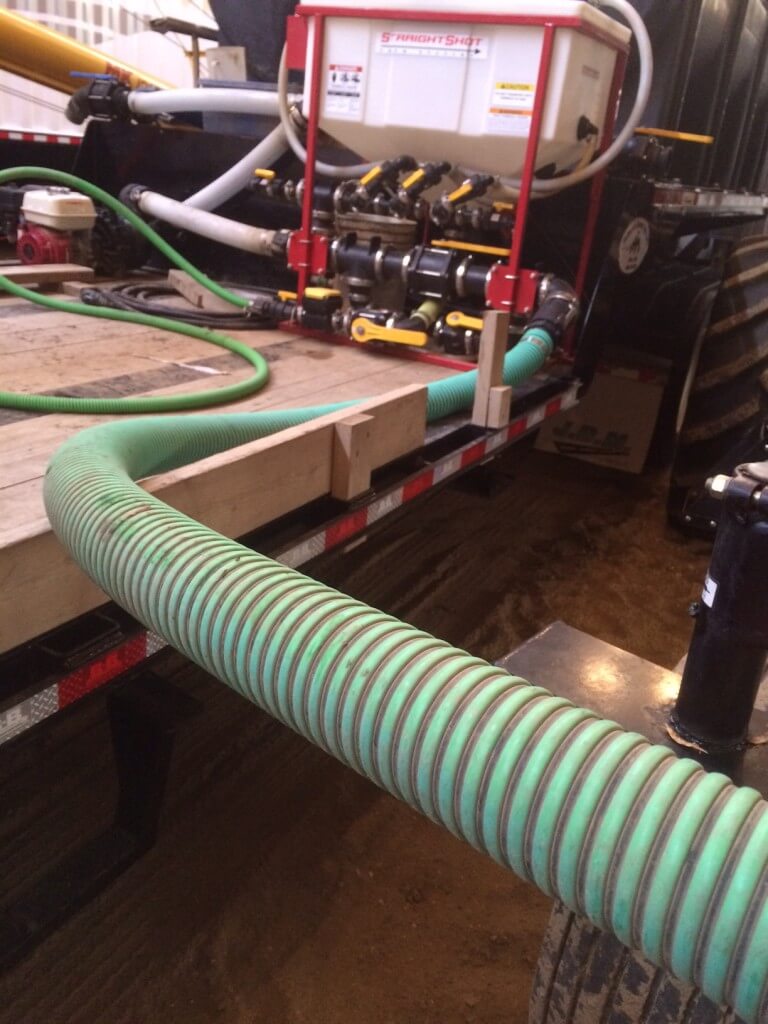
“Each time we have built a spray trailer we try to make the design more simple. In my opinion the less total plumbing I have on the trailer, the better. This makes it easier to teach someone how to use it as well as less chances of making a mistake. I installed a Straight Shot chem station this time, we always used Chemhandlers before and didn’t have any issues. But I really liked the simple straight forward design of this chem station. It is built very compact, saving on more deck space. Everything is very clearly labelled. It has 3” plumbing and when bypassing the handler to fill the sprayer with water, there are no bends or restrictions in the water stream, everything goes straight through. I find that it fills quicker than our Chemhandler did because of this simple plumbing.
“We use a 3″ Honda pump. I replaced the Soterra flowmeter that came with the handler (I had lots of issues with them in a very short amount of time) with a 1” Banjo meter. This meter has no restrictions inside of it, but will not meter products that are not electrically conductive. I have a backup spinning wheel style meter that I attach to the hose when using these types of products. The venturi on this Straightshot chemstation sucks extremely fast. I am able to suck glyphosate out of totes at 78 litres/minute while filling sprayer with water at the same time. Liberty is much slower, about 45 litres/minute. Seat to seat fill times on my 1000 gallon sprayer is 5-8 minutes depending how many products are being used.
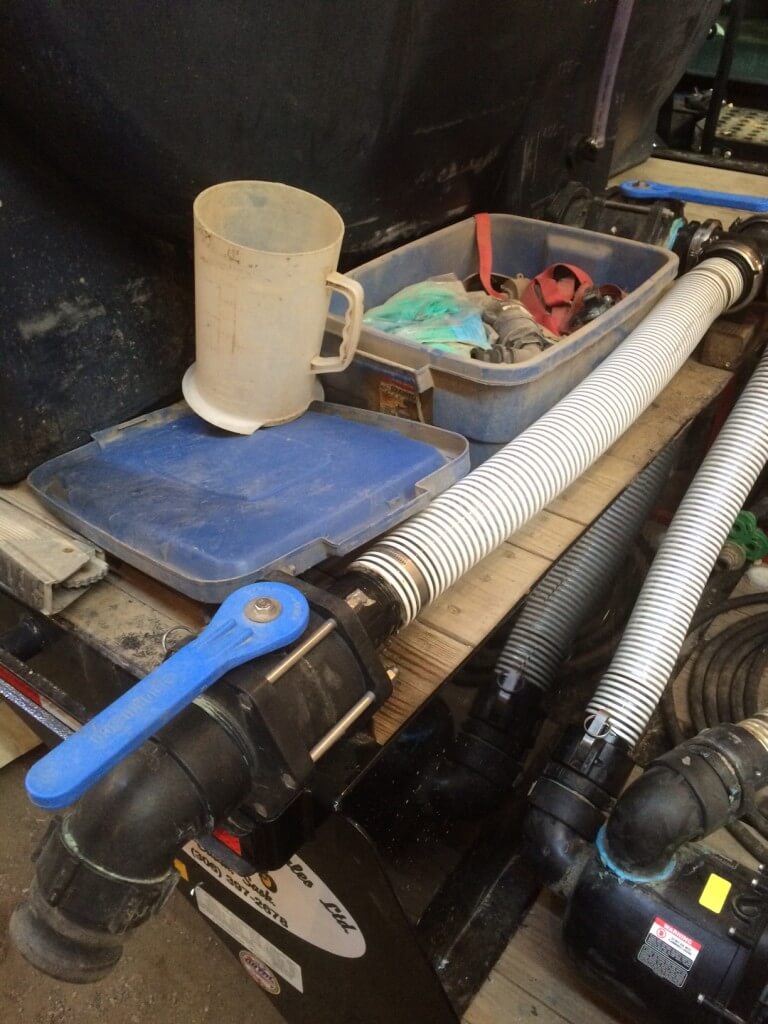
“A rubbermaid tub with measuring jug, fittings, gloves and other safety equipment is located right beside work station. The large tank also includes a sight tube on it to prevent overflowing when filling.
“I used “sweep” 90 degree fittings everywhere the direction of water flow changes, these fittings are “wide open” and do not restrict flow. Another lesson I have learned is to use the flange style fittings everywhere possible, threaded fittings work ok, but a few years down the road when you have leaks showing up, you need to take apart most of your plumbing in order to repair them. Flange fittings don’t leak as much, most repairs involve tightening up the clamp and if you do need to take it apart, you won’t have to take apart any other fittings to change the seal.
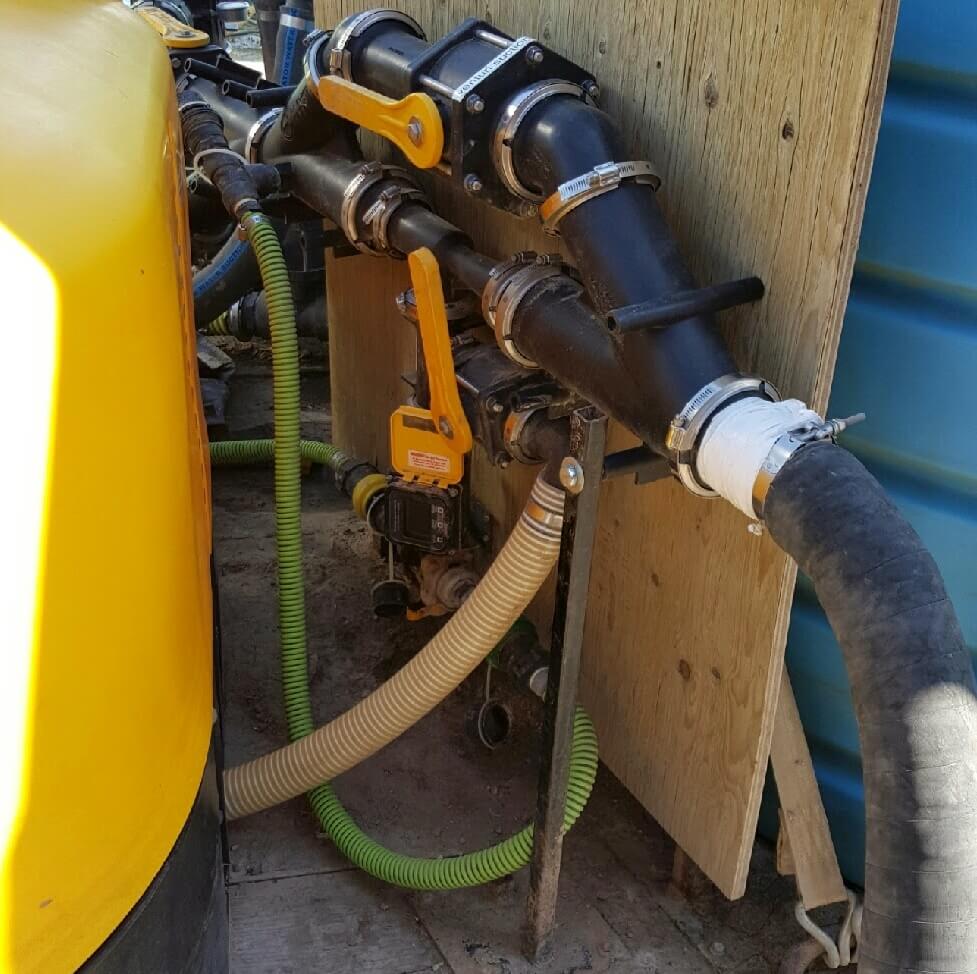
“A close up of the chemstation:
“There is a connection on the left side that is used to flush out the chem induction hose. The tank on the chem station rinses really well as it has two spinning rinse nozzles inside the top of the tank. There is also a fresh water hose on it to help with rinsing tank or washing your hands.
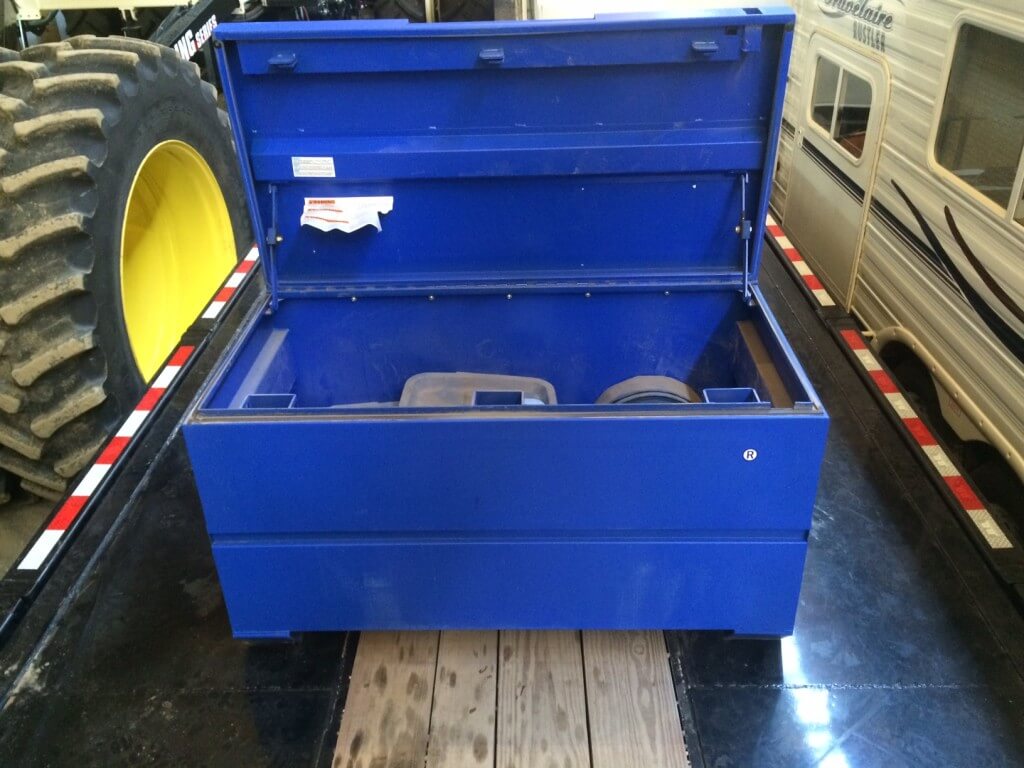
“Located at the back of the trailer, underneath the sprayer, is a large toolbox. I keep extra parts, safety equipment, small jugs of chemical, a firehose for fighting fires and ratchet straps for tying down chemical on the sprayer deck.
“The water tank is able to be filled from either side of the trailer from the ground by the nurse truck, depending how we are parked at the field.
“Long 3” flexible hose for attaching to sprayer:
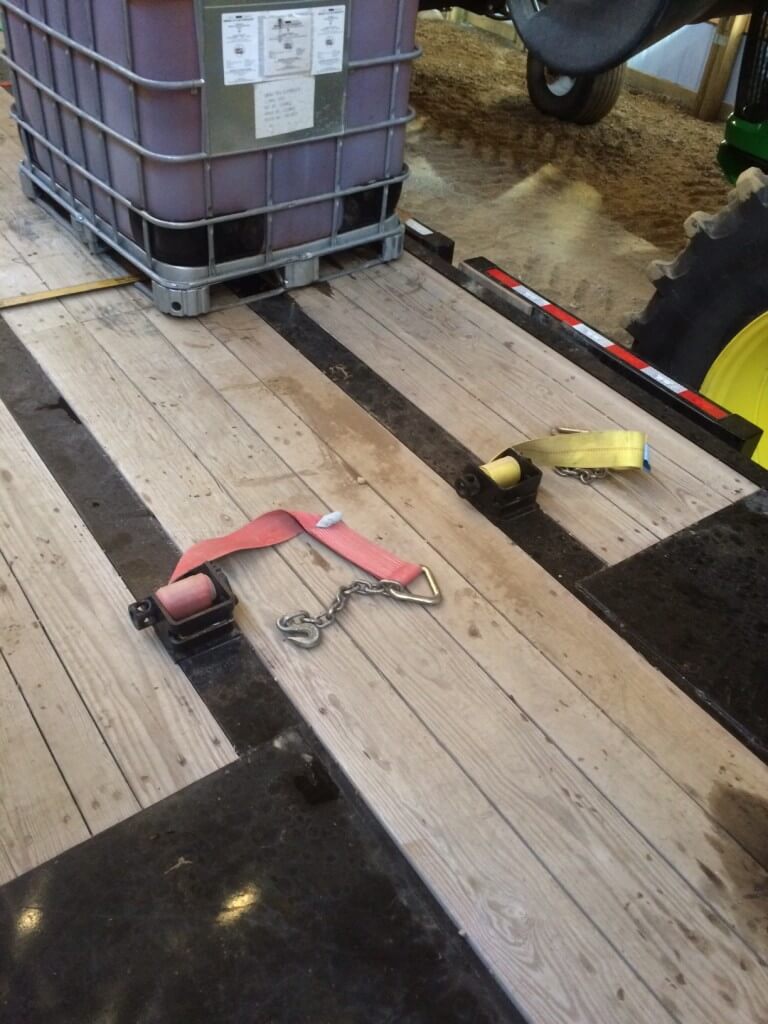
“I bolted 4 large ratchets (2 at the front and 2 at the back) to the trailer deck for tying the sprayer down when in transport. I find straps are much quicker and easier to handle than using chains to tie down the sprayer. I didn’t want to weld the ratchets to the deck because then I would not be able to remove them if we needed to use the trailer for something else.
“When I have the sprayer loaded on the trailer, I have lots of available deck space to carry chemical. I have had as many as 4 1000 L shuttles on the trailer at one time with plenty of room to walk around and work safely.
Post continued here.
