We all know the importance of cleaning out a sprayer. It protects a sensitive crop. It protects people working with the sprayer. It protects the sprayer and its components. But cleaning the sprayer is a pain. Here are some tips to make it easier.
Some herbicide label instructions are cumbersome, requiring many flushes with full tanks of water. Many applicators look for shortcuts and hope they get away with it. It doesn’t have to be guesswork. The following is a checklist that may help.
Be Prepared
A few supplies can help ensure a clean sprayer tank.
- A defoaming agent saves water and time
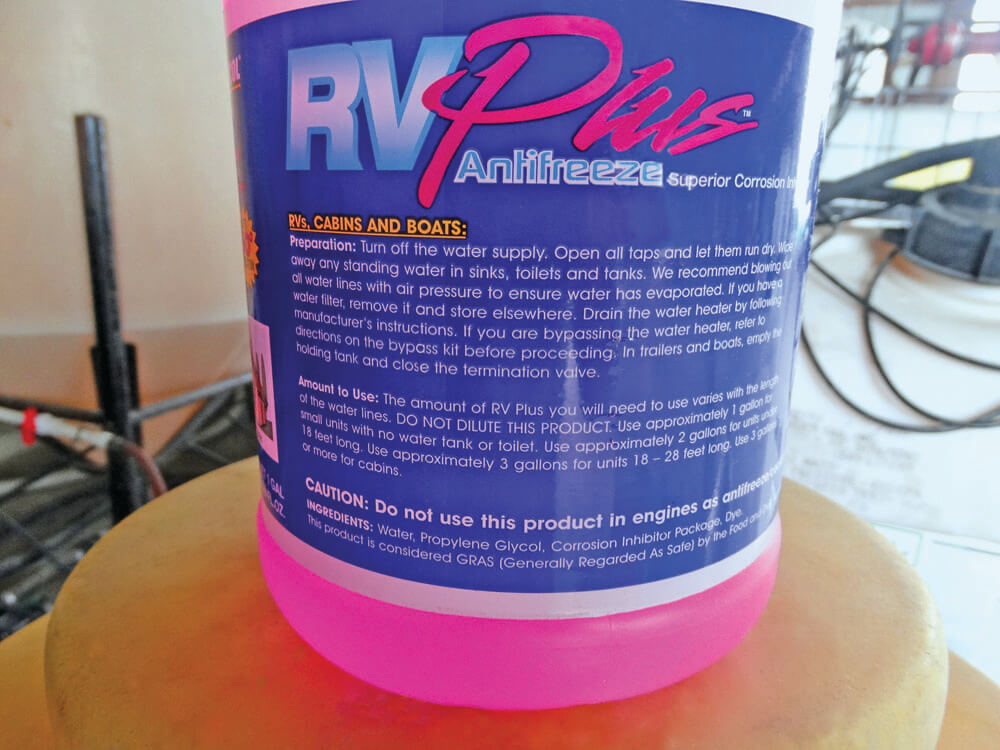
- A cleaning agent (commercial products, or simple household ammonia) is useful, and recommended, for Group 2 products except the imidazolinones.
- A supply of clean water, preferably with its own pump, and a pressurized spray hose helps clean the sprayer inside and out.
- A wash-down nozzle (whose flow requirements can be met by the clean water pump) can automate the tank wash-down.
- A bucket and brush for rinsing screens is very useful.
Products to Watch:
The products most frequently implicated in sprayer contamination are two members of the Group 2 modes of action: the sulfonyl ureas (e.g., thifensulfuron (Refine) and tribenuron (Express)), and the triazolopyrimidines (e.g., florasulam (Frontline, PrePass) and pyroxsulam (Simplicity)). Since these herbicides dissolve better at higher pH, proper cleanout usually requires ammonia, a weak base that raises the solution pH. The third member of Group 2 products, the imidazolinones (imazethapyr (Pursuit), imazamox (Solo, Odyssey), imazamethabenz (Assert), imazamox (Ares, Adrenalin, Altitude or Viper)), tend not be implicated in as many residue issues, and don’t require ammonia for cleanout.
Be Prompt and Thorough
Remove pesticide from mixing and spray equipment immediately after spraying – it makes the job easier. The main areas of concern are the tank wall, sump, plumbing (including boom ends), and filters. First, spray the tank completely empty while still in the field. It’s sometimes OK to cover previously sprayed areas – all herbicides must be crop-safe at twice the label rate to be registered by the PMRA. Take care with residual products that may create problems down the road. Reduce the rate or choose a fallow field to be certain. Second, add 10 x the sump’s remnant of clean water, circulate, ensuring agitation is on, and spray it out in the field as well. Repeat. These two rinsing steps will take care of the majority of the cleaning and won’t take very long. The less remaining volume there is in your tank after the pump draws air, the less water is needed to dilute this remainder to an acceptable concentration. Having a clean water tank on the sprayer and a wash-down nozzle makes this job easier.
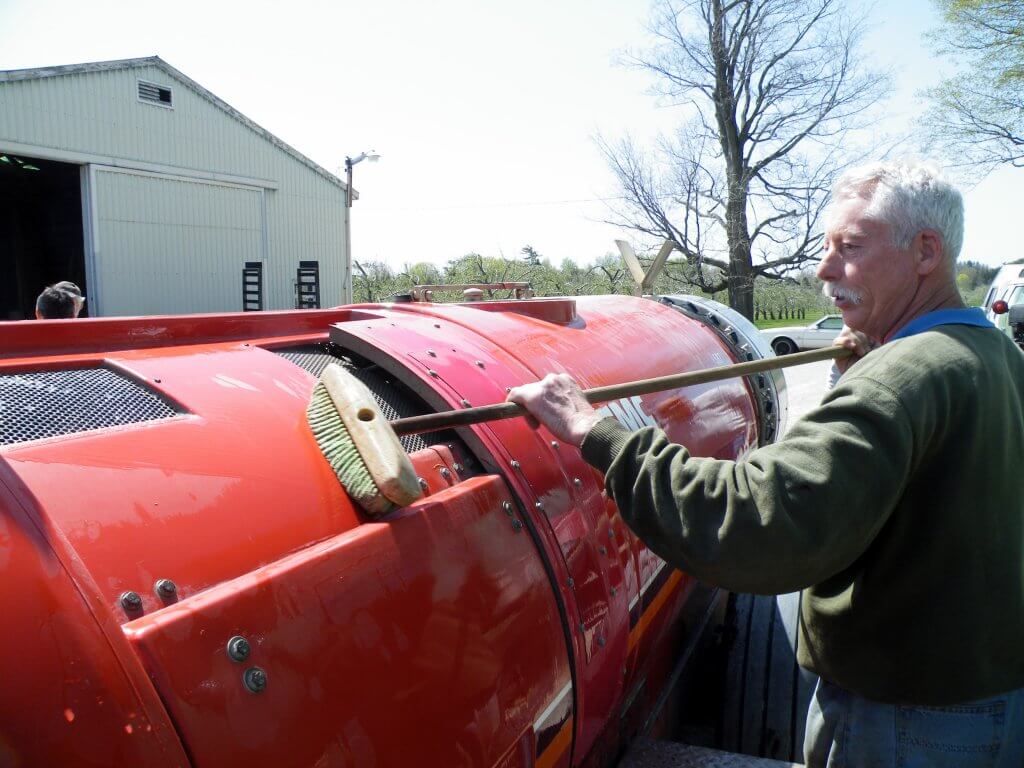
Visual Inspection
Herbicide residue may precipitate out of solution in some parts of the sprayer or plumbing. A thorough visual inspection can identify these problem areas and ensure that they are cleaned properly.
Tank Wall
Removal of residues from tank walls is best accomplished with a direct, pressurized spray. Make sure all parts of the wall have been in contact with clean water. Use a wash-down nozzle if it provides complete and vigorous coverage of the interior tank surface.
Sump
Empty the sump as completely as possible by spraying it out. Any spray liquid or herbicide concentrate remaining in the sump area will be re-circulated in the sprayer. The only way to remove any remaining herbicide is through dilution by repeatedly adding water, and leaving as small a remainder as possible.
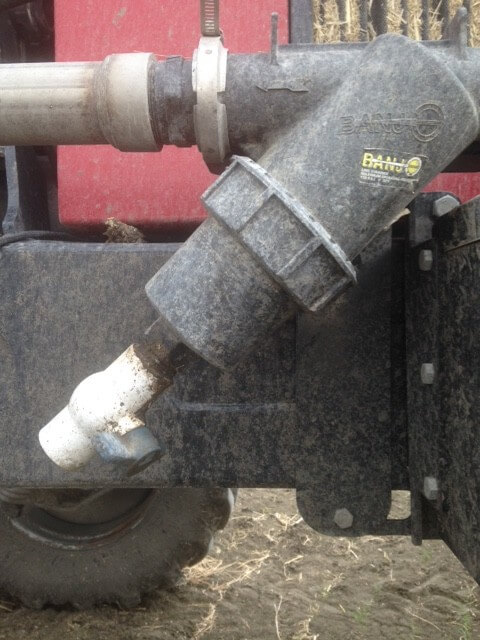
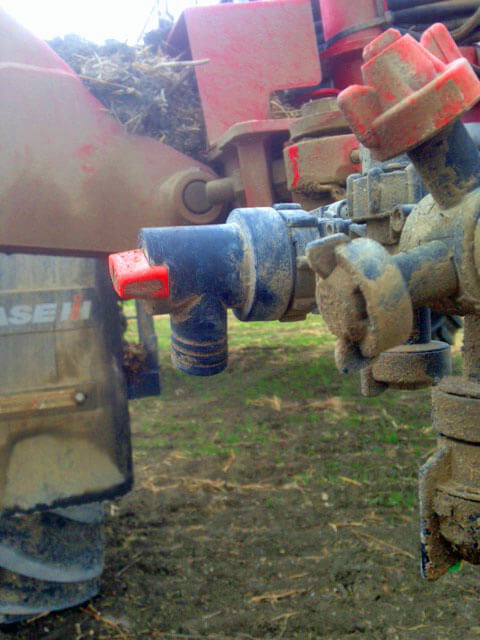
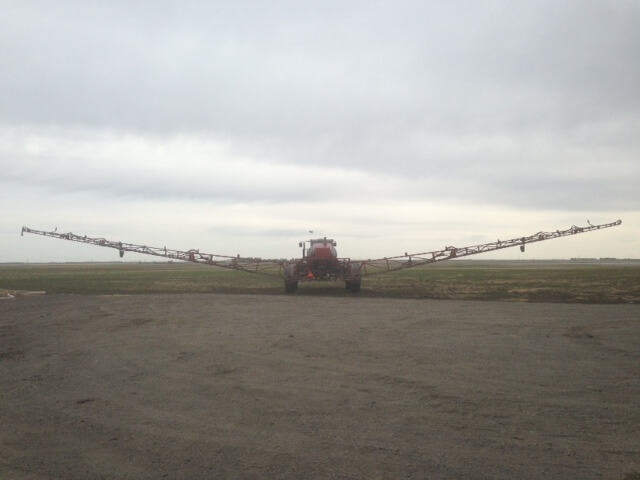
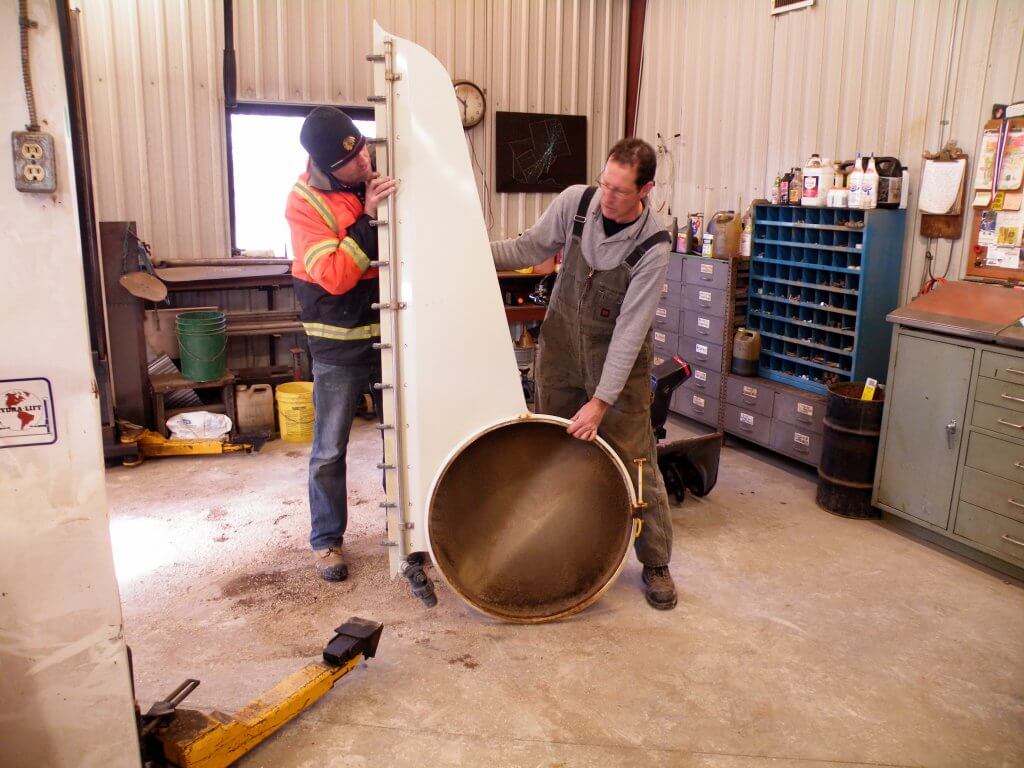
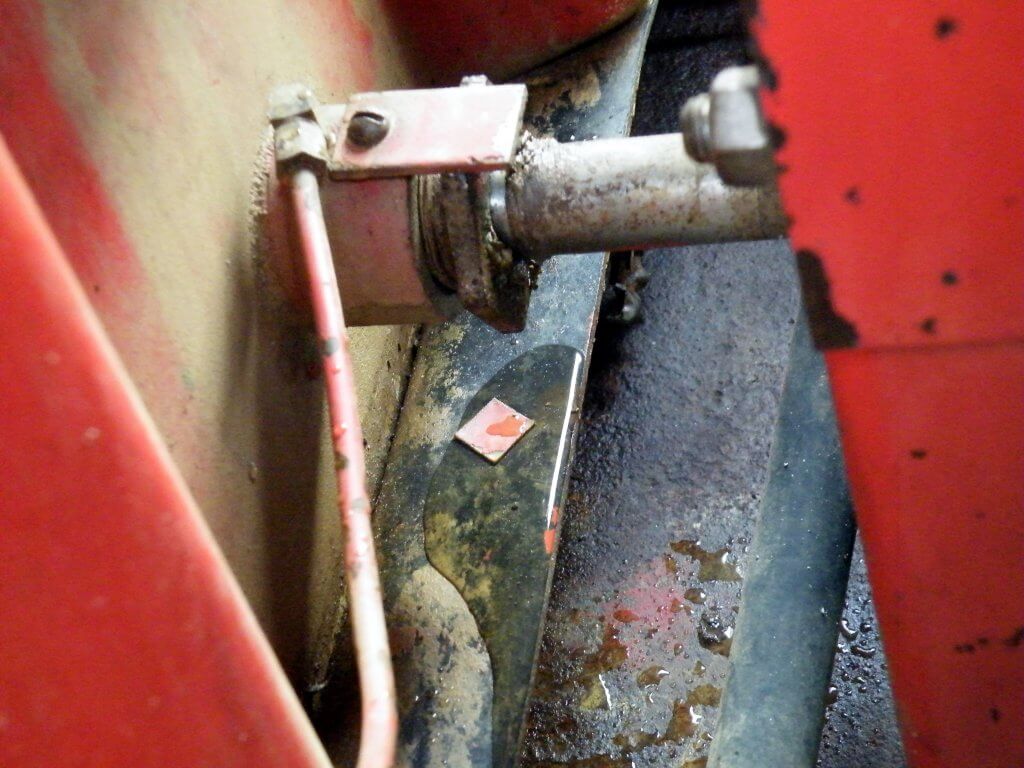
Plumbing and Boom
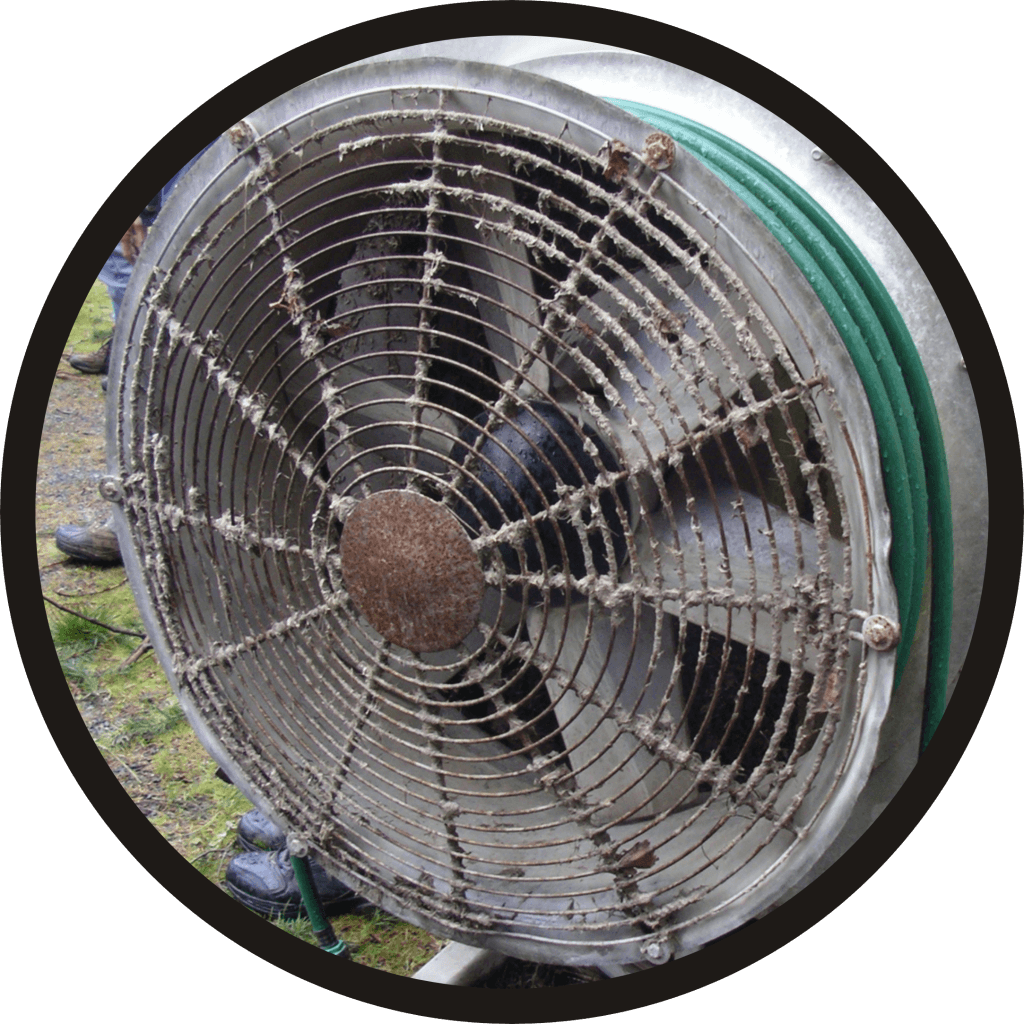
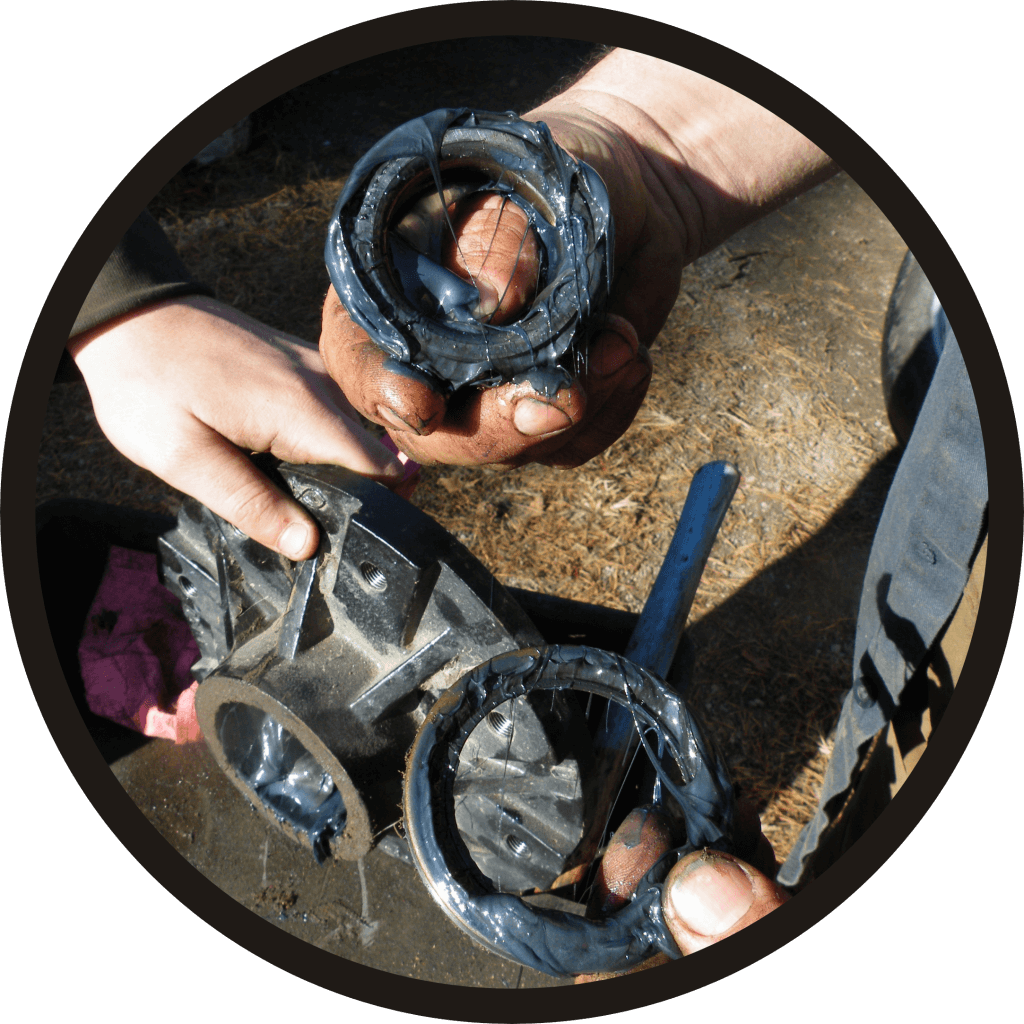
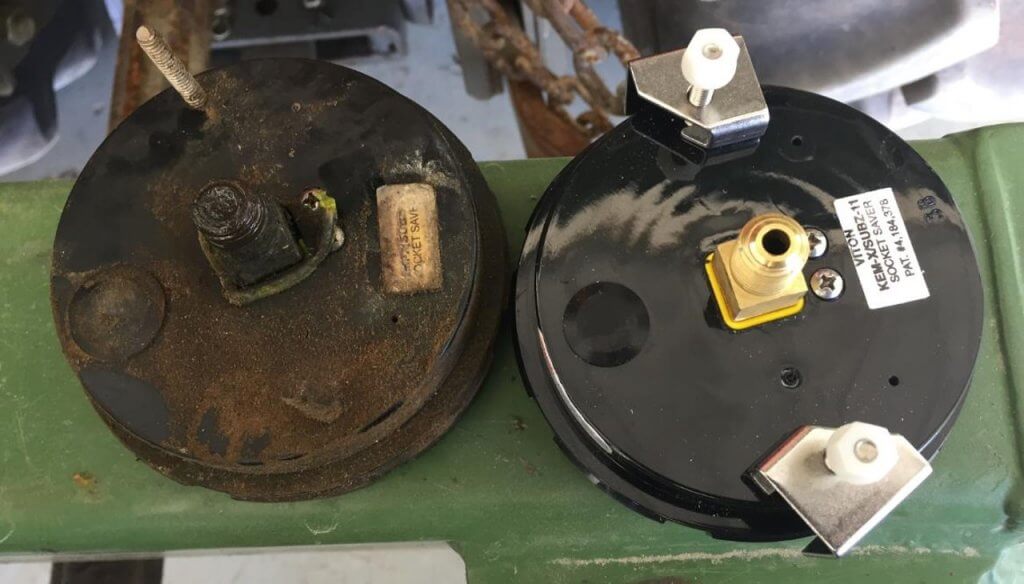
Plumbing can be a significant reservoir of herbicide residue. Removal from plumbing can be achieved by pumping clean water through the boom while ensuring that all return and agitation lines also receive clean water and all residue is flushed out. This may require opening and closing various valves several times, and repeating the process with new batches of clean water. Boom ends can extend up to 6” beyond the last nozzle at each end of each boom section. These ends must be flushed to removed trapped residue. A useful product that does this automatically is the Pentair Hypro Express Nozzle Body End Cap, or better yet, consider recirculating booms.
Dilution
The most effective use of a volume of rinse water is to divide it equally across several repeat washes. Assuming a 10 gallon sump remainder, three washes with 30 gal each are as effective as two washes with 70 gallons each, and equal a single 600 gal wash.
It’s even more efficient to use a separate clean water pump, introducing clean water as the rinsate is sprayed out. This saves water and time, and results in even more dilution.
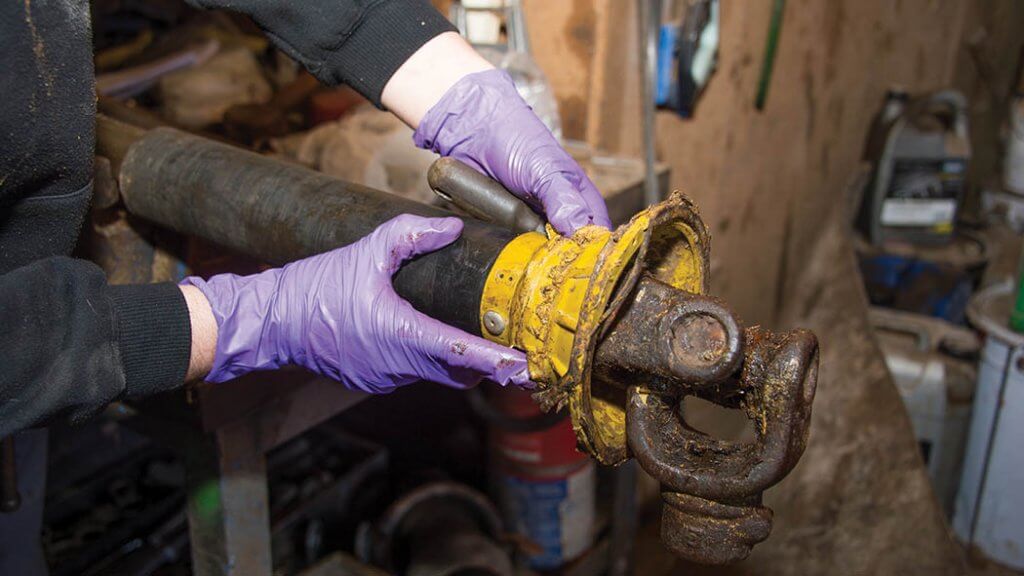
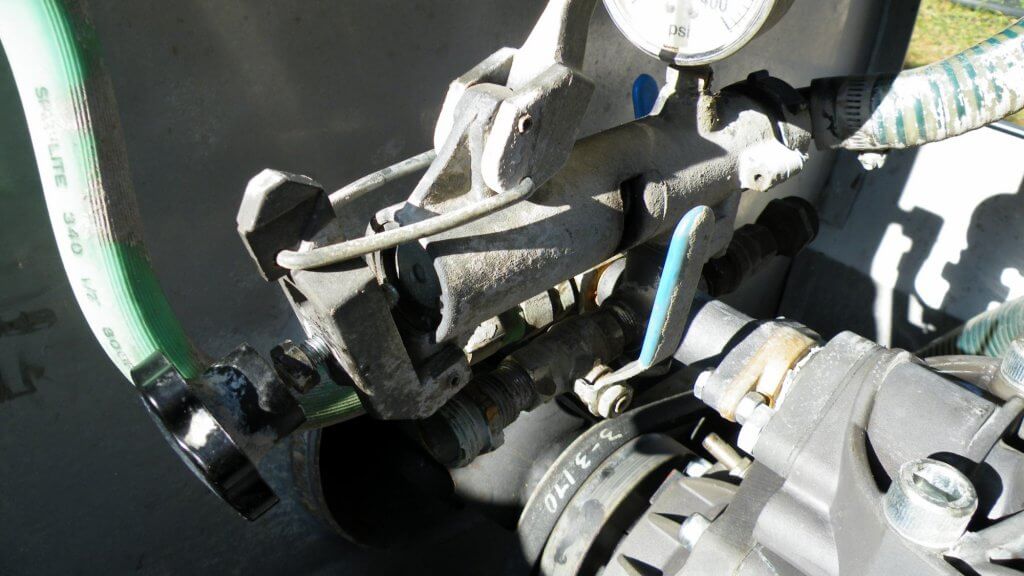
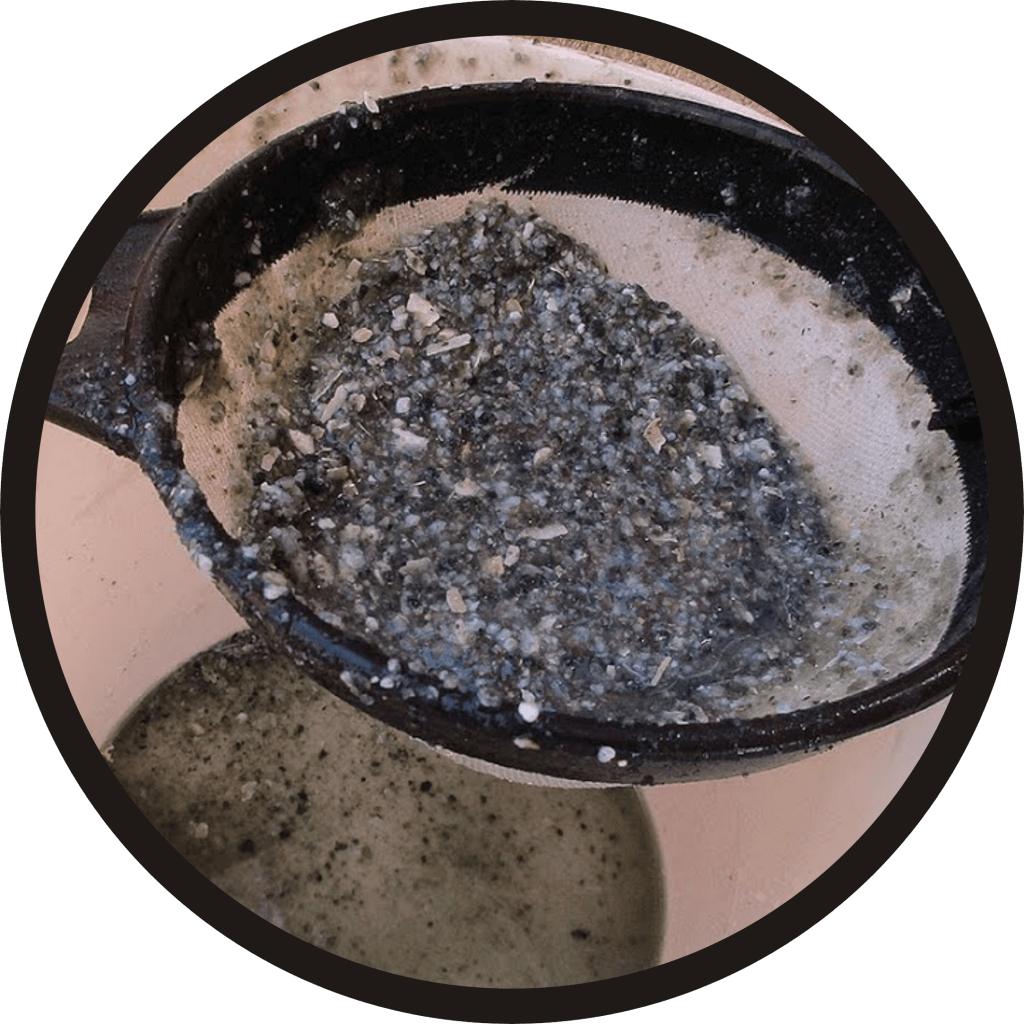
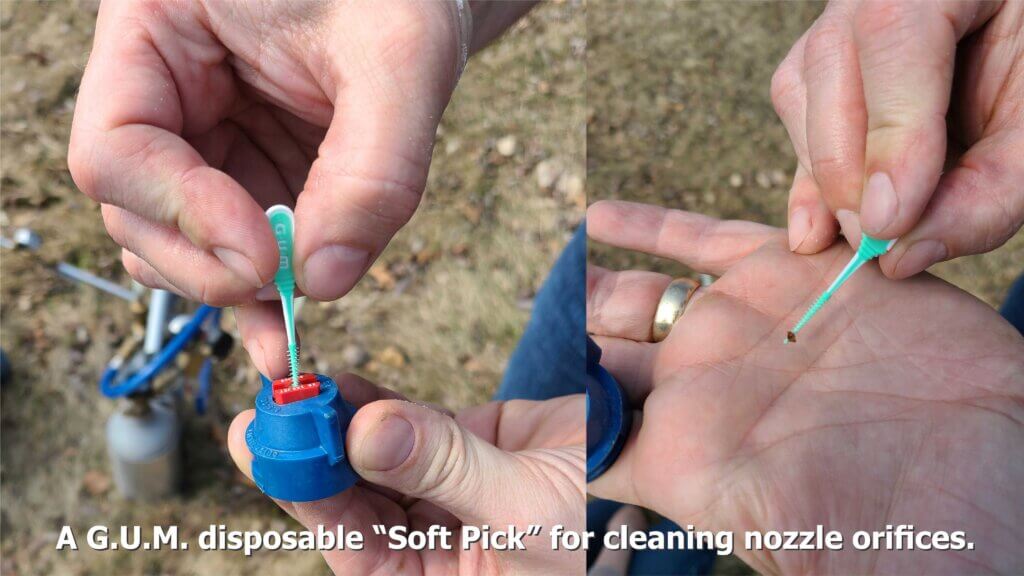
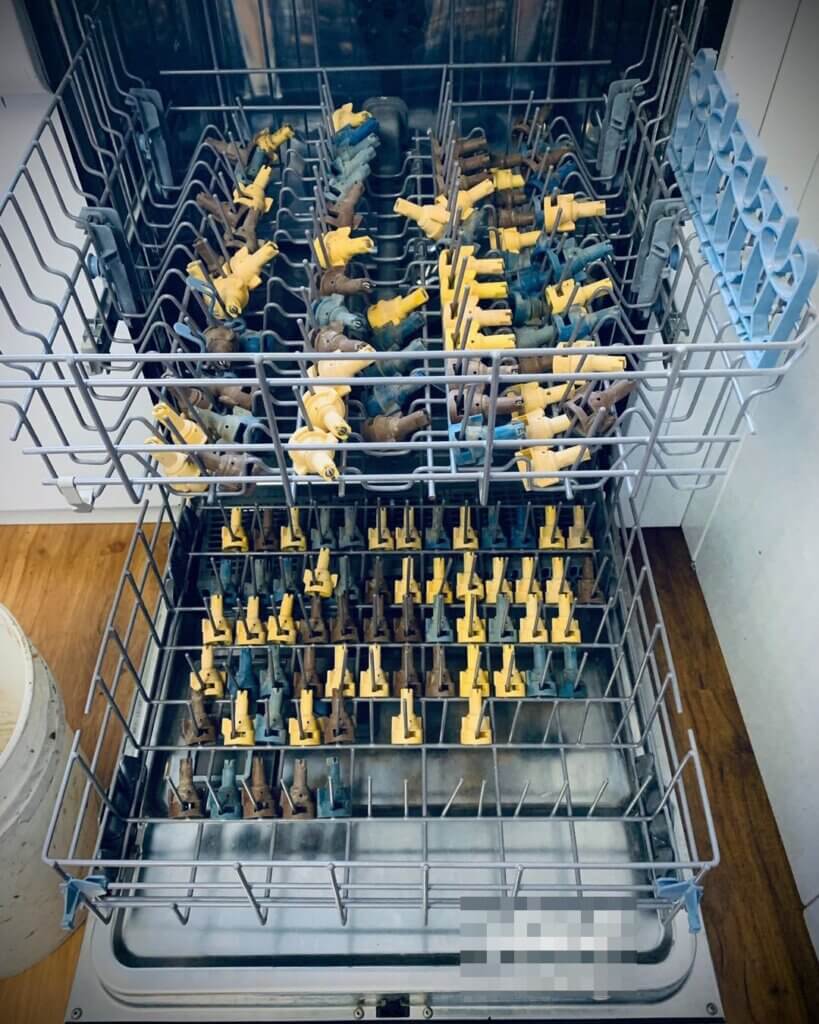
Filters
Nozzle screens and in-line filters can be a significant reservoir for undiluted or undissolved herbicide and are one of the most overlooked parts of sprayer decontamination. Remove all filters and nozzle screens and thoroughly clean these with fresh water. Run clean water through plumbing leading to the screens.
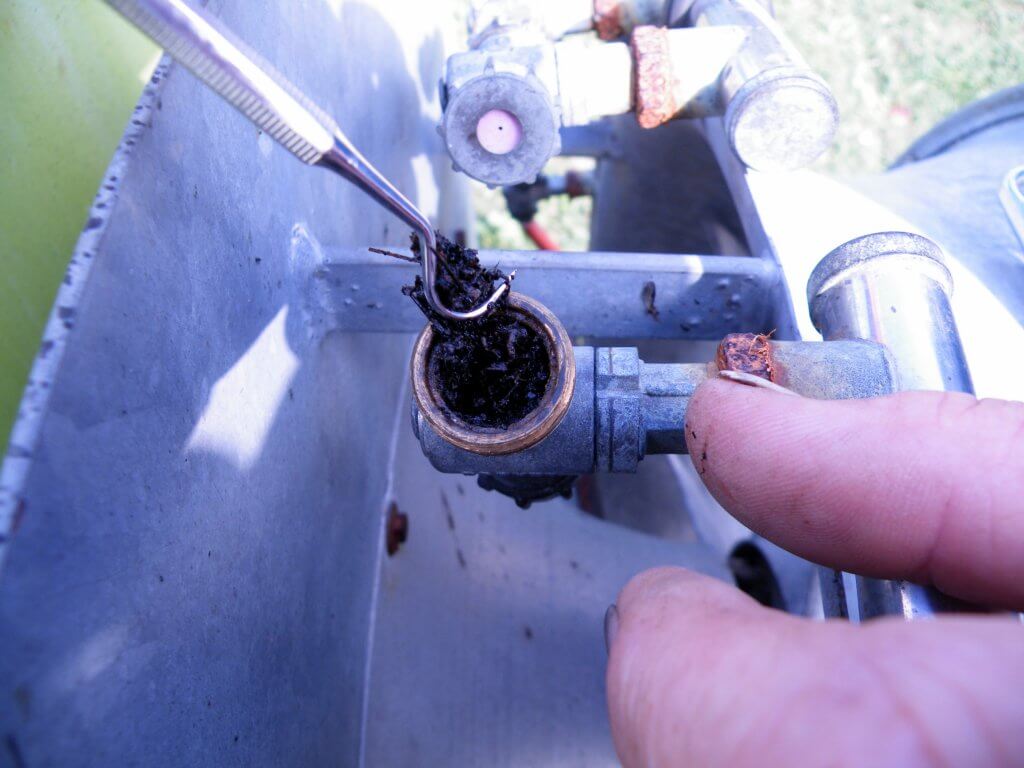
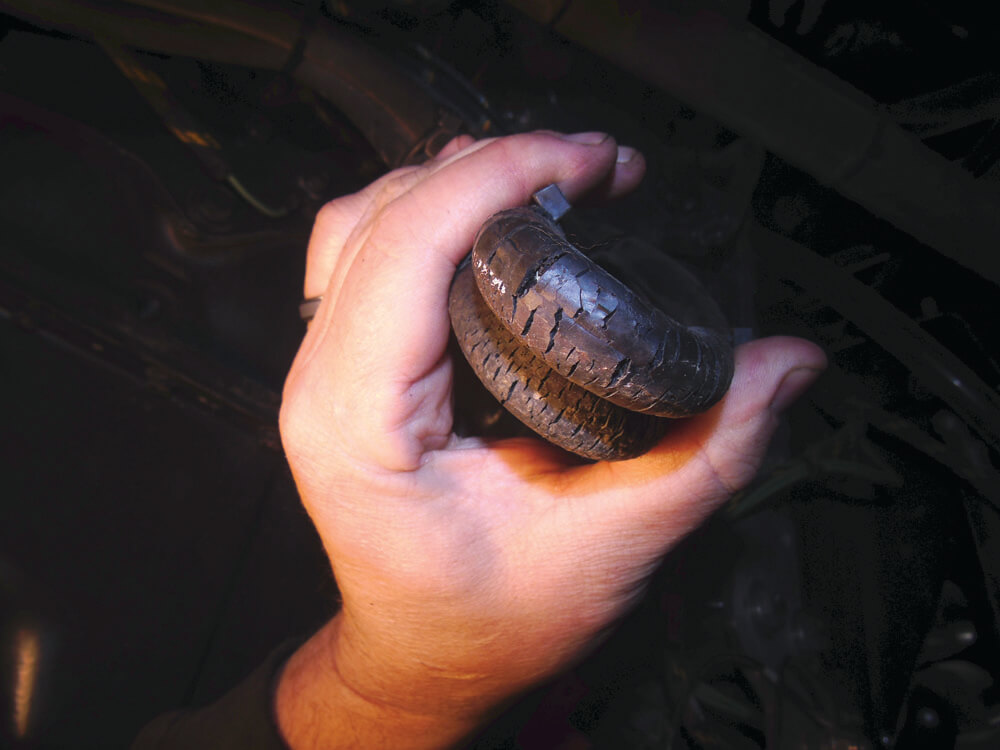
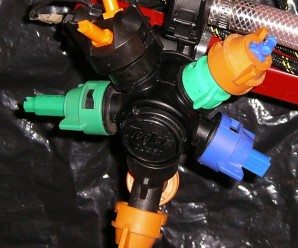
Nozzle Bodies
Nozzle bodies can harbour herbicide mixture. When cleaning a spray boom, rotate through all nozzles in a multiple body to ensure clean water reaches all parts of these assemblies. Remove screens that may have been used with herbicide.
Tank Cleaning Adjuvants
Adjuvants such as ammonia can assist the tank decontamination process, especially with sulfonyl urea and triazolopyrimidine-containing products. Ammonia does not neutralize herbicides, but it does raise the pH of the cleaning solution which helps sulfonyl urea herbicides dissolve. When decontaminating after an oily (EC) formulation, the use of a wetting agent such as AgSurf will assist in removing oily residue that may trap SU herbicide on tank and hose material. Commercial tank cleaning products that contain ingredients for removing persistent deposits are available.
Tank and Boom Material
Both plastic and stainless steel are common tank and wet boom materials, and both can be cleaned using the above procedures. However, stainless steel is easier to clean, and this means that less time may be required. Consider the choice of materials a productivity factor in your next purchase or upgrade decision.
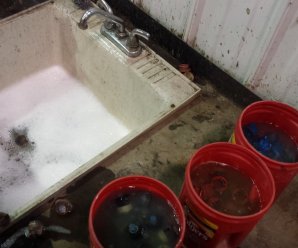
Rinsate Disposal
Always spray out the tank in the field. Do not drain the tank while stationary unless you are certain it is free of pesticide and that you are away from sensitive areas and waterways. Consider a continuous rinse system. Consider building a biobed for safe disposal of dilute pesticide waste.
Sprayer cleanout will probably never be the easiest job on the farm. But looking at it in a smarter way can prevent frustration and save time.