- Inspect and service sprayer and nozzles before calibrating; replace nozzles with more than 10 percent wear.
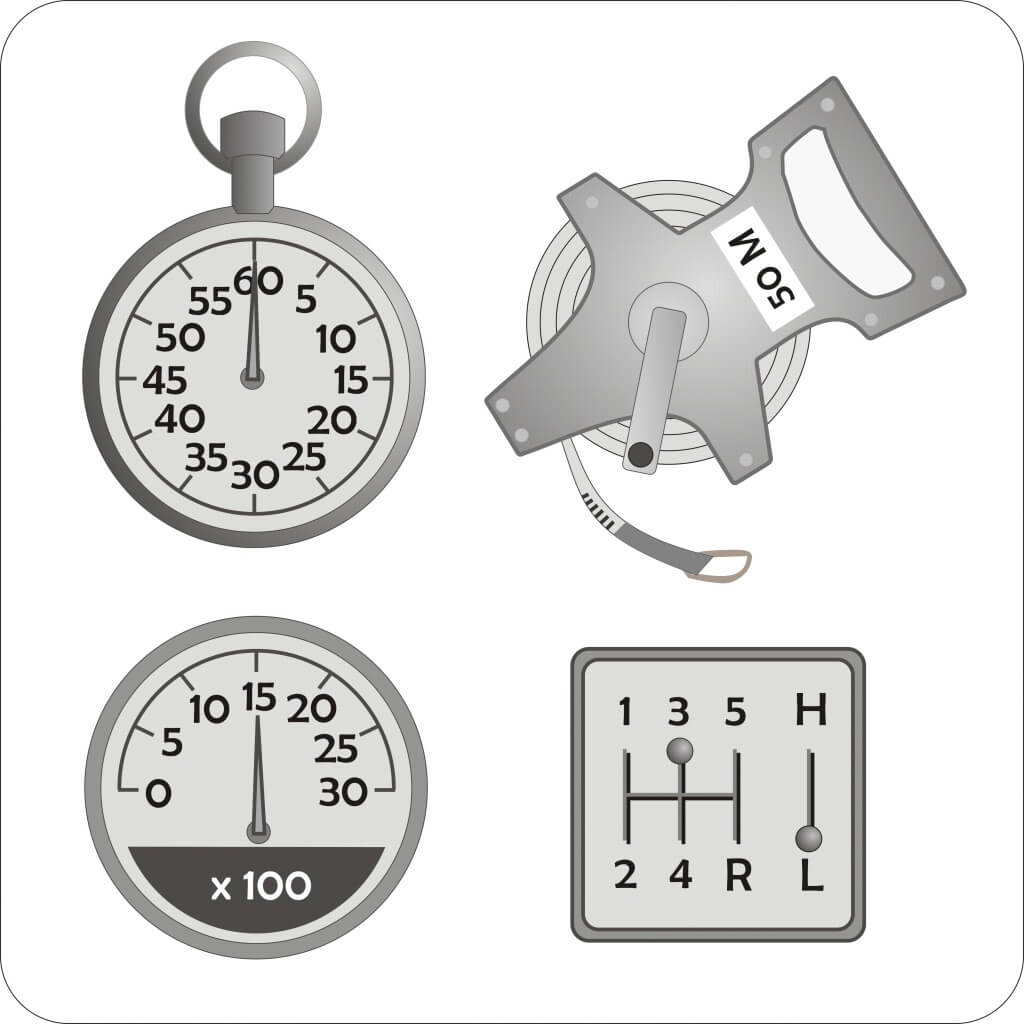
- Have a timer, measuring tape, and a graduated jar ready.
- Measure nozzle spacing, set the corresponding travel distance, drive at normal speed and record travel time.
- Catch nozzle output for that travel time, average ounces per nozzle; ounces equal gallons per acre.
- Compare actual to intended rate and adjust speed or pressure; repeat until within plus or minus 5 percent.
This text was generated by OpenAI GPT 5 Mini
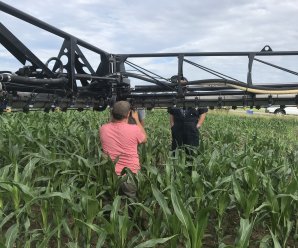
Calibrating a boom sprayer is not as difficult as it sounds. There are several ways to calibrate a sprayer. Regardless of which method you choose, it usually doesn’t take more than 30 minutes, and only three things are needed:
- a timer (or watch or smart phones) showing seconds,
- a measuring tape, and
- a jar graduated in ounces.
Here, I will describe perhaps the easiest of all the methods to calibrate a field sprayer.
Now is the time to get the field sprayer out of the shed and get it ready for the season. Check all the components of the sprayer to make sure they are in working order. Next step in preparations for the season is to calibrate the sprayer. The only way you can achieve maximum accuracy from a sprayer is by calibrating it once before the spraying season starts, and re-calibrating it frequently throughout the spraying season. While applying too little pesticide may result in ineffective pest control, too much pesticide wastes money, may damage the crop and increases the potential risk of contaminating ground water and environment. The primary goal with calibration is to determine the actual rate of application in gallons per acre, then to make adjustments if the difference between the actual rate and the intended rate is greater or less than 5% of the intended rate. This is a recommended guideline by USEPA and USDA.
Before starting calibration, make sure you have a good set of nozzles on the sprayer. Nozzles wear through extended use causing over application, or some nozzles may be plugged. Clean and check the output of all the nozzles for a given length of time at a given spray pressure (usually 1 minute and 40 psi). Compare output from each nozzle’s output with the expected output shown in the nozzle catalog for that nozzle at the same pressure. Replace the nozzles showing an output error of more than 10% of the output of the new nozzle. Once you do this, now you are ready to calibrate your sprayer.
- Fill the sprayer tank (at least half full) with water.
- Run the sprayer, inspect it for leaks, and make sure all vital parts function properly.
- Measure the distance in inches between the nozzles.
- Measure an appropriate travel distance in the field based on this nozzle spacing. The appropriate distances for different nozzle spacing is as follows: 408 ft for a 10-inch spacing, 272 ft for a 15-inch spacing, 204 ft for 20-inch spacing, 136 feet for a 30-inch spacing, and 102 feet for a 40-inch spacing.
- Drive through the measured distance in the field at your normal spraying speed, and record the travel time in seconds. Repeat this procedure and average the two measurements.
- With the sprayer parked, run the sprayer at the same pressure level and catch the output from each nozzle in a measuring jar for the travel time required in step 5 above.
- Calculate the average nozzle output by adding the individual outputs and then dividing by the number of nozzles tested. The final average nozzle output in ounces you get is equal to the application rate in gallons per acre. For example, if you catch 15 ounces from a set of nozzles, the actual application rate of the sprayer is equal to 15 gallons per acre.
- Compare the actual application rate with the recommended or intended rate. If the actual rate is more than 5 percent higher or lower than the recommended or intended rate, you must make adjustments in either the spray pressure or the travel speed or in both. For example, to increase the flow rate you will need to either slow down, or increase the spray pressure. The opposite is true when you need to reduce application rate. As you make these changes stay within proper and safe operating condition of the sprayer. Remember increased pressure will result in increasing the number of small, drift-prone droplets.
- Repeat steps 5-8 above until the recommended application error of +5% or less is achieved.