This article was originally written by @nozzle_guy as a guest blog for Farm At Hand, and is reproduced with permission.
Spray season is here, but are you ready? Here are 5 tricks to give you a productivity edge.
- Choose a spray pressure in the middle of your nozzle’s operating range. All spray nozzles have a range of pressures throughout which the manufacturer believes the spray pattern is acceptable. We’ve come to assume that the correct spray pressure for a nozzle is about 40 psi, largely because of tradition. In fact, 40 psi is merely the mid-point of a traditional nozzle’s pressure range, between 20 and 60 psi. Modern air-induced nozzles have much higher and wider pressure ranges, usually from 30 to 100 psi. The new middle ground is about 70 psi.
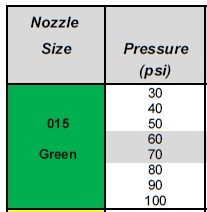
Why so high? There are two reasons.
- Air-induced tips perform optimally at higher pressures, and remain lower drift than conventional nozzles even at those pressures.
- Travel speed range. As a sprayer changes speed, the spray pressure is automatically adjusted to maintain a constant application volume. Even a small reduction in speed, due to changes in terrain, for example, can put the spray pressure too low for good nozzle operation. A nozzle that is sized for a higher average operating pressure will permit a reduction in speed without a nozzle performance penalty at lower speeds.
- Measure your boom’s pressure drop and add this value to your target operating pressure. All sprayers experience a drop in pressure as the solution moves further away from the pump. This is due to friction caused by a number of factors, including length of tubing, elbows, valves, screens, and other flow obstructions. The pressure transducer that reports pressure to the cab is usually located between the pump and the manifold that divides the spray into the various boom sections. After this point, the spray liquid experiences those additional restrictions, and pressure at the nozzle will therefore be lower than the cab reading indicates.
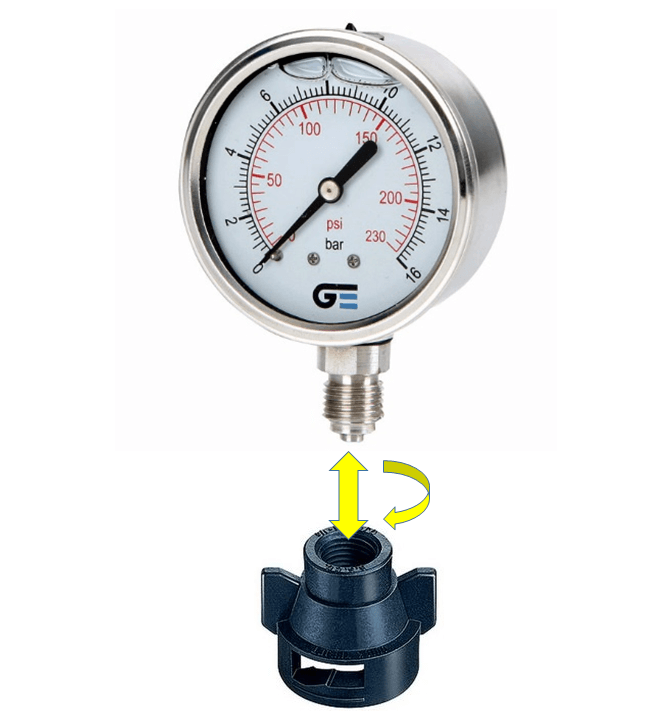
The nozzle pressure can be measured with a gauge placed on a nozzle body. Simply purchase a gauge and a threaded nozzle cap, combine the two and install in place of a nozzle. Operate the sprayer and read this pressure, comparing it to the pressure in the cab. The difference between the two is the pressure drop. Do this for your lowest, as well as your highest expected flow rates. Higher flow rates cause greater pressure drops. If you want to spray at 60 psi and your pressure drop is 10 psi, then the cab pressure should read 70 psi.
- Install a clean water tank and wash-down nozzle on your sprayer. One of the more time-consuming aspects of a spray operation is cleaning the sprayer when you switch products. The quickest way to clean a sprayer starts with accurately calculating your last tank needs, and spraying any remainder (if you’ve done your math, this will be small) out in the field. Depending on the product, overspraying the crop a second time can be an option, simply reduce the application rate to prevent doubling the dose.
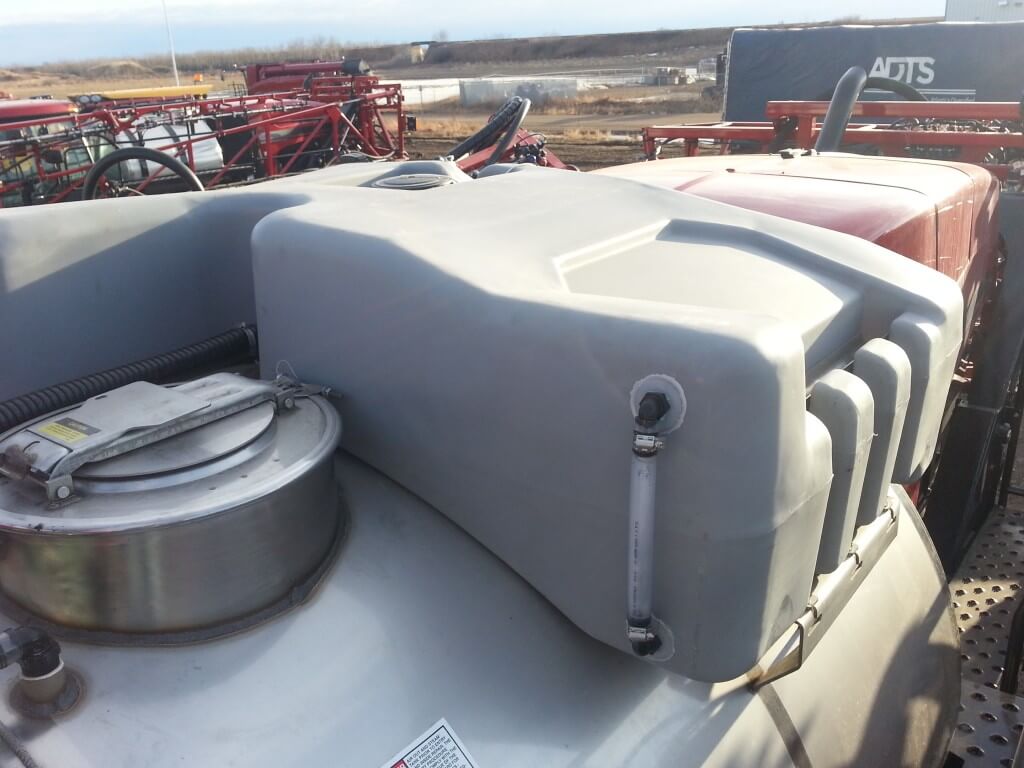
When the spray tank is empty, introduce clean water from your clean water tank through the wash-down nozzle, allow to mix with remaining spray in plumbing (make sure agitation is on) and spray out. The spray mixture will quickly become increasingly dilute and flush through all sprayer parts that contained the product. The clean water tank can contain a cleaning adjuvant such as ammonia or a detergent depending on the properties of the product to be removed. After the sprayer is cleaned, stop and inspect all screens to ensure there are no pockets of residue.
- Obtain a faster transfer system and strive to load faster. Most sprayer refills can take longer than planned, and before you know it, 15 or more minutes have passed. That can be a significant portion of the total spray time, resulting in lost productivity. By moving to a 3” transfer pump and plumbing, fills in 5 minutes are possible. Care is required to ensure that products are properly mixed, and dry products may need to be hydrated in advance to prevent screen and nozzle plugging.
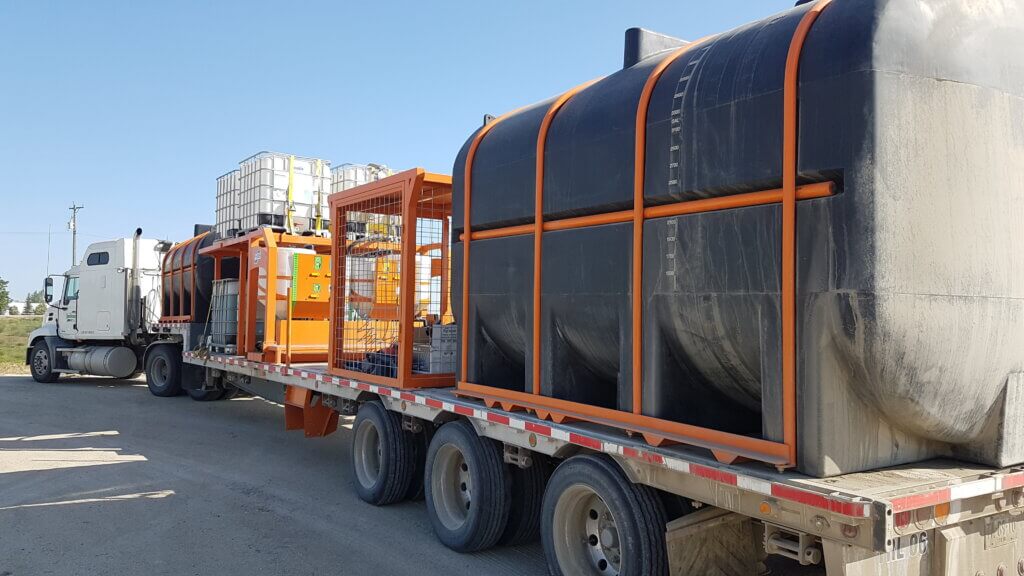
The fastest operators have a capable person on the tender truck, and have the tender truck move to the sprayer at the field edge, not the other way. Front fill attachments save further time. Think of it like a Nascar pit stop, and watch productivity increase.
- Say goodbye to boom end valves. Traditional 1” wet boom sections have a “boom end” that is capped about 4 to 6” beyond the last nozzle body. The boom end is a dead end, and any pesticide mixture that ends up there, as well as any air in the boom, is virtually impossible to remove.
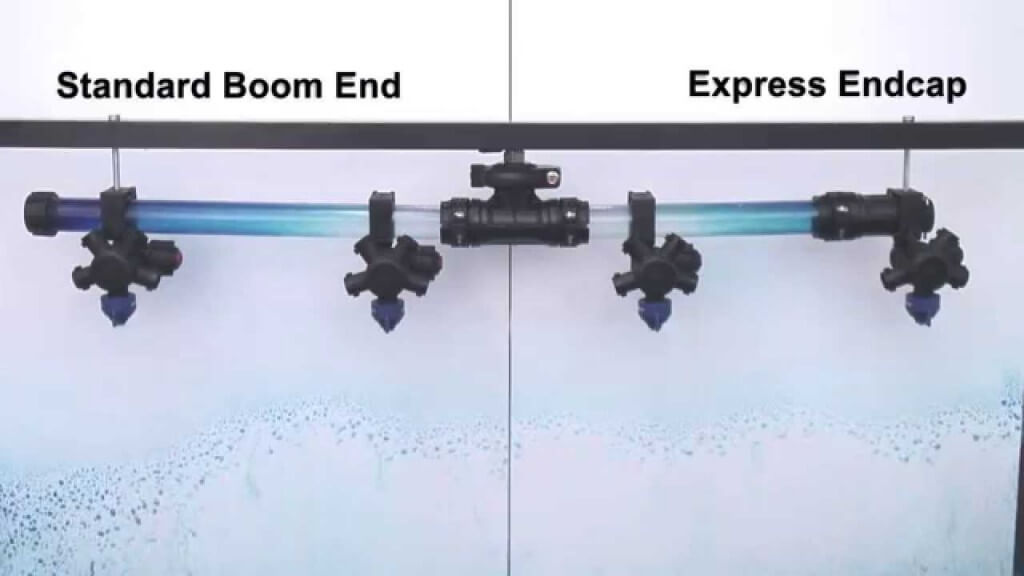
Two problems result:
- Boom end residues can cause contamination.
- The air in a boom acts as a bladder, preventing diaphragm check valves from shutting nozzles off until enough liquid has left the boom to reduce the bladder pressure.
The most common way to remedy this is to install valves at each boom end, flushing the air and contamination out. But this has to be repeated twice for each boom section, which can number anywhere from 5 to 11 per boom. A product called the Hypro Express Nozzle Body End Cap automates the process. The end cap has a novel design that eliminates the dead reservoir and bleeds air from the boom continuously during normal operation. The result is easier sprayer cleaning and better shutoff responsiveness.
Spraying is an important operation, and timing is critical. Small changes in productivity can add up, preventing problems and getting more acres treated each day.
Visitor Rating: 5 Stars
Visitor Rating: 4 Stars
Visitor Rating: 5 Stars
Visitor Rating: 5 Stars
Visitor Rating: 3 Stars