All sprayers experience a drop in pressure as the solution moves further away from the pump. Here’s why that’s important, and how to measure it.
Optimal nozzle operation in terms of spray quality and fan angle is closely tied to spray pressure. As we try to maximize travel speed range with a modern sprayer, we often push spray pressure to its limits on the low and high side. For many air-induced nozzles, spray quality and fan angle become critical at about 30 psi. We need to be sure about the exact nozzle spray pressure to prevent problems.
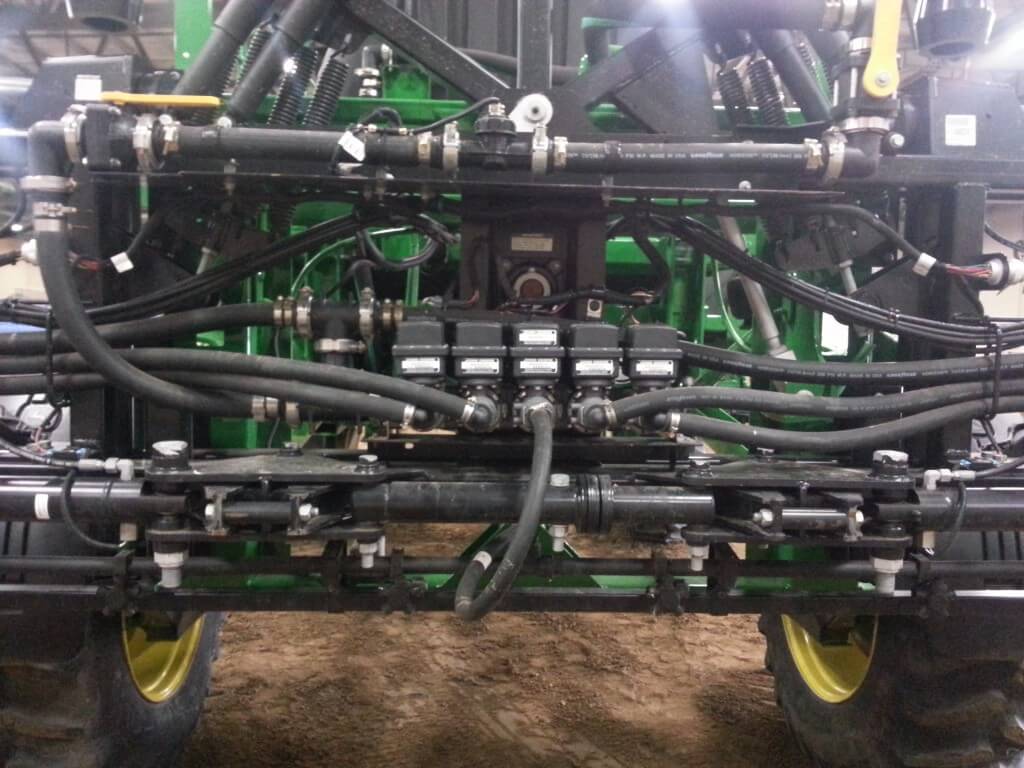
Pressure drop is caused by the friction that the spray solution experiences as it moves from the pump to the spray nozzles. It’s caused by a number of factors, including length of tubing, elbows, valves, screens, and other flow obstructions.

The pressure transducer that reports pressure to the cab is usually located between the pump and the manifold that divides the spray into the various boom sections. At this point, the spray liquid hasn’t experienced any significant flow restrictions. The transducer basically reports pump pressure.
Once the spray mixture starts moving through boom sections towards the nozzles, it encounters those restrictions, and pressure at the nozzle will therefore be lower than the cab reading indicates. The higher the liquid flow, the greater the friction, and therefore, pressure loss.
Even older sprayers with only two boom sections (left and right) and few elbows and reducers, will see pressure losses due to the narrow and long boom pipe that feeds up to 60′ on each side.
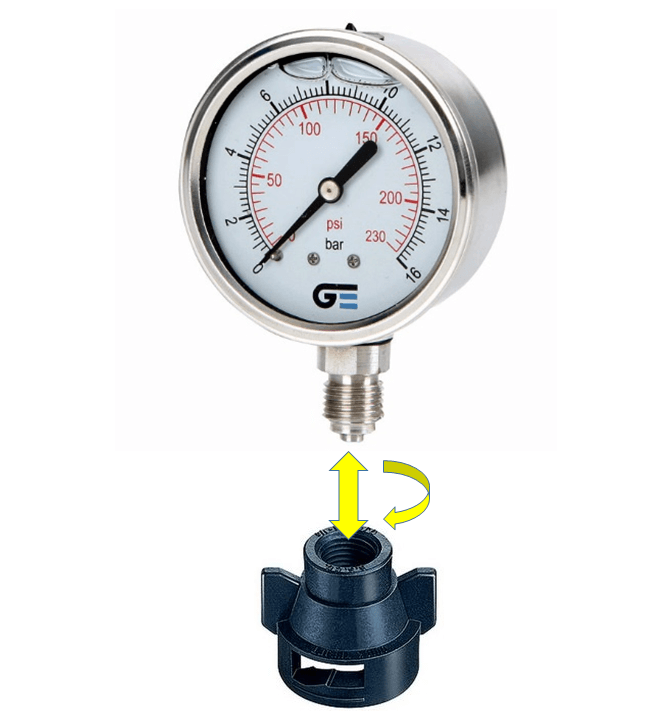
The nozzle pressure can be measured with a gauge placed on a nozzle body. Simply purchase a quality gauge and a threaded nozzle cap, combine the two and install in place of a nozzle.

Operate the sprayer at your expected spray pressure (say, 60 psi) with all boom sections on. Install the portable pressure gauge on an open turret position and turn into place, noting its reading. If both gauges are accurate, the boom pressure will likely be below 60 psi.
The difference between the cab gauge pressure and the boom gauge pressure two is the pressure drop. Repeat the measurement for each boom section. Also repeat at your lowest, as well as your highest expected flow rates. Higher flow rates cause greater pressure drops.
Now, use this information to adjust your interpretation of the cab pressure reading. For example, if you want to spray at 60 psi and your pressure drop is 10 psi, then the cab pressure should read 70 psi.
If your boom pressure is higher than your cab pressure, and you’ve checked the accuracy of your new boom gauge, then don’t be too mystified. Your pressure transducer is malfunctioning.
This exercise is important if you’re trying to compare your nozzle flow to the expected nominal flow of the nozzle – perhaps you’re trying to determine nozzle wear. The nominal flow of agricultural nozzles is determined at 40 psi, so it will be important to measure the flow at exactly that pressure.
By measuring pressure drop on all your boom sections, you also get a good sense of the variability in pressure across your boom. Your measurements might reveal an obstruction or a hose kink somewhere along the line.
To see how low pressures can affect coverage, watch this video.
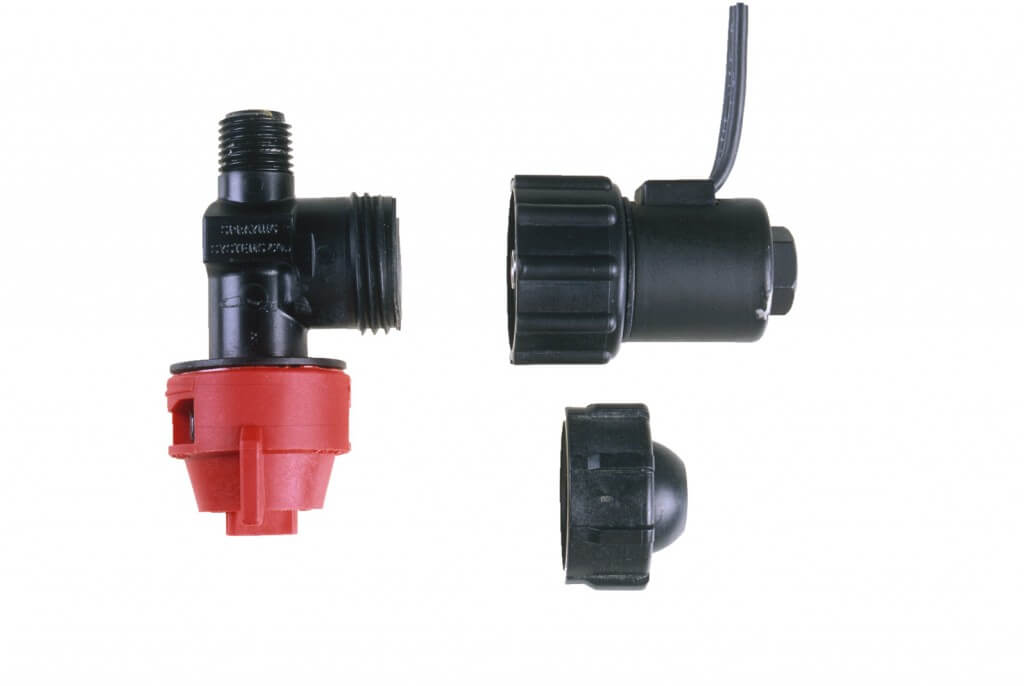
Note that the pulse-width modulated systems offered by Capstan, Case, and Raven use a solenoid at each valve. This solenoid adds a known, and significant, pressure drop to the spray system as can be seen here.

Here’s a fun video filmed by the Ontario Pest Education Program during a break at Ontario’s Southwest Crop Diagnostic Days:
Visitor Rating: 5 Stars
Visitor Rating: 4 Stars
Visitor Rating: 4 Stars
Visitor Rating: 3 Stars
Visitor Rating: 5 Stars